my 2013 Peugeot iOn will not charge :(

Mitsubishi i-MiEV Forum

Help Support Mitsubishi i-MiEV Forum:

This site may earn a commission from merchant affiliate links, including eBay, Amazon, and others.

misterbleepy

Well-known member
Joined
Apr 11, 2013
Messages
227
Location
Newquay, Cornwall, UK
So after having an instance of my car not charging due to the shift display not showing P, which was rectified by giving the shift leader a good ”stir”, I now have a more persistent case of the car being unable to charge (in the UK, so L2 240v charging).
Symptoms:
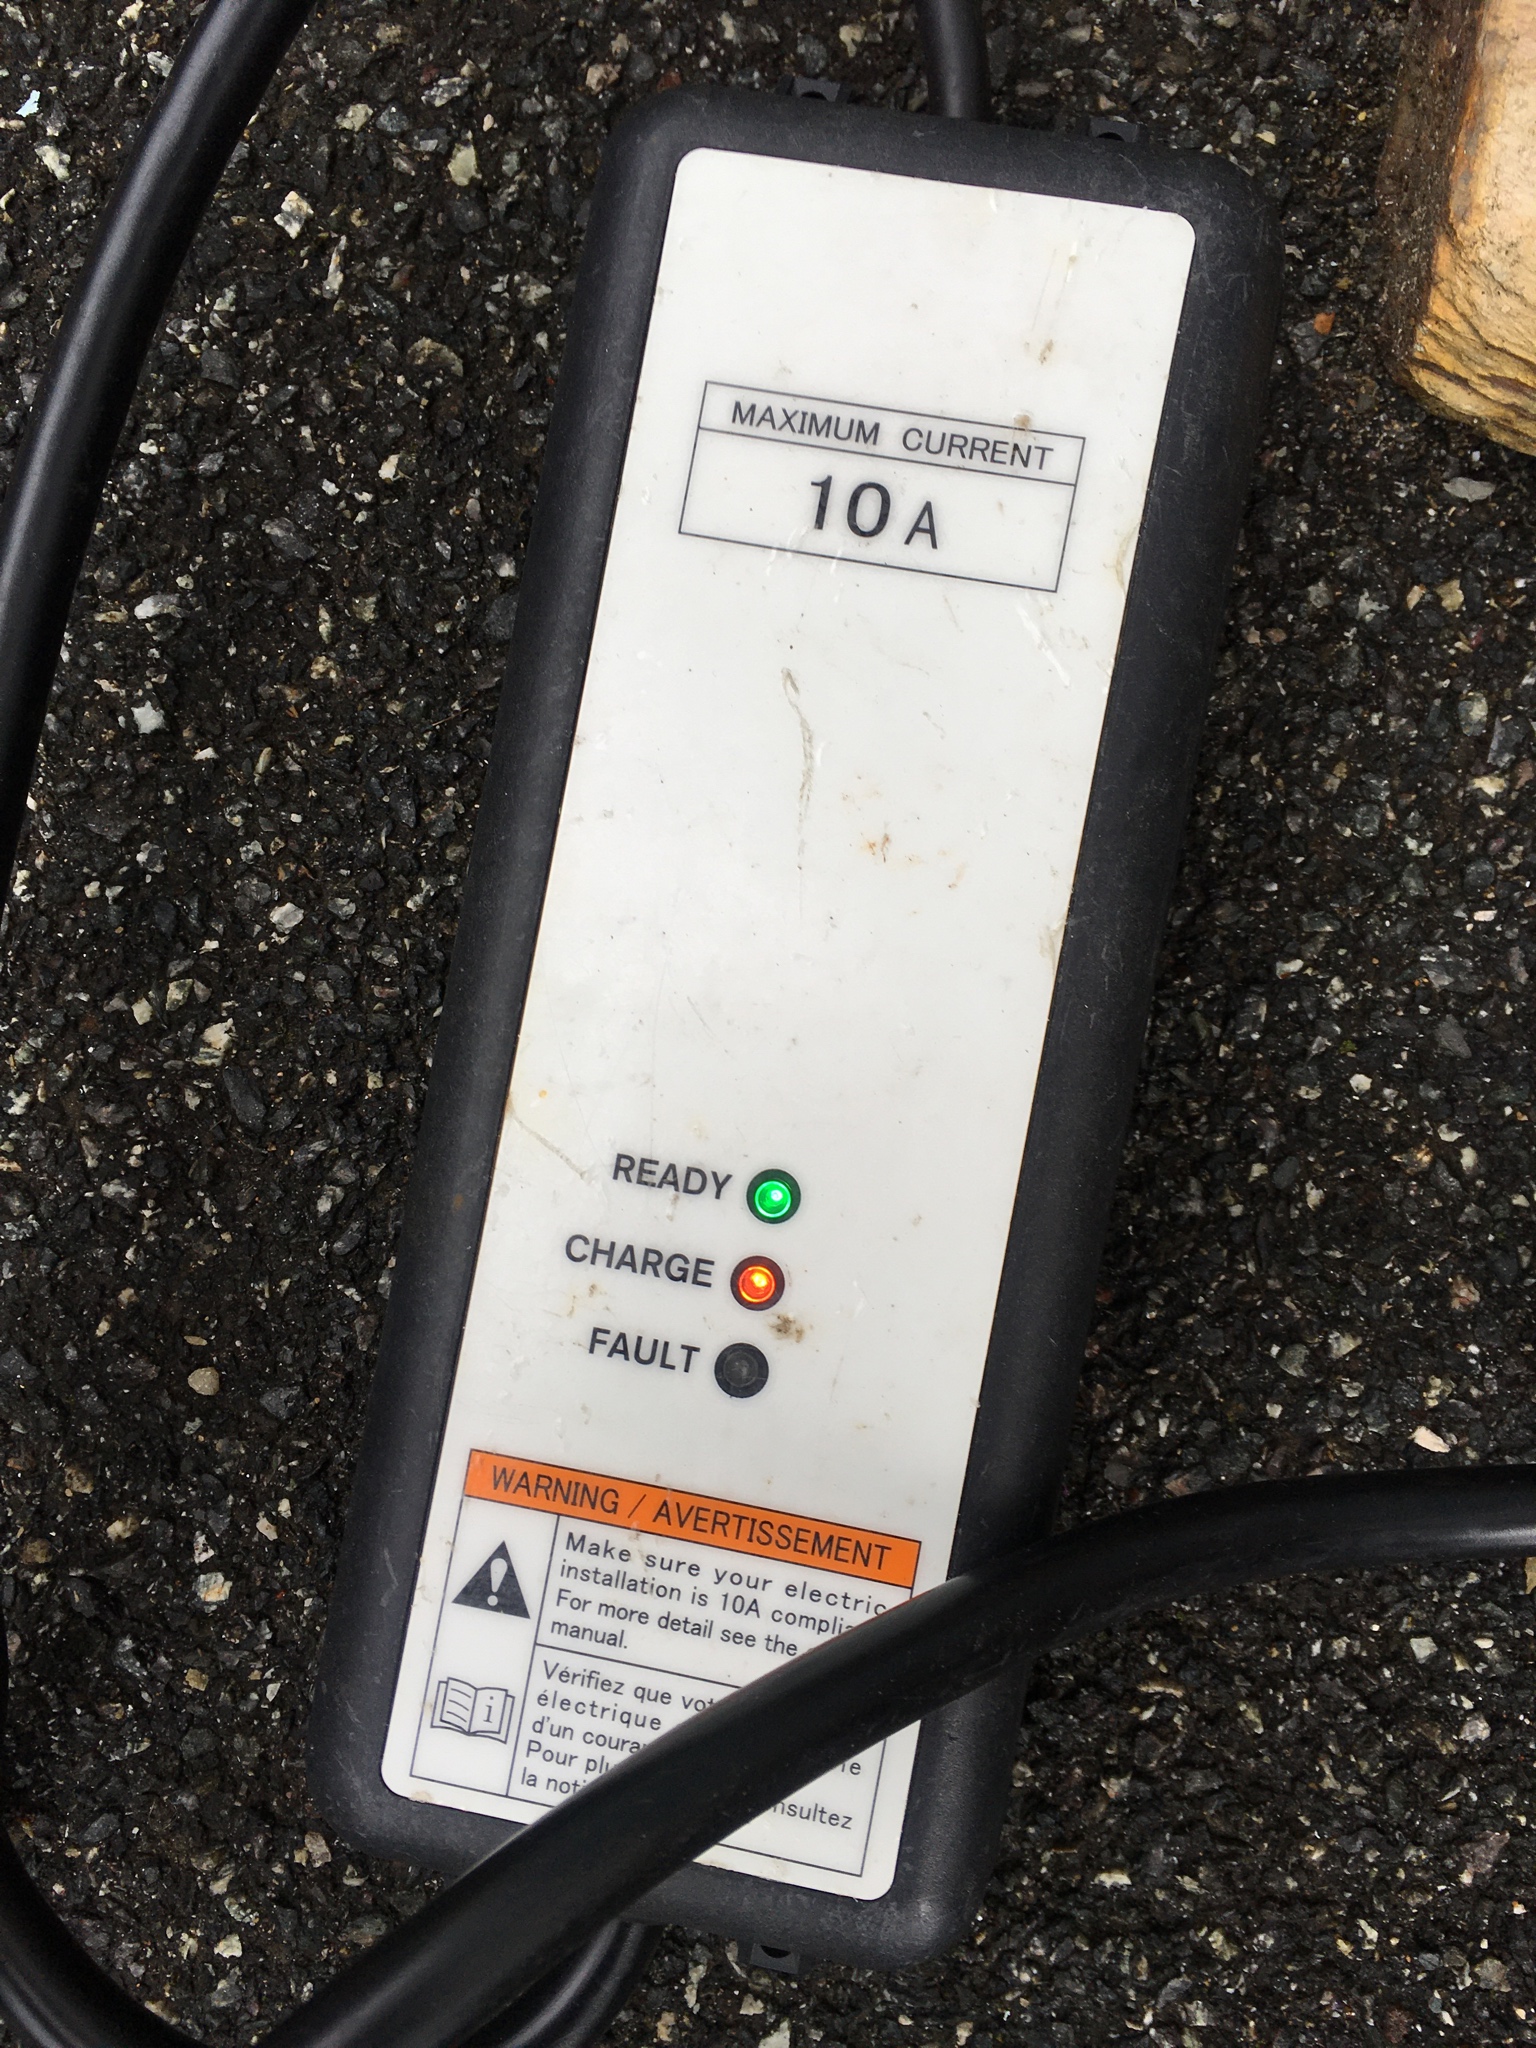
Charge seems to initiate as normal, but fan doesn’t blow for very long, the red charging light flashes but does not go steady, the dashboard charge indicator never comes on, and the yellow car with an exclamation point lights up.
Things I have tried so far:
Using the “granny cable” rather than my regular EVSE - this makes no difference.
Changing the 12v battery - the original one was still fitted, so I have bought a new one and fitted that - but this has made no difference.
I have a multimeter, so I checked the voltage of the new battery when connected with the ignition off - 12.2v - and then had an assistant turn on the car and put it in ”Ready” - the voltage reduced to around 11.9v, so it looks like the battery is not being charged.
The car does go into ready, but shortly after two warning lights come on - the red “battery” light, and the yellow car with an exclamation point.
The car can move under it’s own power.
I do not have any code reading equipment, and have not taken the car to the dealer (I’m not sure it would make it on what charge is left, and it definitely would not make it back).
I guess the next step is to isolate the HV pack and have a look for a blown fuse and damaged snubber caps?
Is there anything else I can easily check that might point to the problem?
 
The HV fuse in the MCU and the blue snubber caps in the OBC seem to be the most common symptoms. Your 12V aux appears to be low at 12.2 ocv, so an external charge of that would be recommended if you have that equipment available.

Good luck and let us know what you discover.
 
I finally have some time to look further into this - I have a question - if I’m just going to take a look at the boards in-situ, do I need to drain the cooling system?
I will be removing the left seat and then pulling the service plug.
 
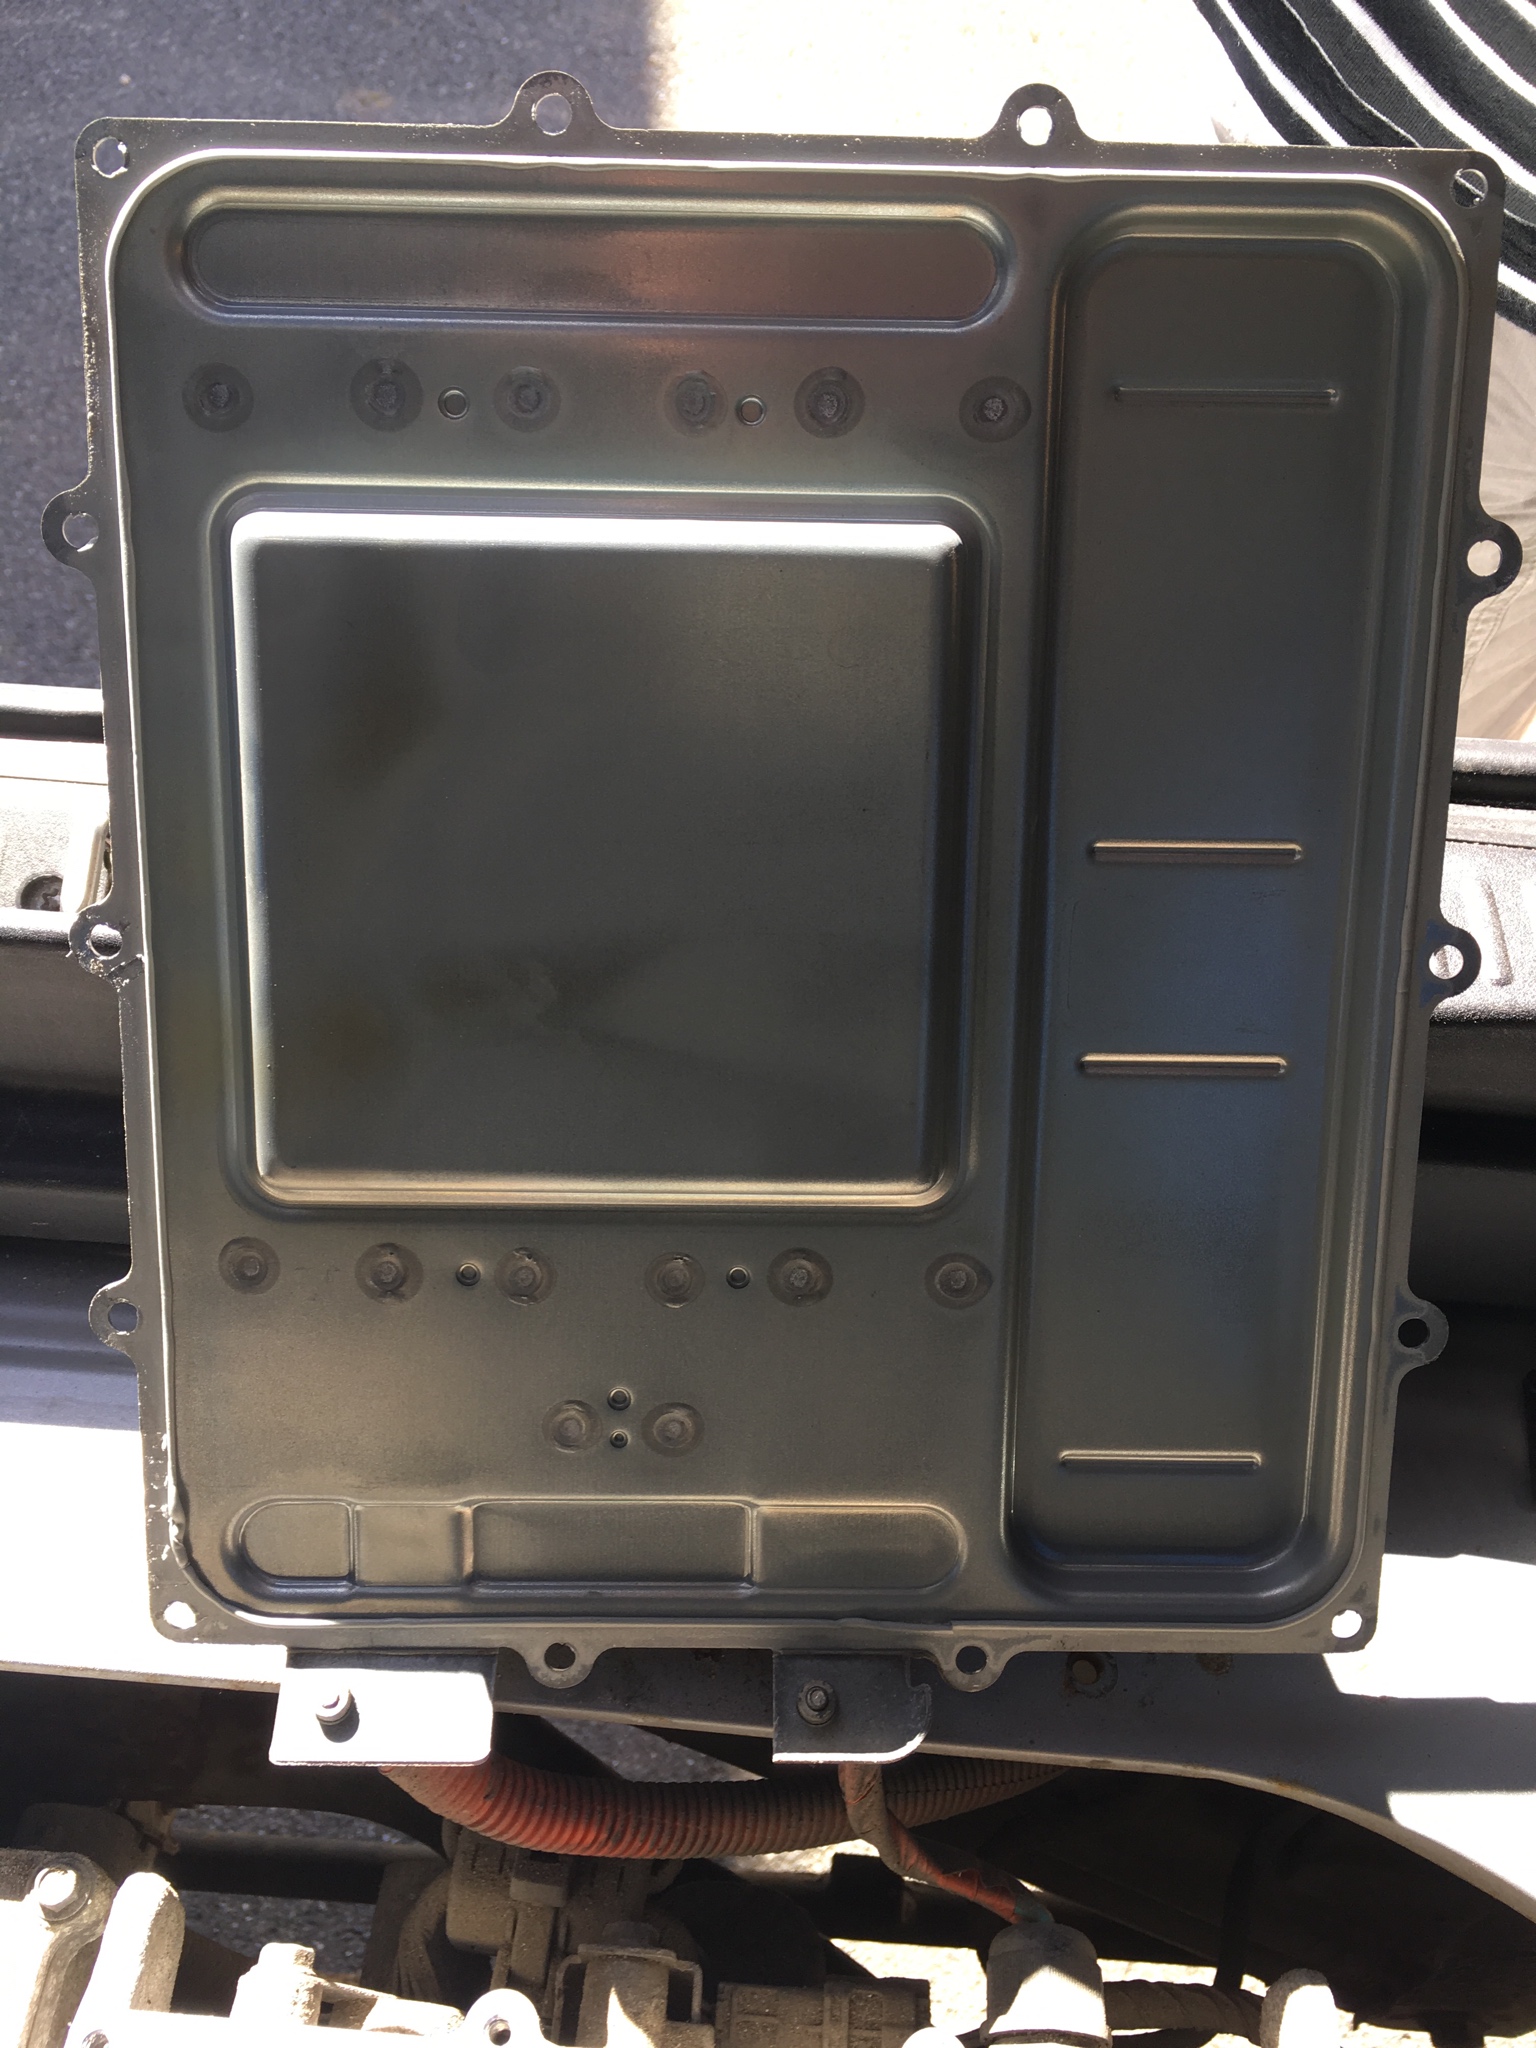
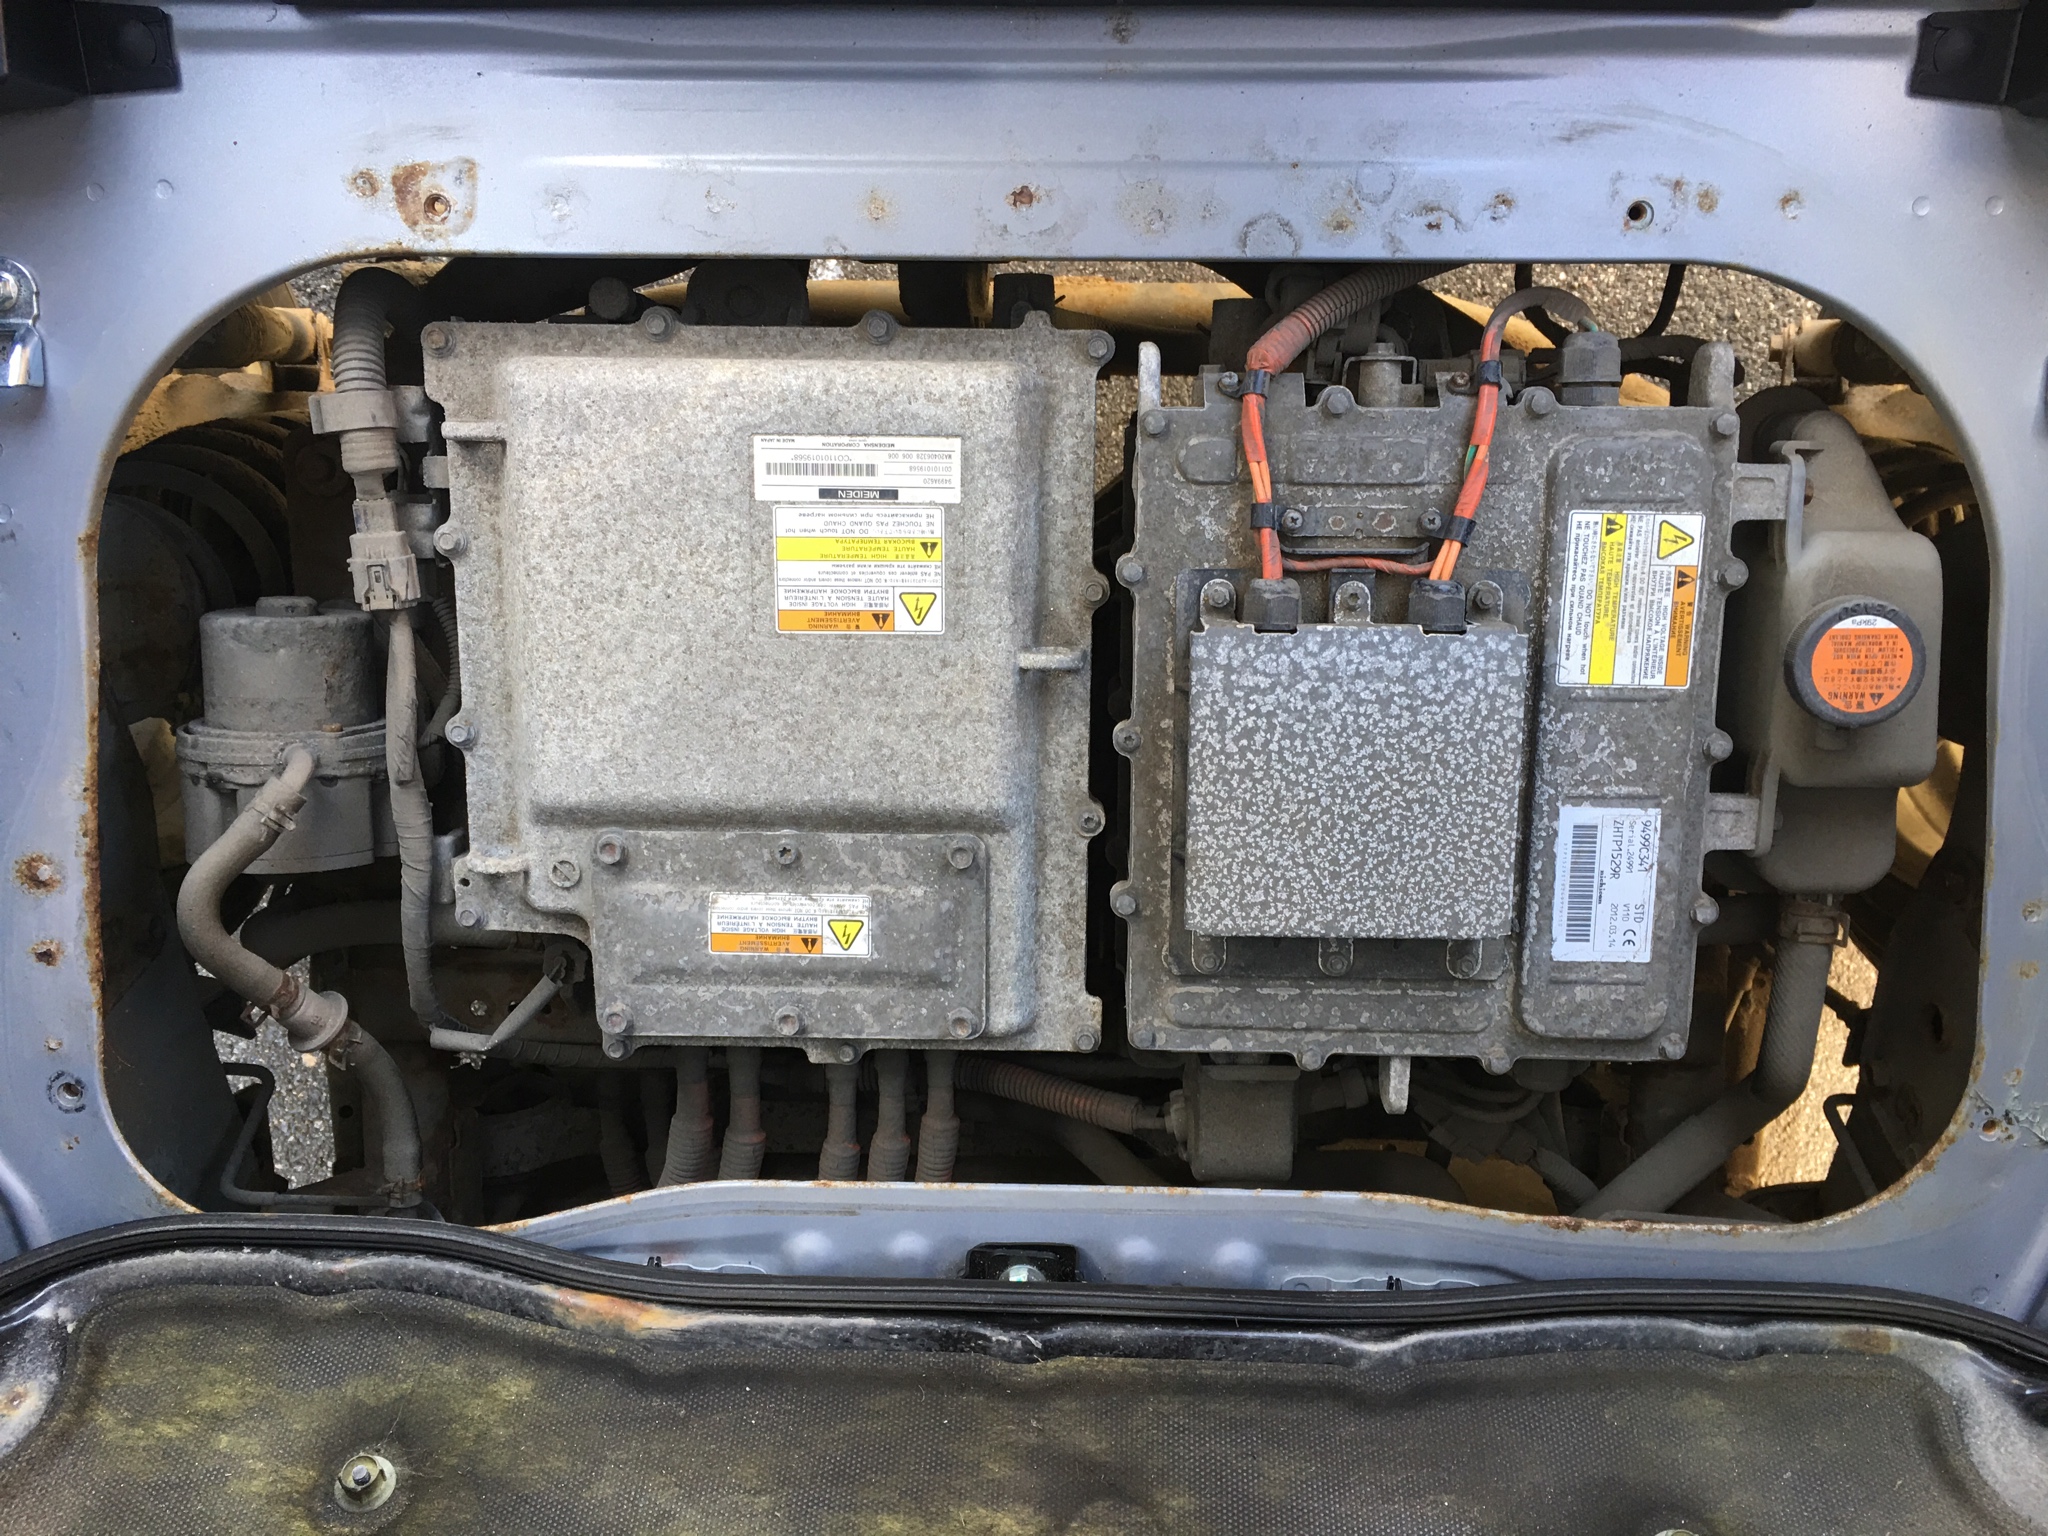
ok, I left the coolant where it belongs, and have managed to access the OBC boards and the fuse in the MCU.
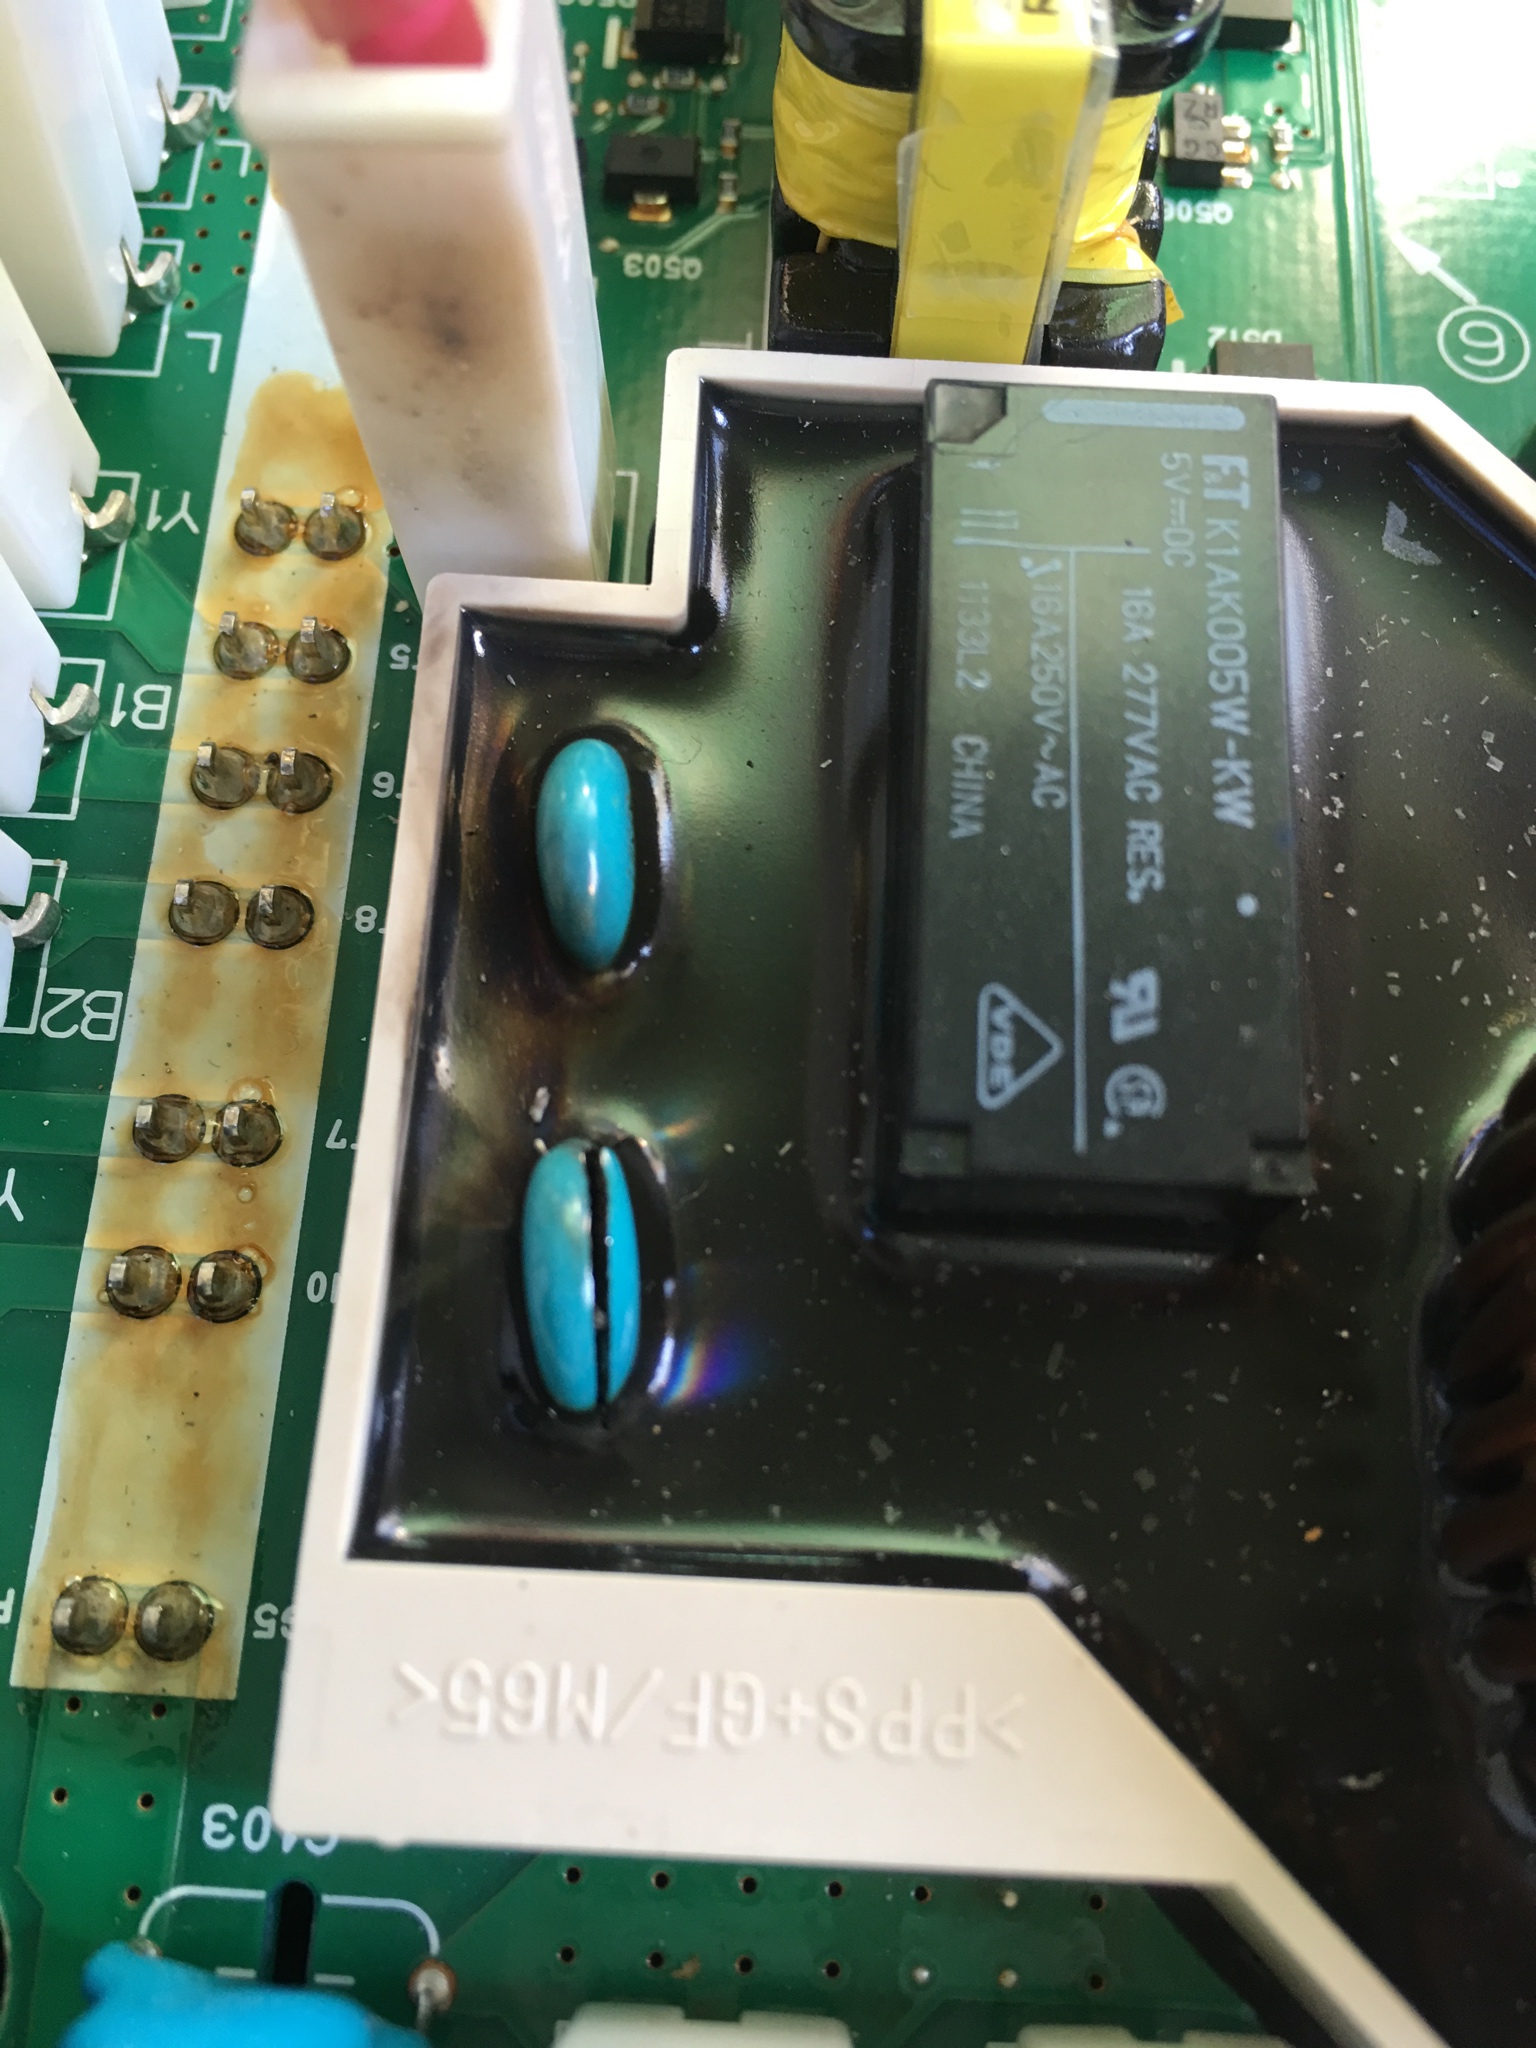
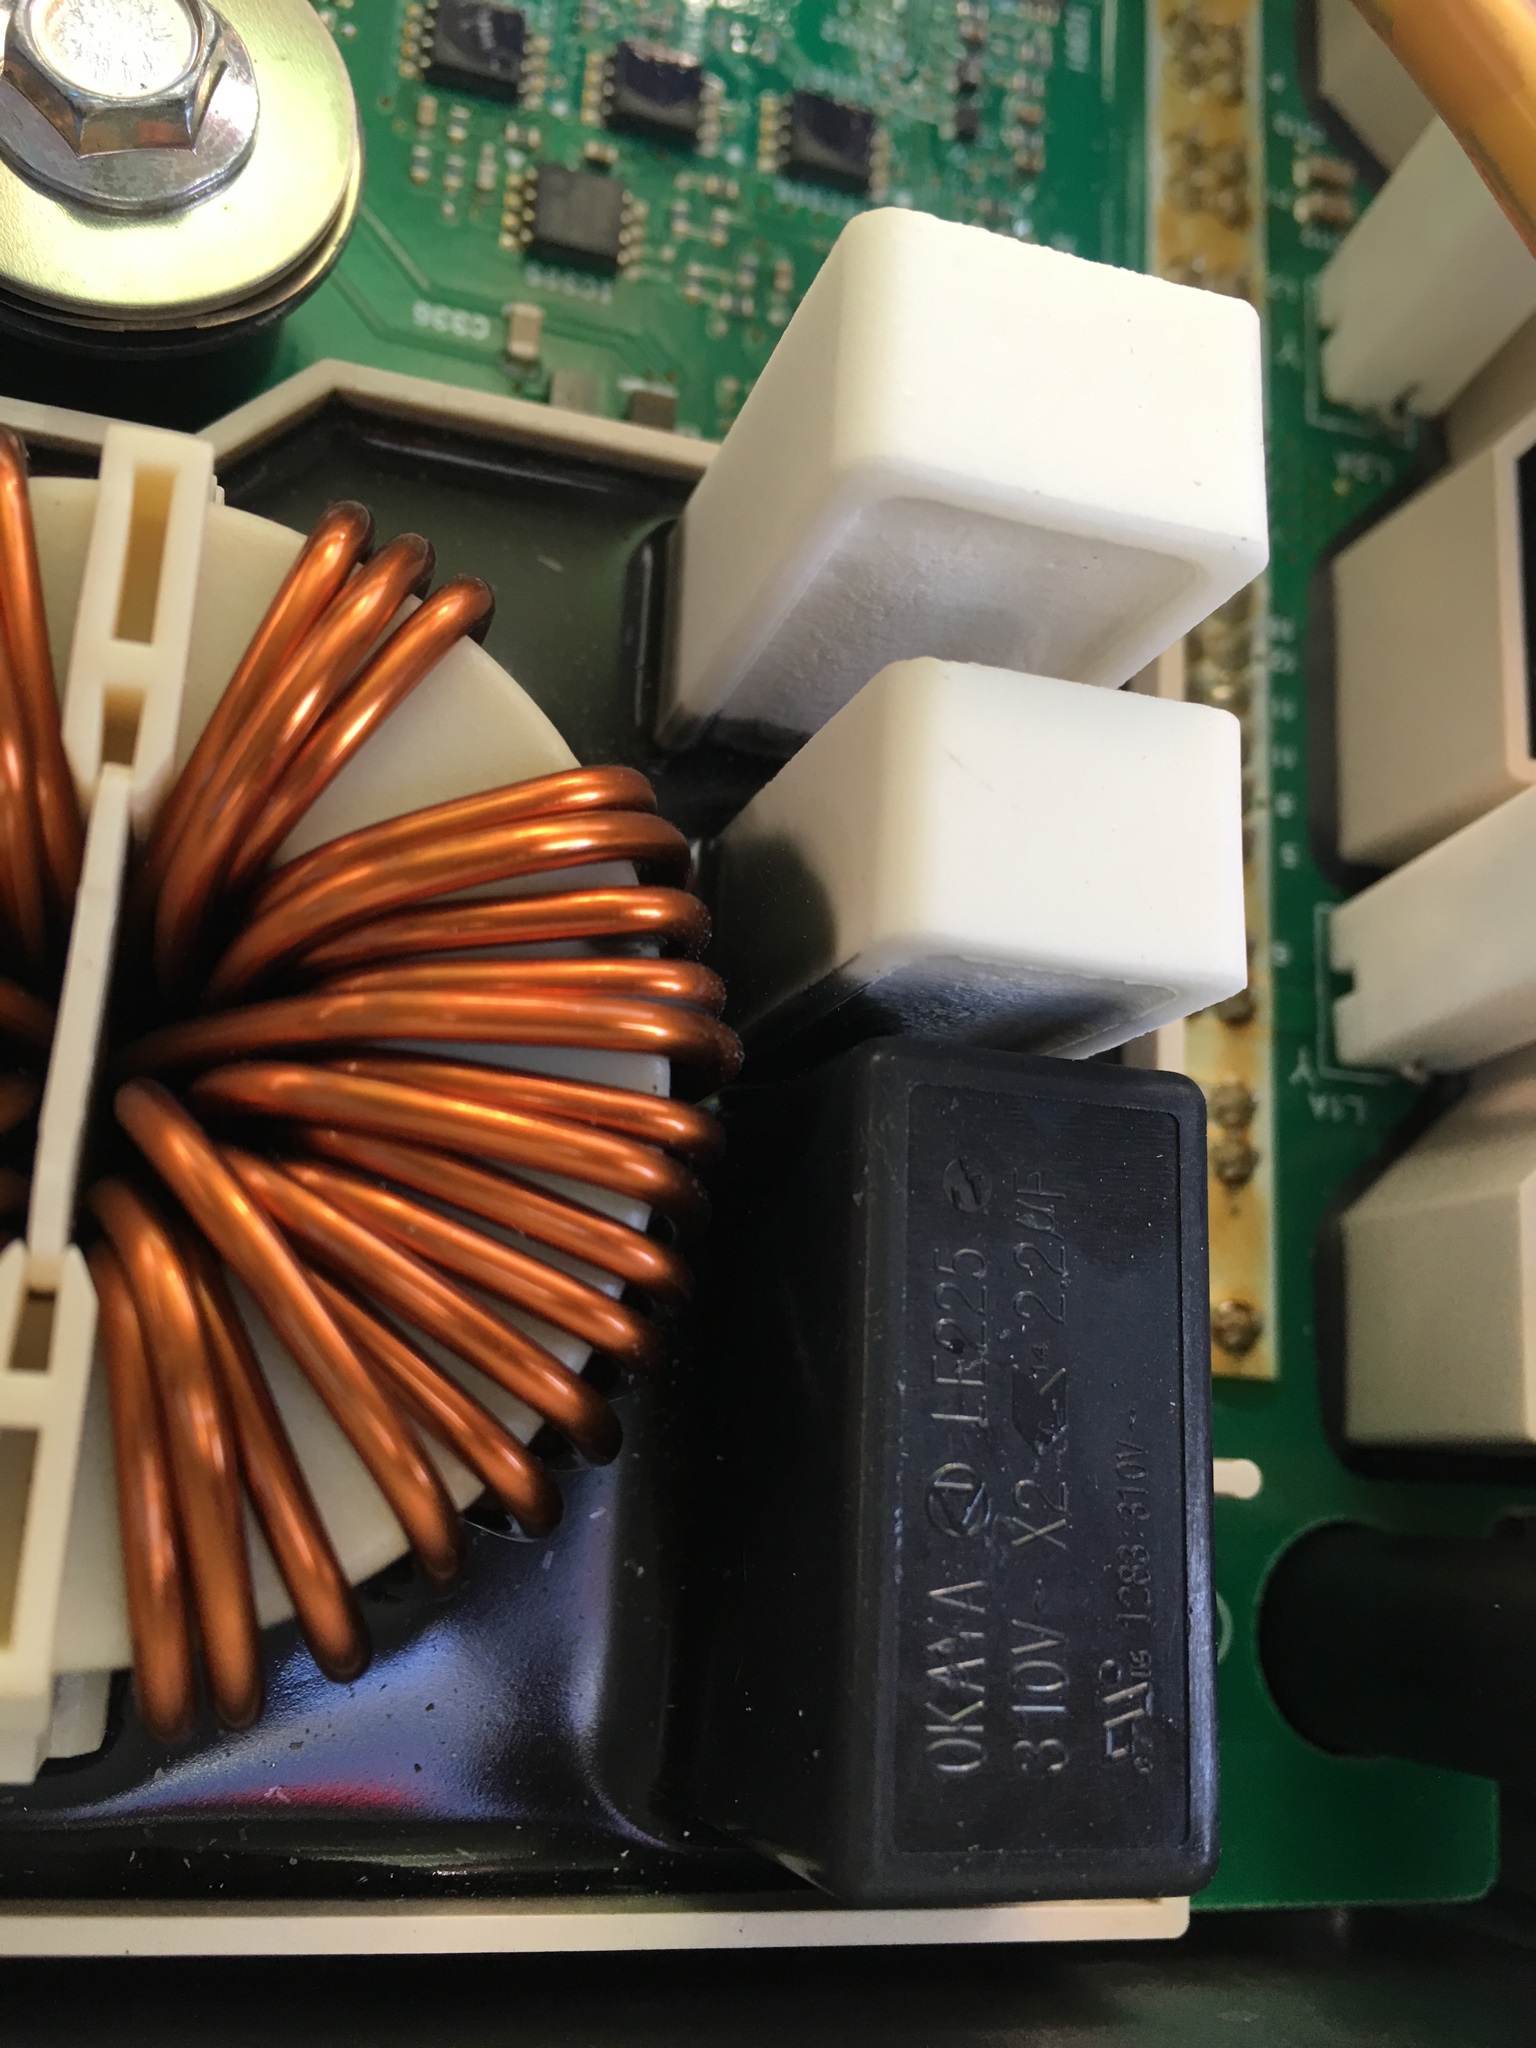
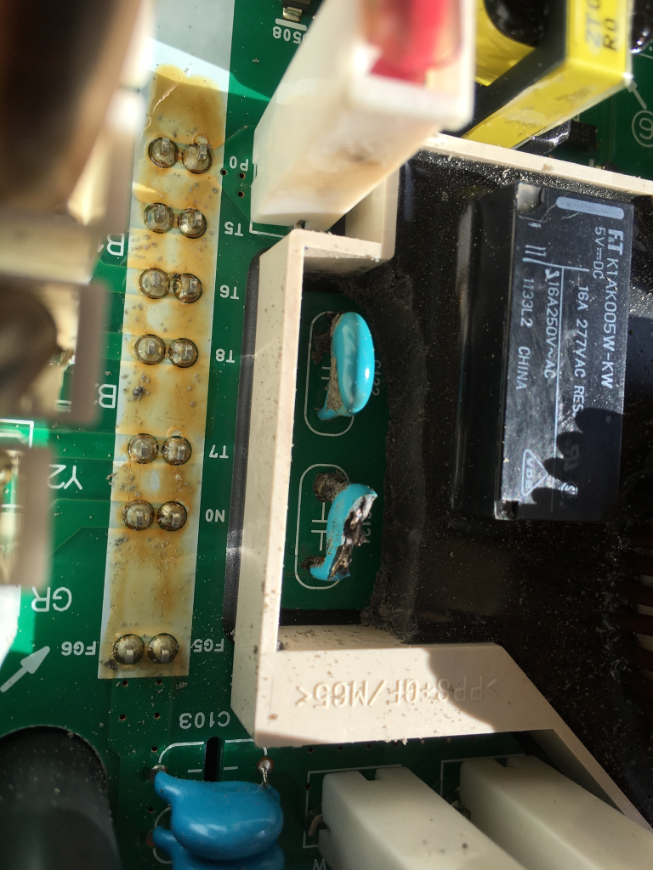
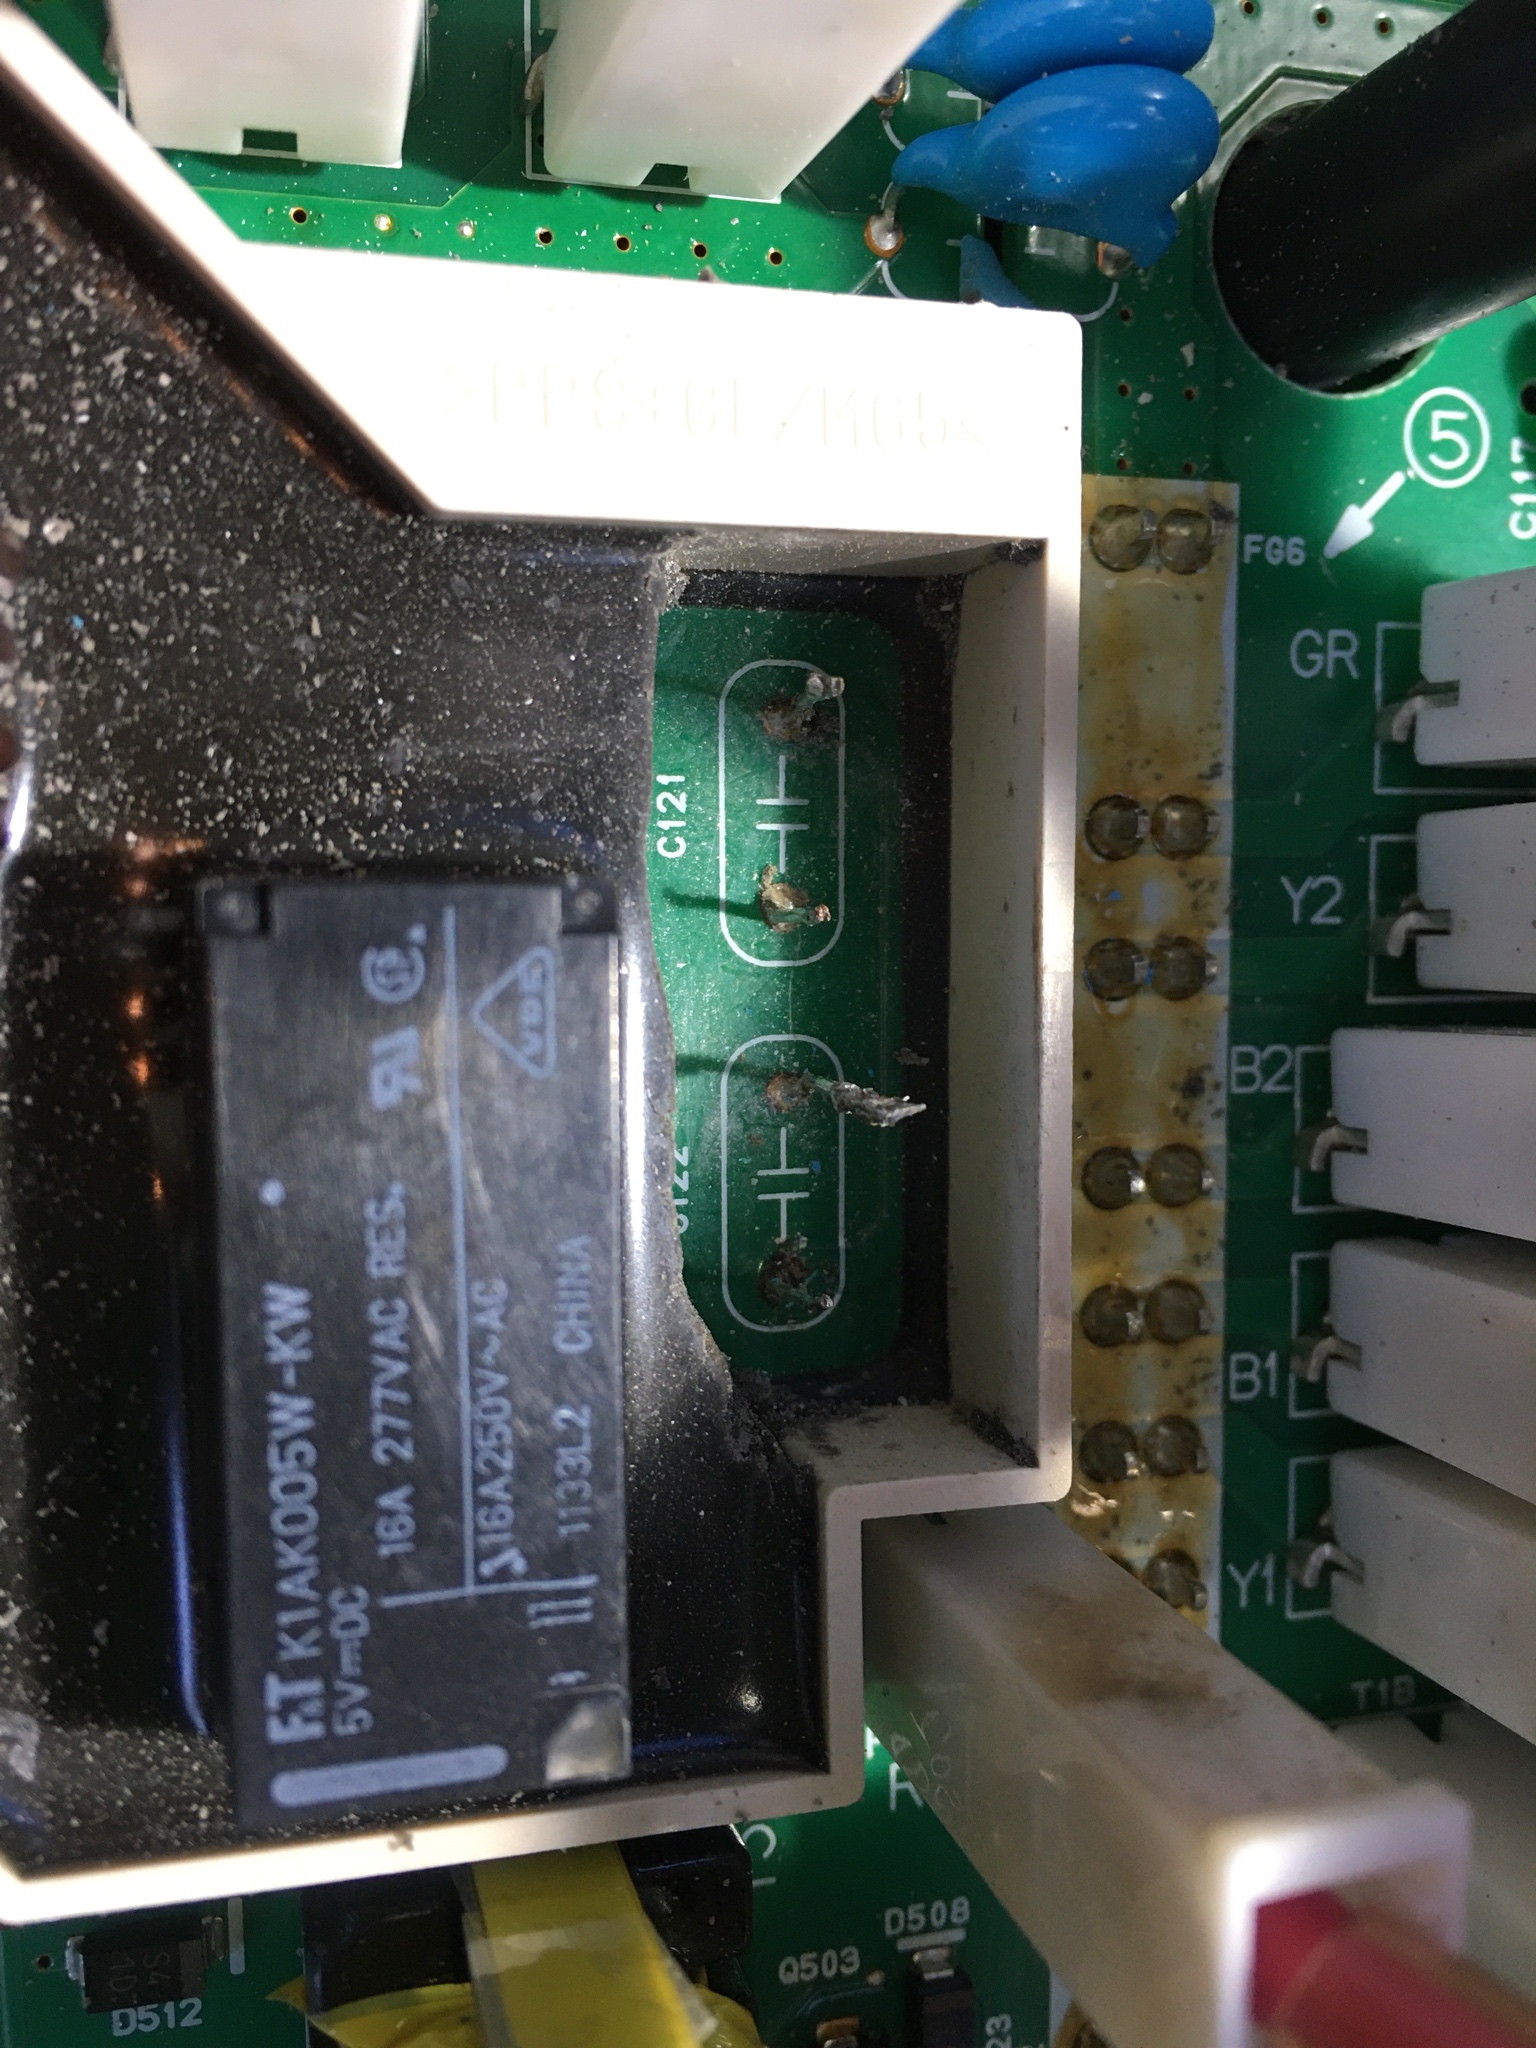
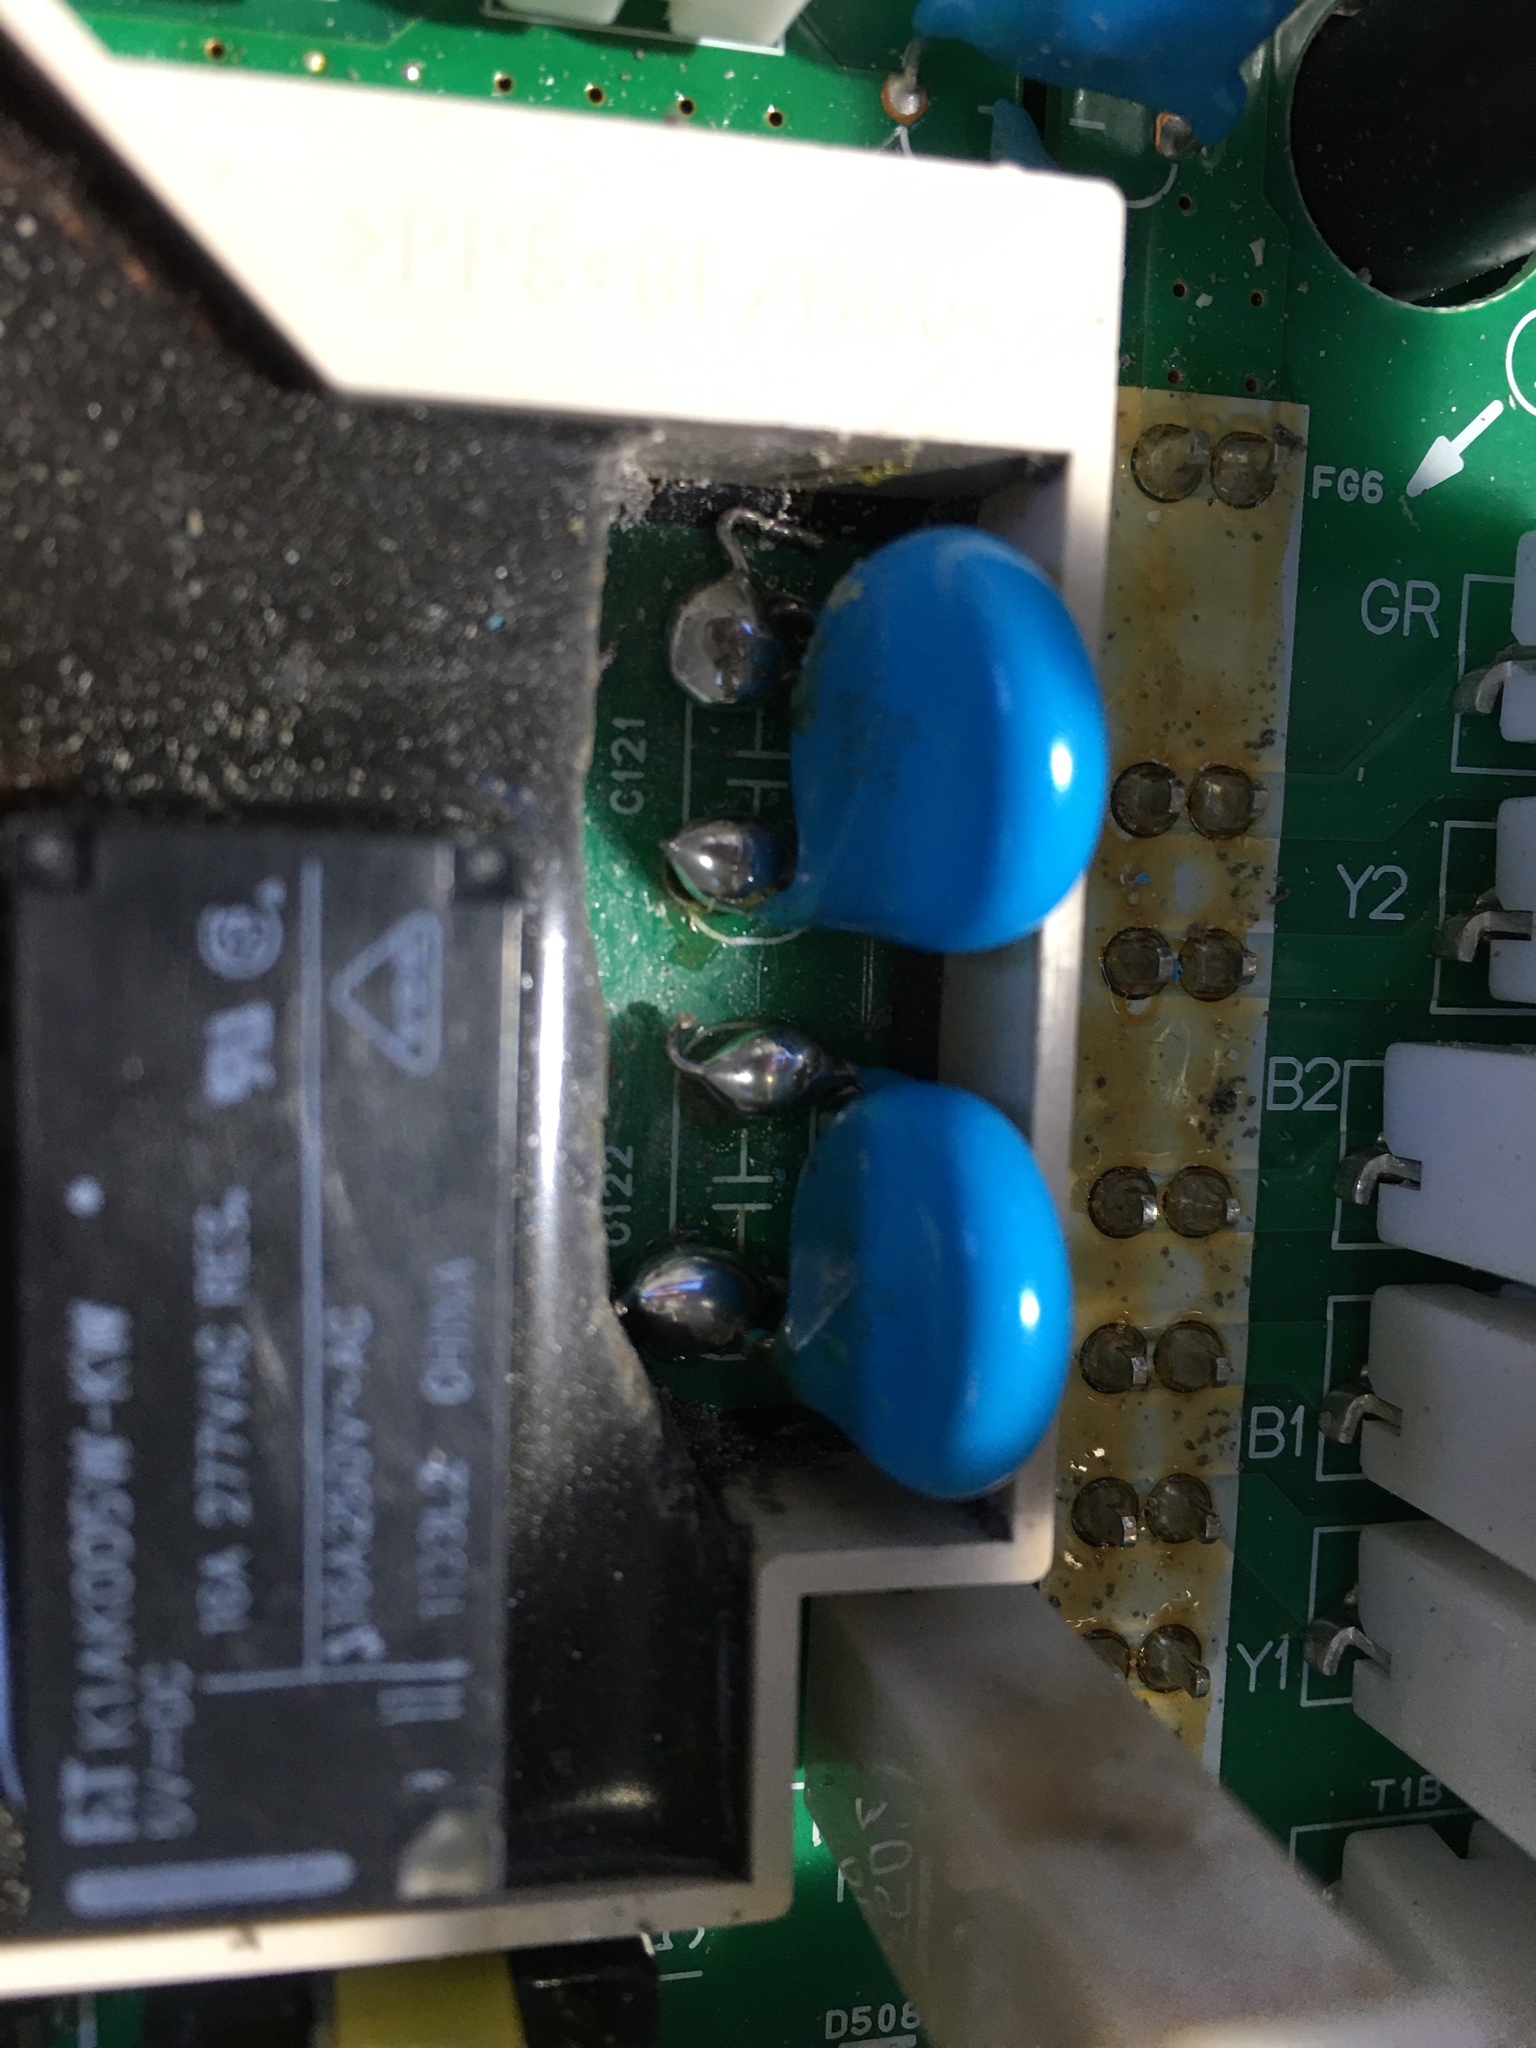
Photos later, but the only damage I can see is one of the 2 blue snubber caps is split, and there’s a very small amount of discolouring on the potting compound immediately next to the 2 capacitors. No scorch marks on the inside of the cover, or anywhere else on the boards. All the other components in the “doghouse” where the 2 blue caps are look pristine.
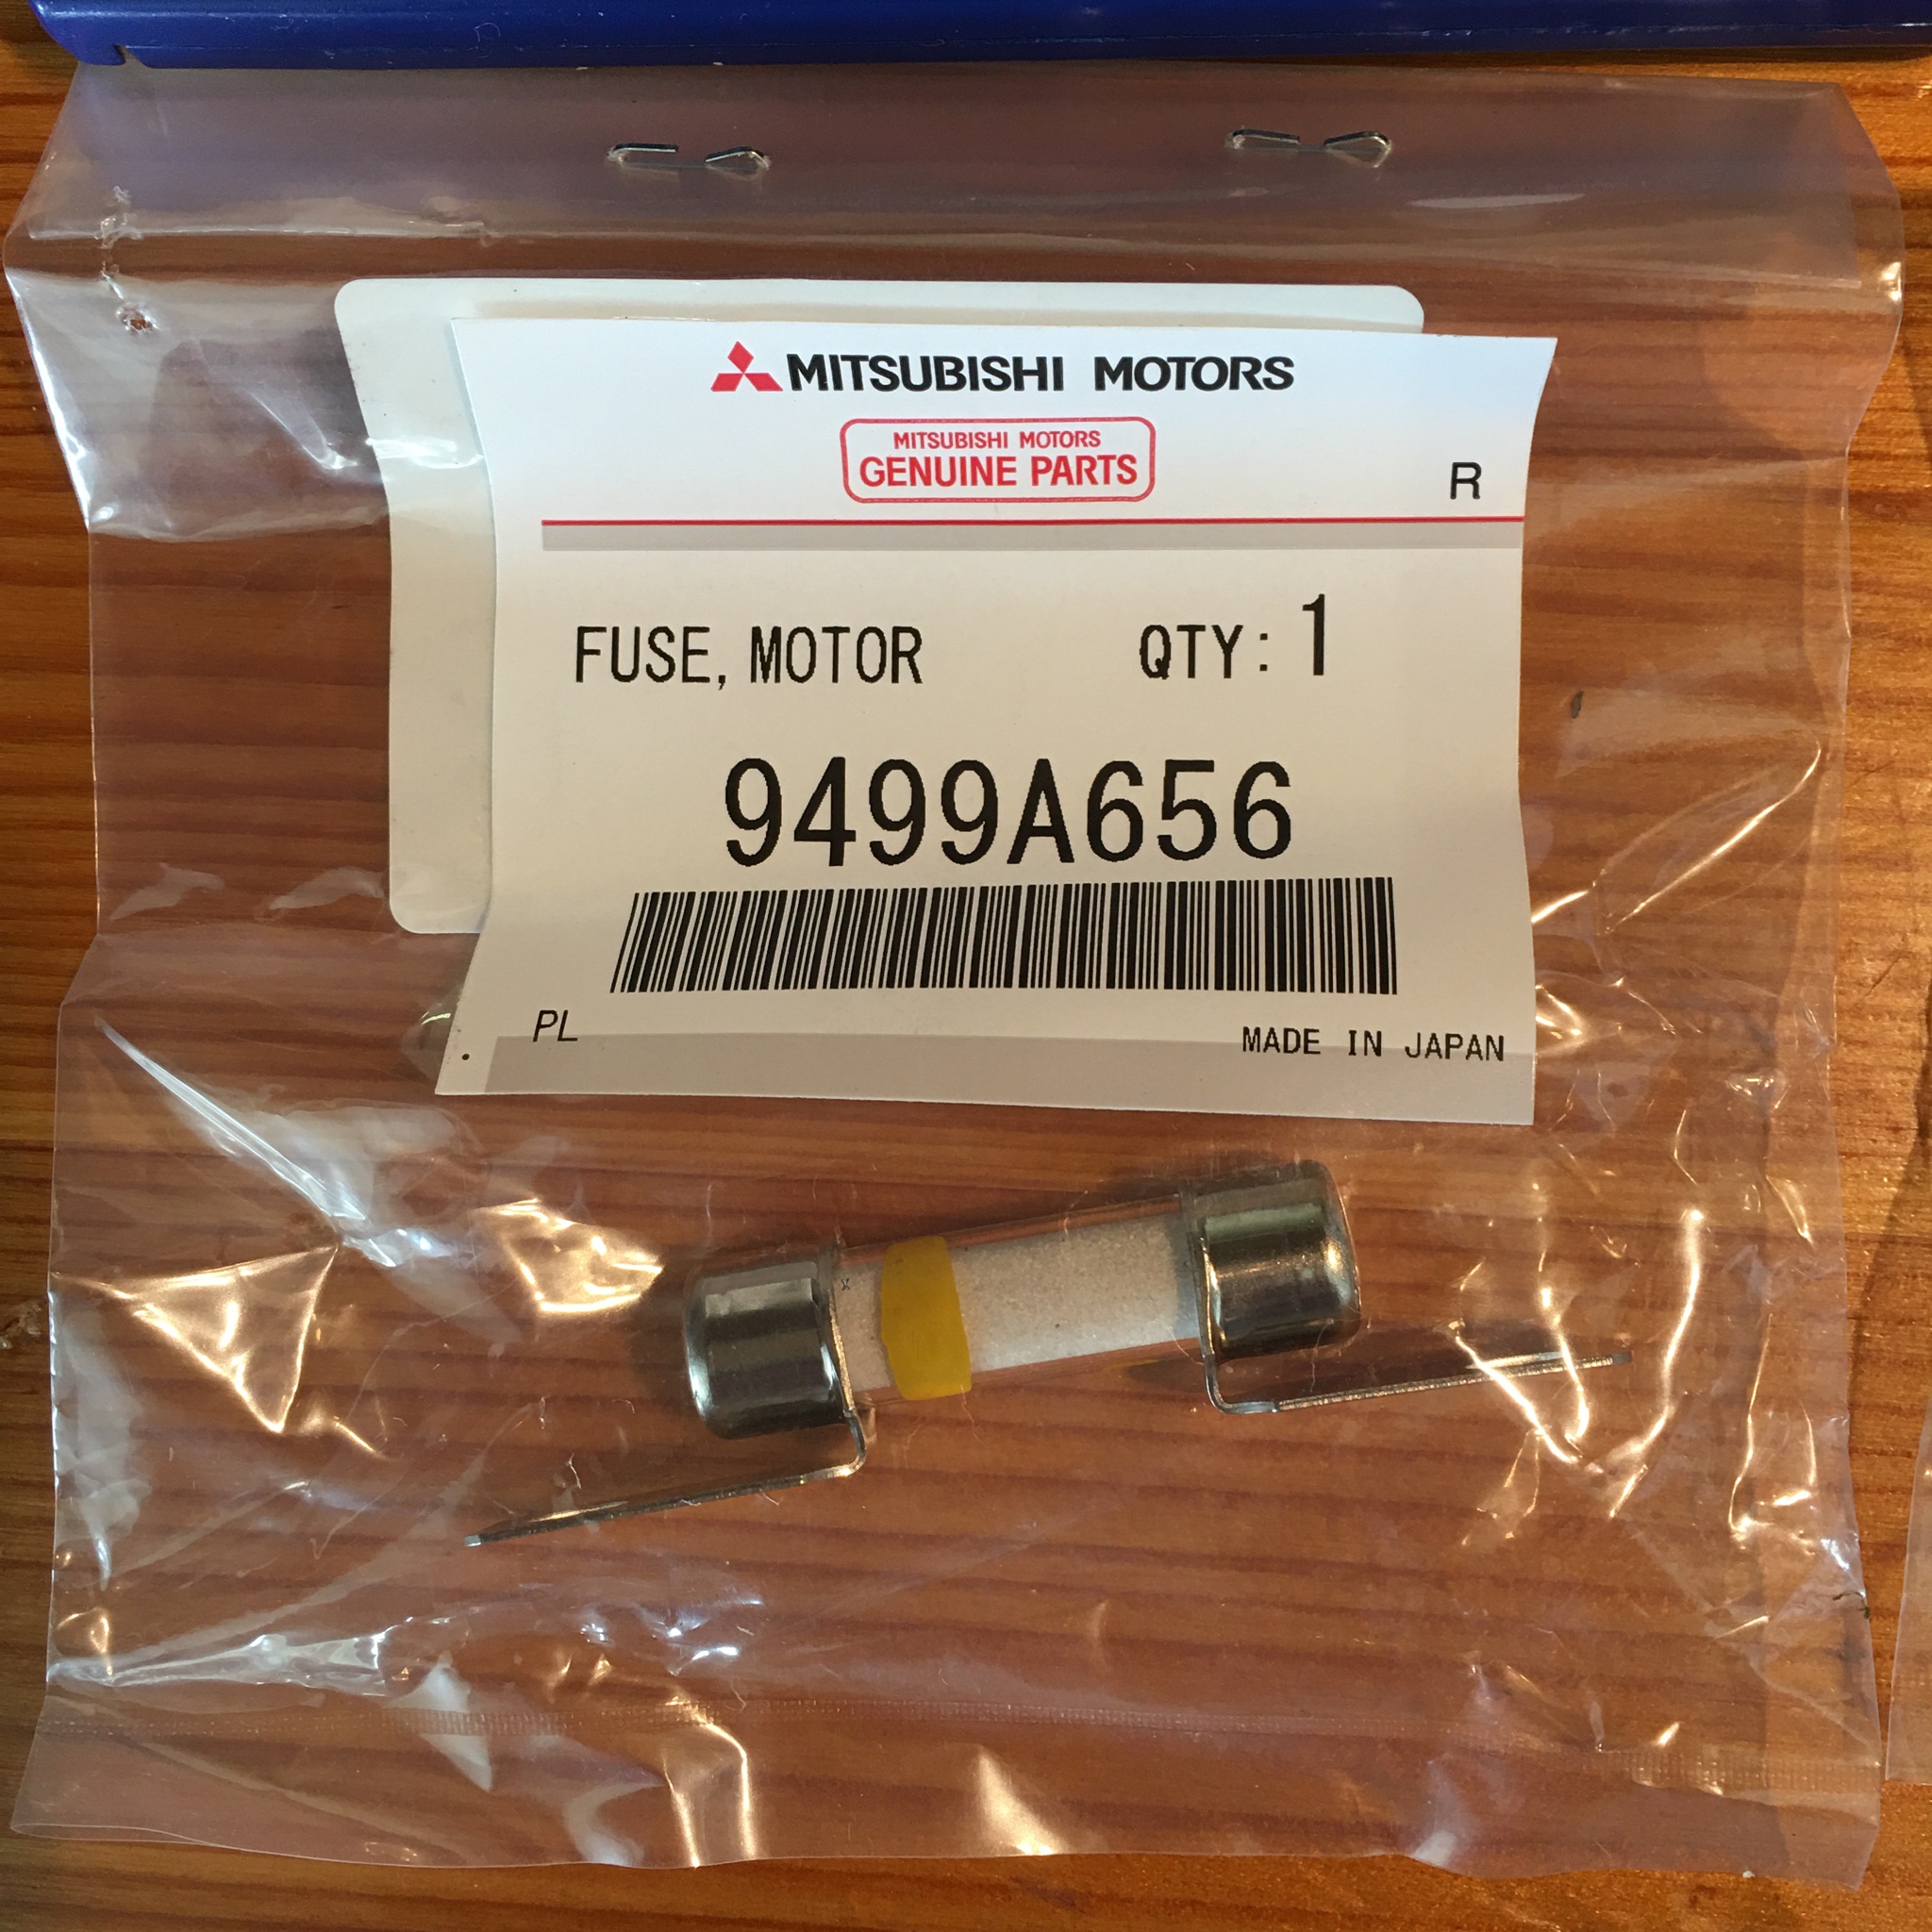
Regarding the fuse in the MCU, that tests as open circuit, so I guess that has blown.
Is it possible/probable that the only damage is to the 2 snubber caps and the fuse?
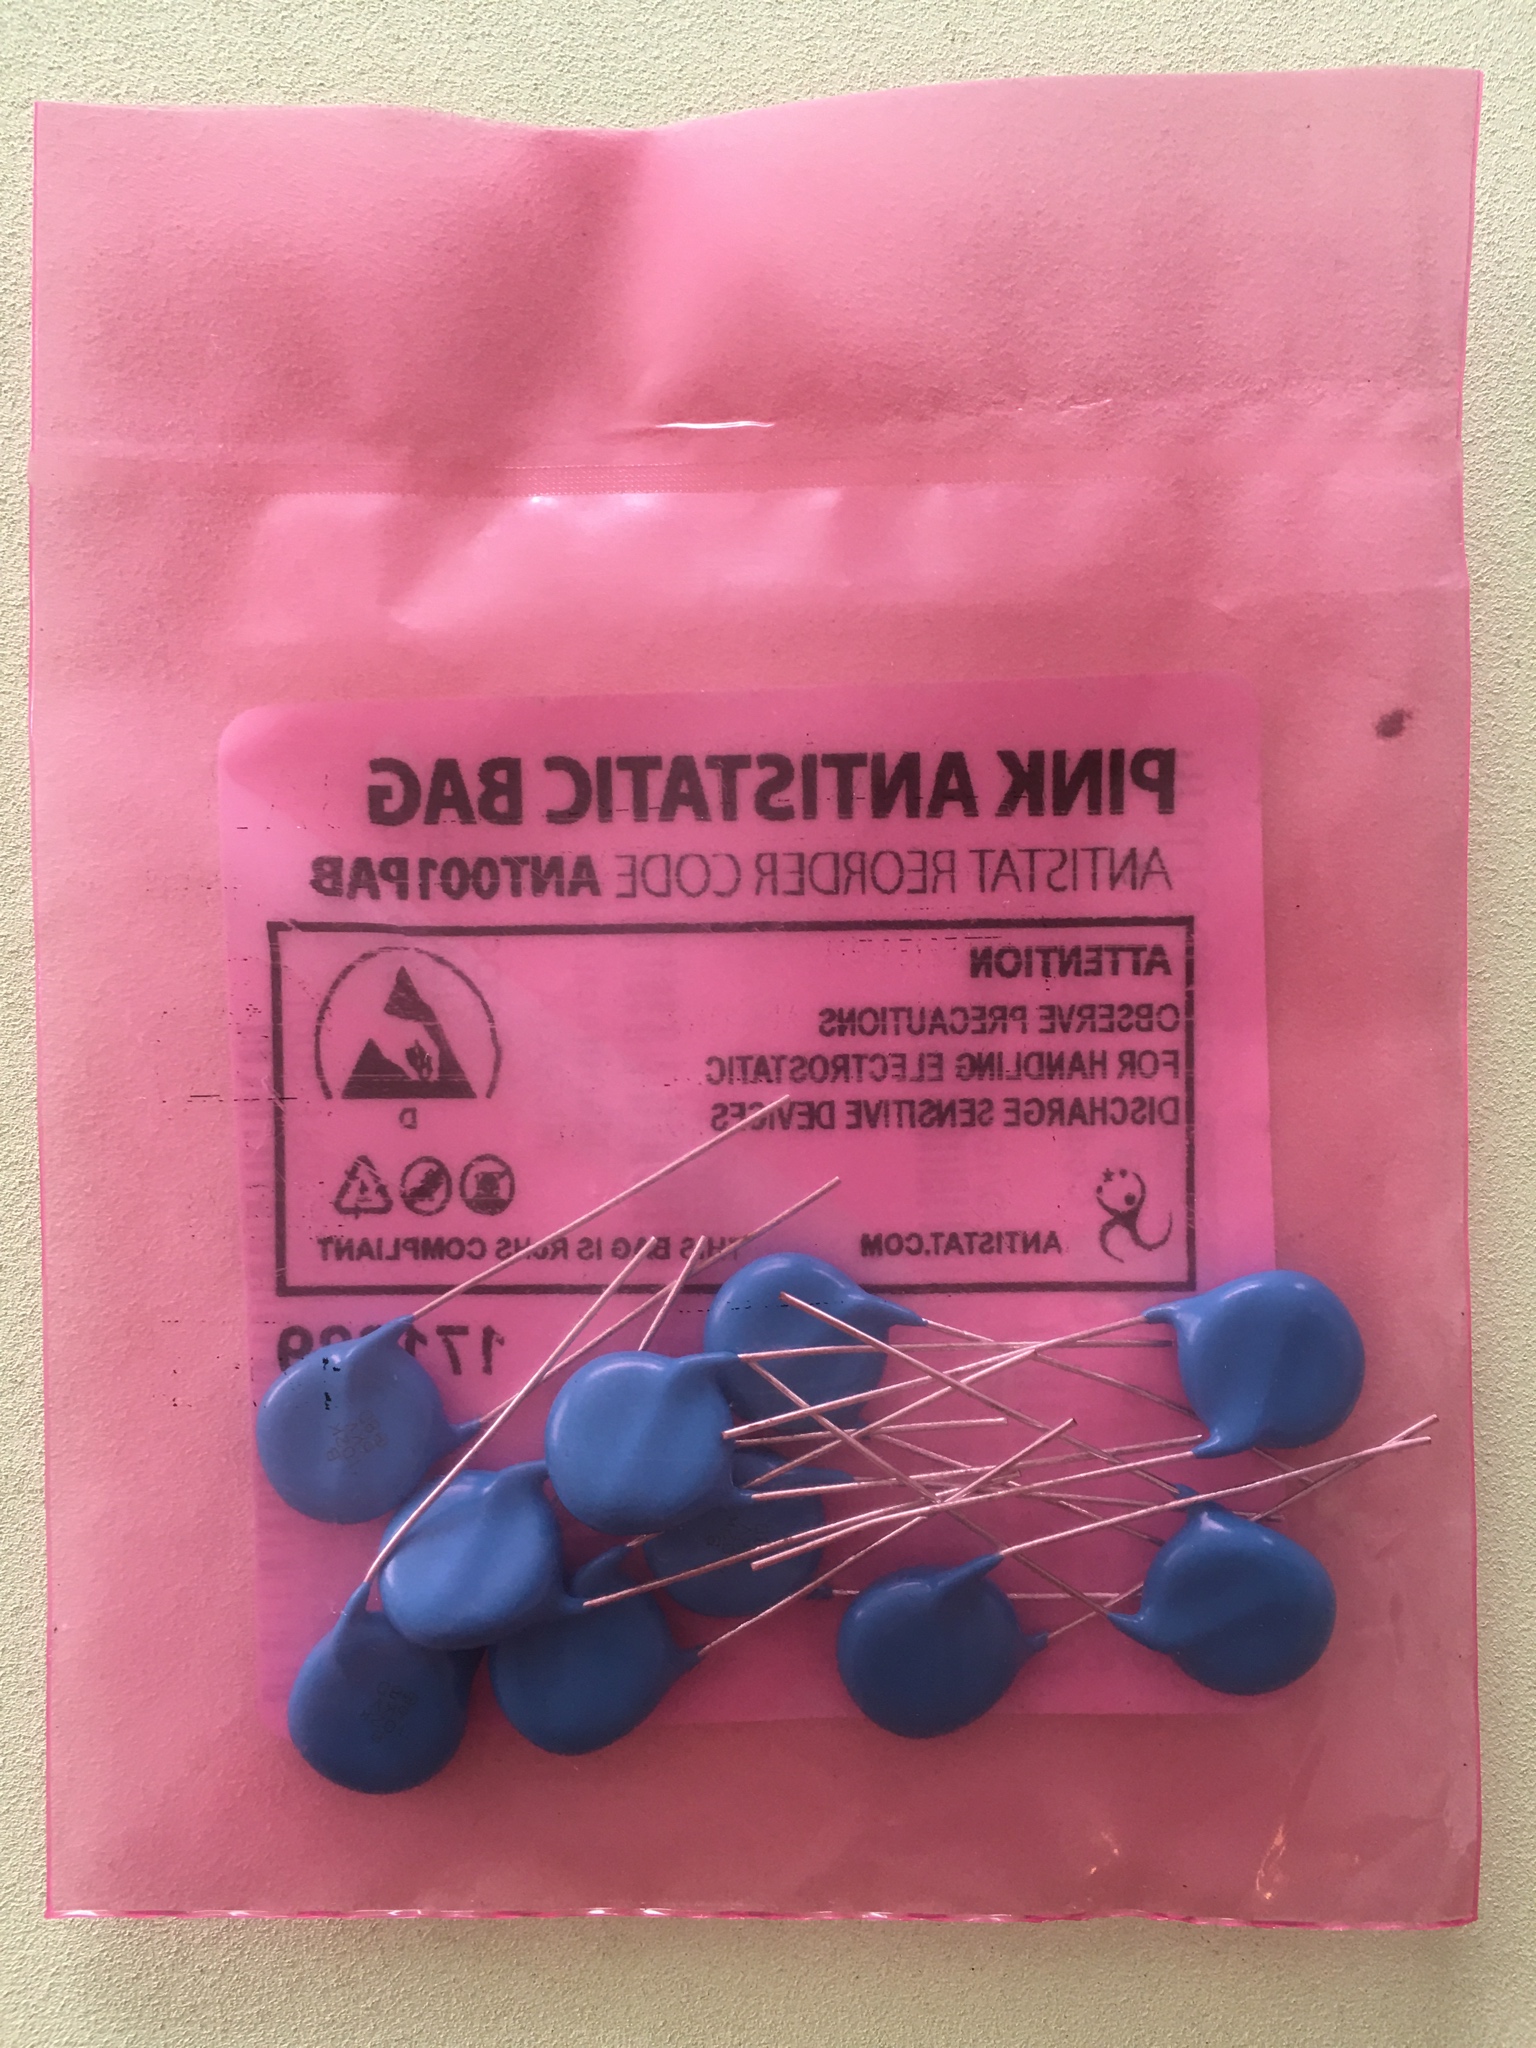
If so, does anyone know of a UK or European source for replacement caps and a replacement fuse?
 
R4NFbJC.jpg


FmrpZDE.jpg


FuA1y1s.jpg


pLYGjOu.jpg


YPlUtUQ.jpg
 
Good work on getting it opened up,

That looks promising for repair since only one snubber has split and no other signs of damage in the doghouse.

It may be that these snubber capacitors are the components that triggered the recent warranty extension by Mitsubishi.

Take a look at Mouser, digikey, etc for higher voltage rating replacement capacitors.
 
While I track down replacement caps, and try an source the relevant fuse, does anyone have any tips on replacing the existing capacitors (or rather their remains) without removing the circuit board from the casing?

I was thinking I could carefully remove the remnants of the caps while leaving their wire "legs" behind, and then solder the new caps legs to those - does that sound feasible?

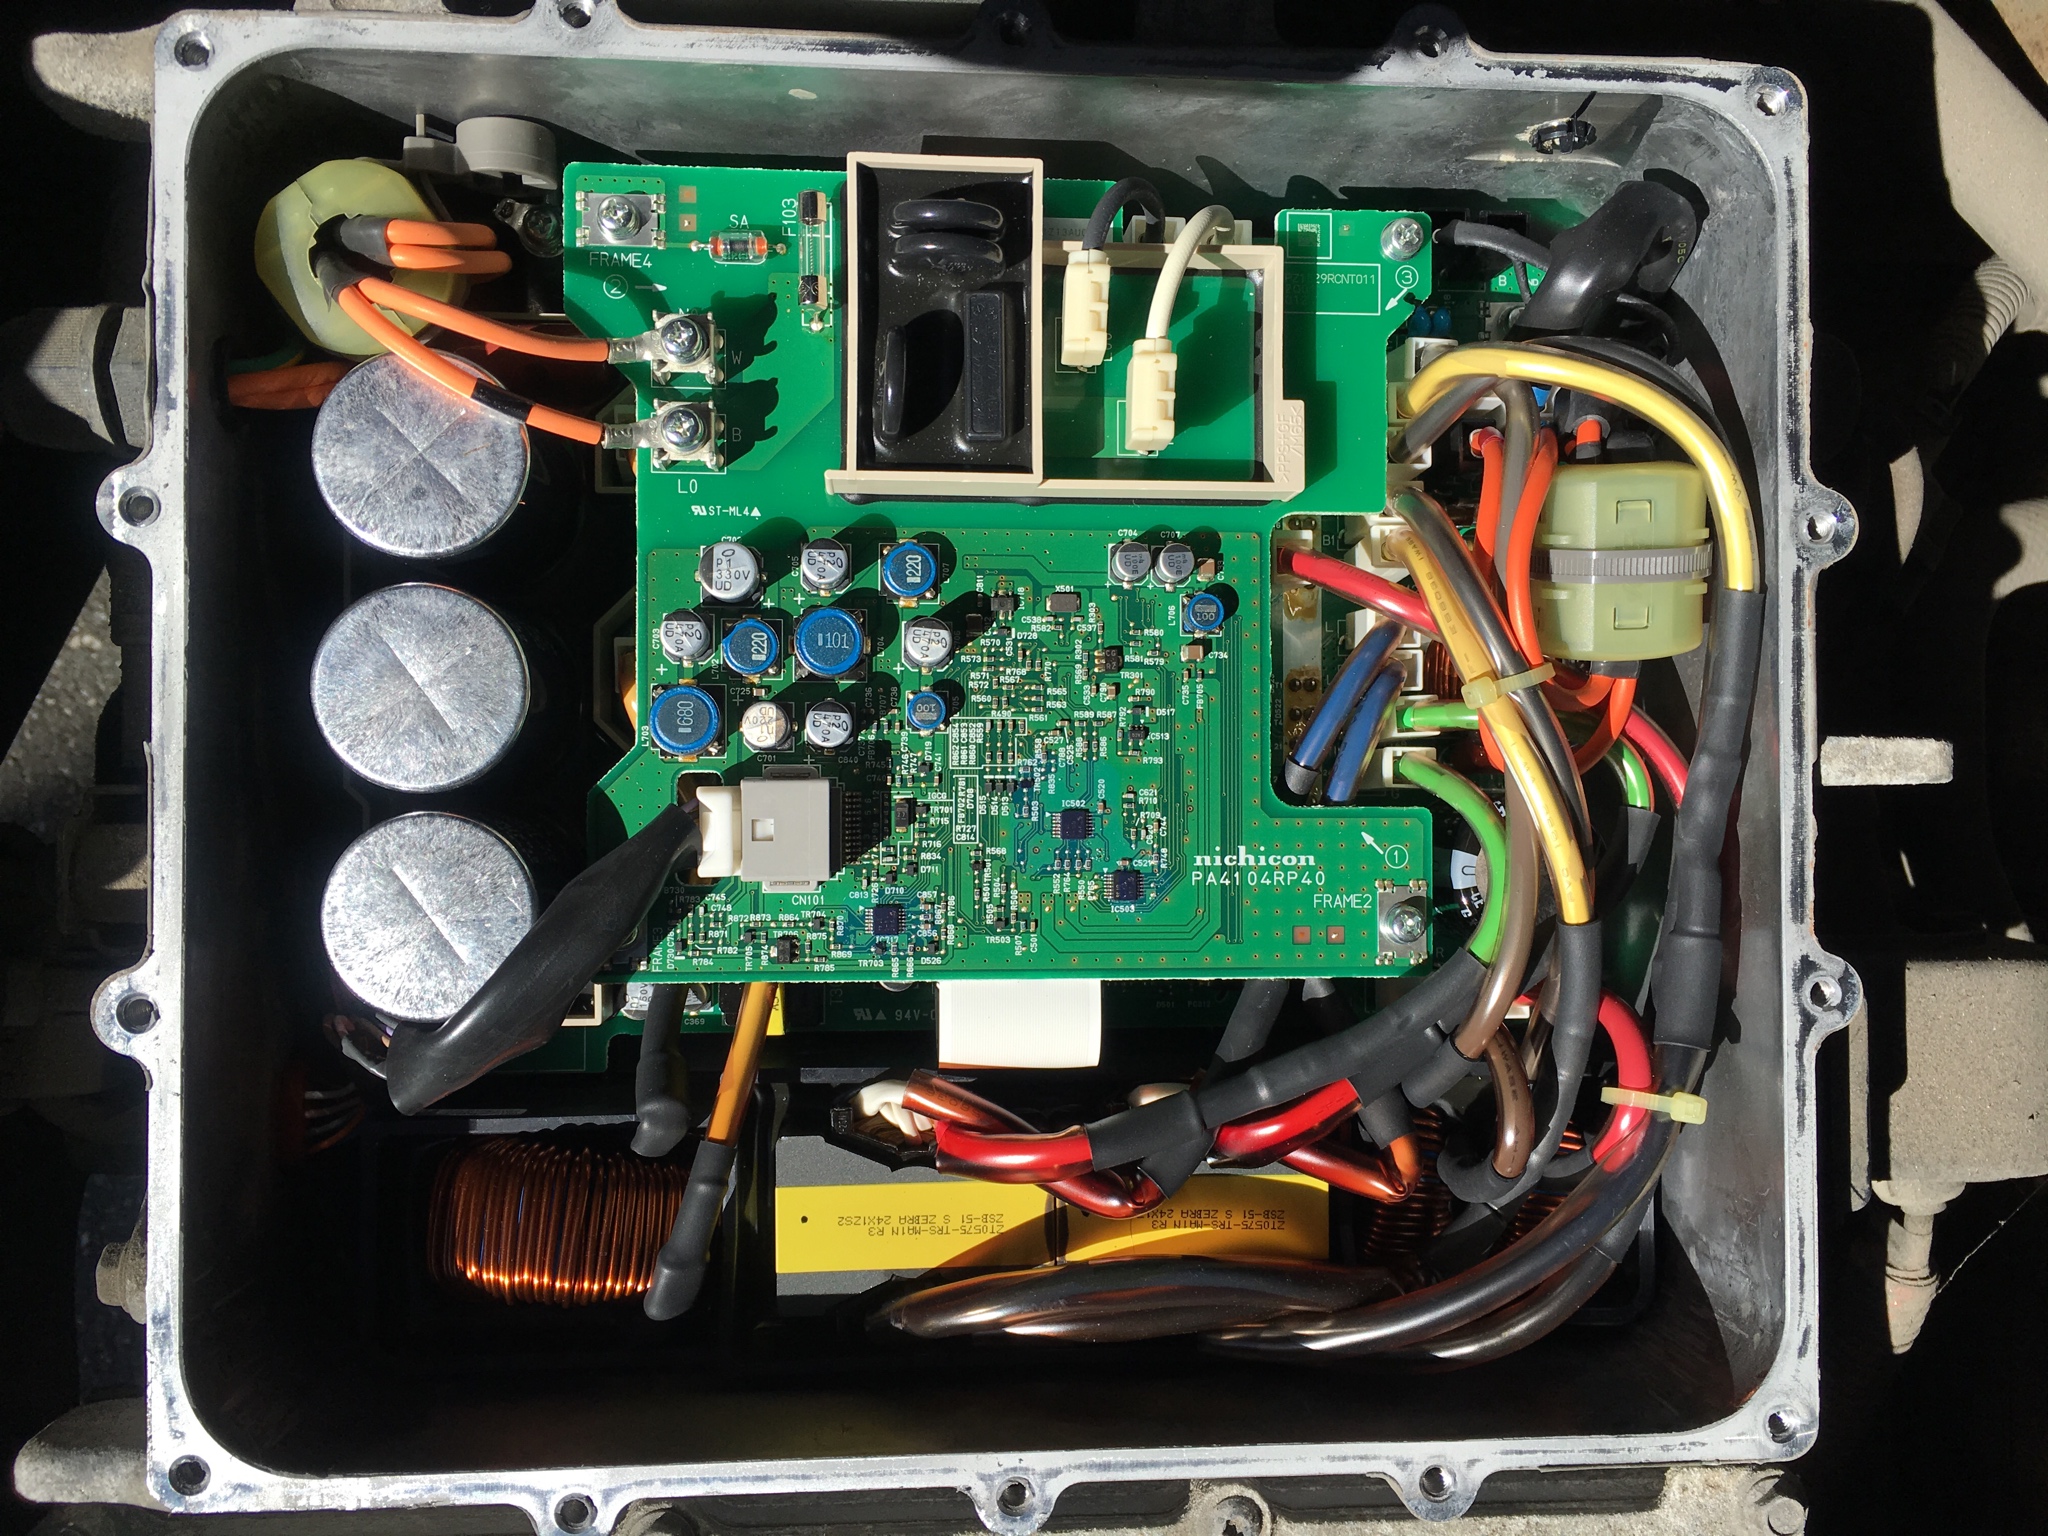
Here's where I'm up to in the doghouse:

aubWizR.png
 
Take a look at page 39-40 of the troubleshooting the OBC thread. i have some extra 6kV caps if you need some.
You seem to know your way around circuit boards, so i'll let you know that i used a small gage wire with crimp lugs to replace the fuse for testing purposes only. i have a blown diode within the waffle plate that is not accessible, so the caps and fuse didn't fix it. You could ring out your plate to be sure it is okay before doing the caps if desired.

http://myimiev.com/forum/viewtopic.php?f=23&t=4079&start=380#p39234

i took my car to the dealer yesterday to request a new chargger under the extended warranty letter. They said OK, no charge, we'll get it ordered.

i think the waffle plate in the nissan laef is the same as found in our OBC, so i need to get one to examine in detail.

good luck and keep us posted
 
misterbleepy said:
While I track down replacement caps, and try an source the relevant fuse, does anyone have any tips on replacing the existing capacitors (or rather their remains) without removing the circuit board from the casing?

I was thinking I could carefully remove the remnants of the caps while leaving their wire "legs" behind, and then solder the new caps legs to those - does that sound feasible?
If you cut the legs and solder the new caps to the old legs in mid air on the top there is a significant risk of creating a dry joint since you would most likely end up reheating and reflowing the solder on the old leg (on the underside of the board if there are no plated through holes) and any movement of the unsupported leg would cause a dry joint to form that you then can't get at...

I can't really tell from the photo but the board is double sided I presume ? Looks like there is only ground plane around the caps on the top side and traces to the caps only on the bottom side ?

Does anyone know if the board has plated through holes for the capacitors ? If it does, what you might get away with doing is to remove the old capacitors (heating the leg just above the pcb should melt the solder underneath and let you pull it out cleanly, then clear the hole with a solder sucker and a dental probe or similar) and use a very fine tip iron to carefully solder the legs of the new capacitor directly to the top side ring of the plated through hole with the leg inserted slightly into the hole. As long as the through holes are of good quality this should work and if you apply the right amount of solder (not too much) some will flow down the hole as well.

If you try this I would do a continuity check from the cap leads to whatever nearby components it's supposed to go to just to verify that you do have a connection as running the charger with them not properly connected could potentially cause damage so you'd want to be sure they were definitely connected. Hopefully someone can advise what other components each capacity leg goes to so a continuity test can be done to each leg.
 
The holes are plated thru in the circuit board. There are components on the bottom surface and above the waffle plate that are inaccessible without removing the plate, hopefully nothing fails there or within the plate.

The snubber caps are connected in parallel across the output of the diode rectifier bridge, POA and NOA, seen in the schematic shown here:

http://myimiev.com/forum/viewtopic.php?f=23&t=4079&start=60#p36839

i used the diode function of the DMM to check all the diodes on the plate and found a short in the bottom left H-bridge.
 
kiev said:
The holes are plated thru in the circuit board. There are components on the bottom surface and above the waffle plate that are inaccessible without removing the plate, hopefully nothing fails there or within the plate.
Sounds like my idea would work then. It should be possible to unsolder and extract the caps via the top then, carefully clean the hole out, and solder the caps via the top with the leg of the new caps partially inserted into the hole. You'd want them raised up off the board a little higher than usual to give a little bit of naked leg to get a fine soldering tip onto and also for doing the continuity check afterwards.
The snubber caps are connected in parallel across the output of the diode rectifier bridge, POA and NOA, seen in the schematic shown here:
If they're in parallel that makes it easy to check the top-of-the-board soldering technique succeeded as you can just check continuity between the legs of the two capacitors...
http://myimiev.com/forum/viewtopic.php?f=23&t=4079&start=60#p36839

i used the diode function of the DMM to check all the diodes on the plate and found a short in the bottom left H-bridge.
Let's hope mrbleepy is lucky and it's only the caps and fuse...!
 
kiev said:
i took my car to the dealer yesterday to request a new chargger under the extended warranty letter. They said OK, no charge, we'll get it ordered.
I think a collective thanks is in order for Kiev's presumed part in making this happen! :ugeek:
 
Back
Top