Corrosion

Mitsubishi i-MiEV Forum

Help Support Mitsubishi i-MiEV Forum:

This site may earn a commission from merchant affiliate links, including eBay, Amazon, and others.
Some pictures would be really good on this thread to show where everything is and the spots to Be-careful on.
I am a picture type of person, even though I can follow text, a picture helps many .
 
I've got a lot of clean photos regarding this rust issue that I can share. Happy to go back and re-edit my long post on this thread and insert the images in the appropriate places. But I haven't been able to actually insert images here on the My i-MiEV Forum. I have a Photobucket account and keep online images there to link. But, whenever I try to insert the specific URL within the "Img", all I end up getting is a plain linked URL. Well, at least that can be clicked to see the picture, so it's better than nothing. But it would be fun to do it right. Any ideas on how that can be done?
 
Thanks for the tip. I like the Imgur interface. Just uploaded a whole bunch of images. Let's see if this works. Testing, testing . . .

XNSgKro.jpg


EDIT: It worked! :p

EDIT AGAIN: I've gone back to my long post on this thread and added in several images.
Thank you again for this iMgur tip, wmcbrine!
 
Well, NO ONE will steal that plug with it so close the the Saguaro cactus !!


Thanks for the Pics, that will make things easier !!
 
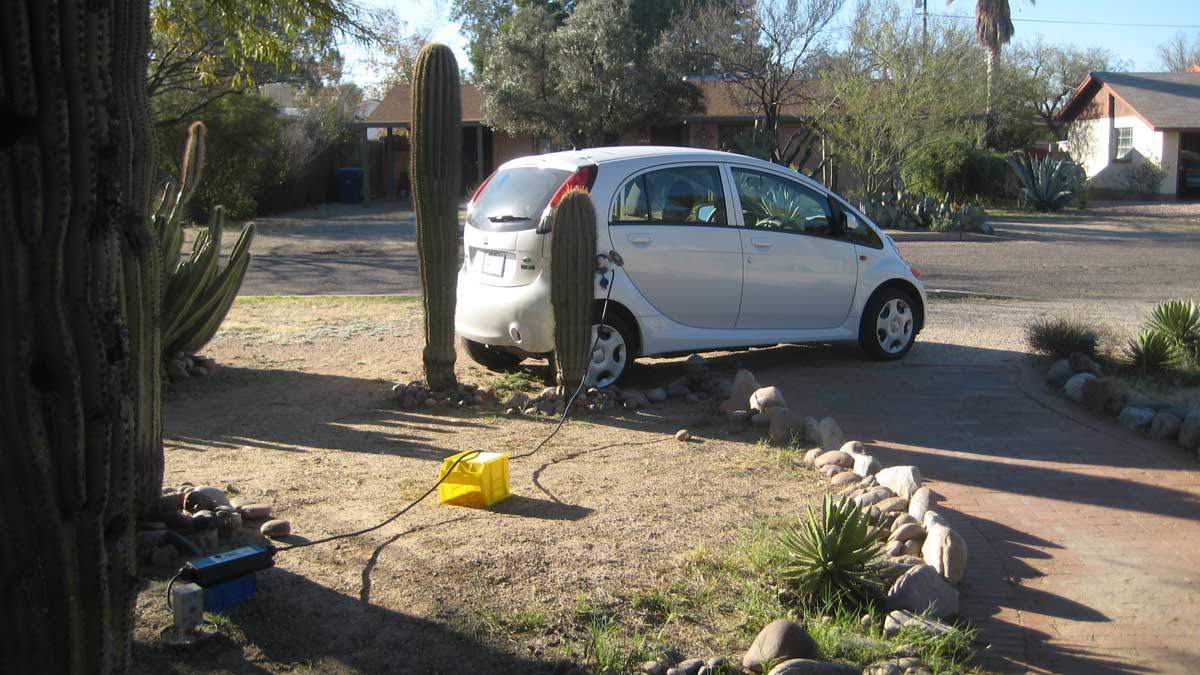
Yes, Thanks. My current front-of-the-house charging area does contain a built-in natural anti-theft device of sorts. This is a rental property and the electrical wiring, in general, is not the greatest and it's actually the only properly wired exterior GFCI outlet I have for charging right now.

There's a better location on the property to park and potentially charge. But I need to work on electricity issues back there. Fortunately, it's a short and direct run from the breaker panel (less than 40 feet) and basically involves redirecting existing conduit a few feet at the outlet end to make a really nice and convenient setup. I've already disconnected the old 14 gauge wiring from the panel (there was no ground wire routed, despite the fact that it's terminated on a GFCI) and pulled it out. Most of the old conduit can be reused . . . nice clean bends in the tubing. But I had to pull it down, since the mounting/clamping against the house also was substandard work.

The panel already has a dedicated 20A breaker for this circuit with nothing else on it. New 12 gauge wiring (this time with a ground wire present) will be inside the remounted/redirected conduit and a fresh weather-sealed GCFI outlet will top it off. I'm not a trained electrician, so I'll be calling on a professional to make the final connection at the panel end and double check the rest of my work. But the physical rerouting of conduit, properly attaching it to the house and the nuts & bolts aspects of hooking up a weather-tight gang box are well within my skill sets.

We had a spate of cold rainy weather here this past month and I temporarily put the project on hold. But now that the sunny days have returned, I'm going to get back to finishing the job very soon. I should have everything done by early March. Plugging in the i-MiEV will be easy after this is all done and - most importantly - I'll have a shady area for the car (very important during the upcoming super hot summer months.) Look for a dedicated illustrated post regarding this project soon.
 
Be careful that the Javelina's don't eat that cord.
Depending on where you are, my Dad is out there and they are everywhere !
Yes please update us on that project.
 
Javalinas are extremely rare in my midtown Tucson neighborhood, but we do see coyotes roaming around from time to time in the morning hour of the winter months. The one local creature we have to watch out for in regards to negatively interacting with cars down here are pack rats, who make a real mess of the wiring. But here again, more common on the edges of the city than within.

Yes, I'll do a complete report on my wiring job outside the house on a new thread. Back on this thread, I'll have an update on the steam cleaning, desalting and derusting fairly soon.
 
Hi all . . .

The ongoing cleaning/derusting project continues (see page 2 of this thread for the initial installment.) After letting the B99 biodiesel do its derusting trick for a few weeks, I took the Vanilla Jellybean to a car wash and hosed down the motor compartment. Not only did I get rid of the oily B99 residue, much of the loose dirt and grim that wasn't addressed by the targeted cleaning got washed away as well. I then reapplied some more B99 on top of those rusty bolt heads and let it sit for another week.

Then, just the other day, I picked up a few stainless steel wire brushes from the hardware store and hit the bolt heads with those. Residue then got cleaned up with alcohol. Here's a couple of "before & after" photos . . .

5UOpLxM.jpg

XDNeAiu.jpg


KamjbCh.jpg

iT9lPg6.jpg
 
Back
Top