help locating a used on board charger

Mitsubishi i-MiEV Forum

Help Support Mitsubishi i-MiEV Forum:

This site may earn a commission from merchant affiliate links, including eBay, Amazon, and others.

1pk

Well-known member
Joined
Jul 10, 2014
Messages
93
Location
Chemainus, BC
So I thought I found one in Salem Oregon, but they sold it yesterday! Was that someone on the forum? It went for $550.

I thought I had another one in Tacoma, but they crushed the car after only removing the stereo and the motor!! unbelievable.

So far that's it. Alot of wreckers have the parts mis-catalogued so its not a straightforward search.

If anyone has a lead on a used unit please send it along, The gasser i'm currently driving is giving me trouble so I need my i-Miev back on the road ASAP.

part #s are

9499c662
9499d991
9481a095 (this is the current unit, it looks quite different and requires re-plumbing of the cooling hoses)

as an aside I wonder if the latest iteration of the inverter is more robust?
 
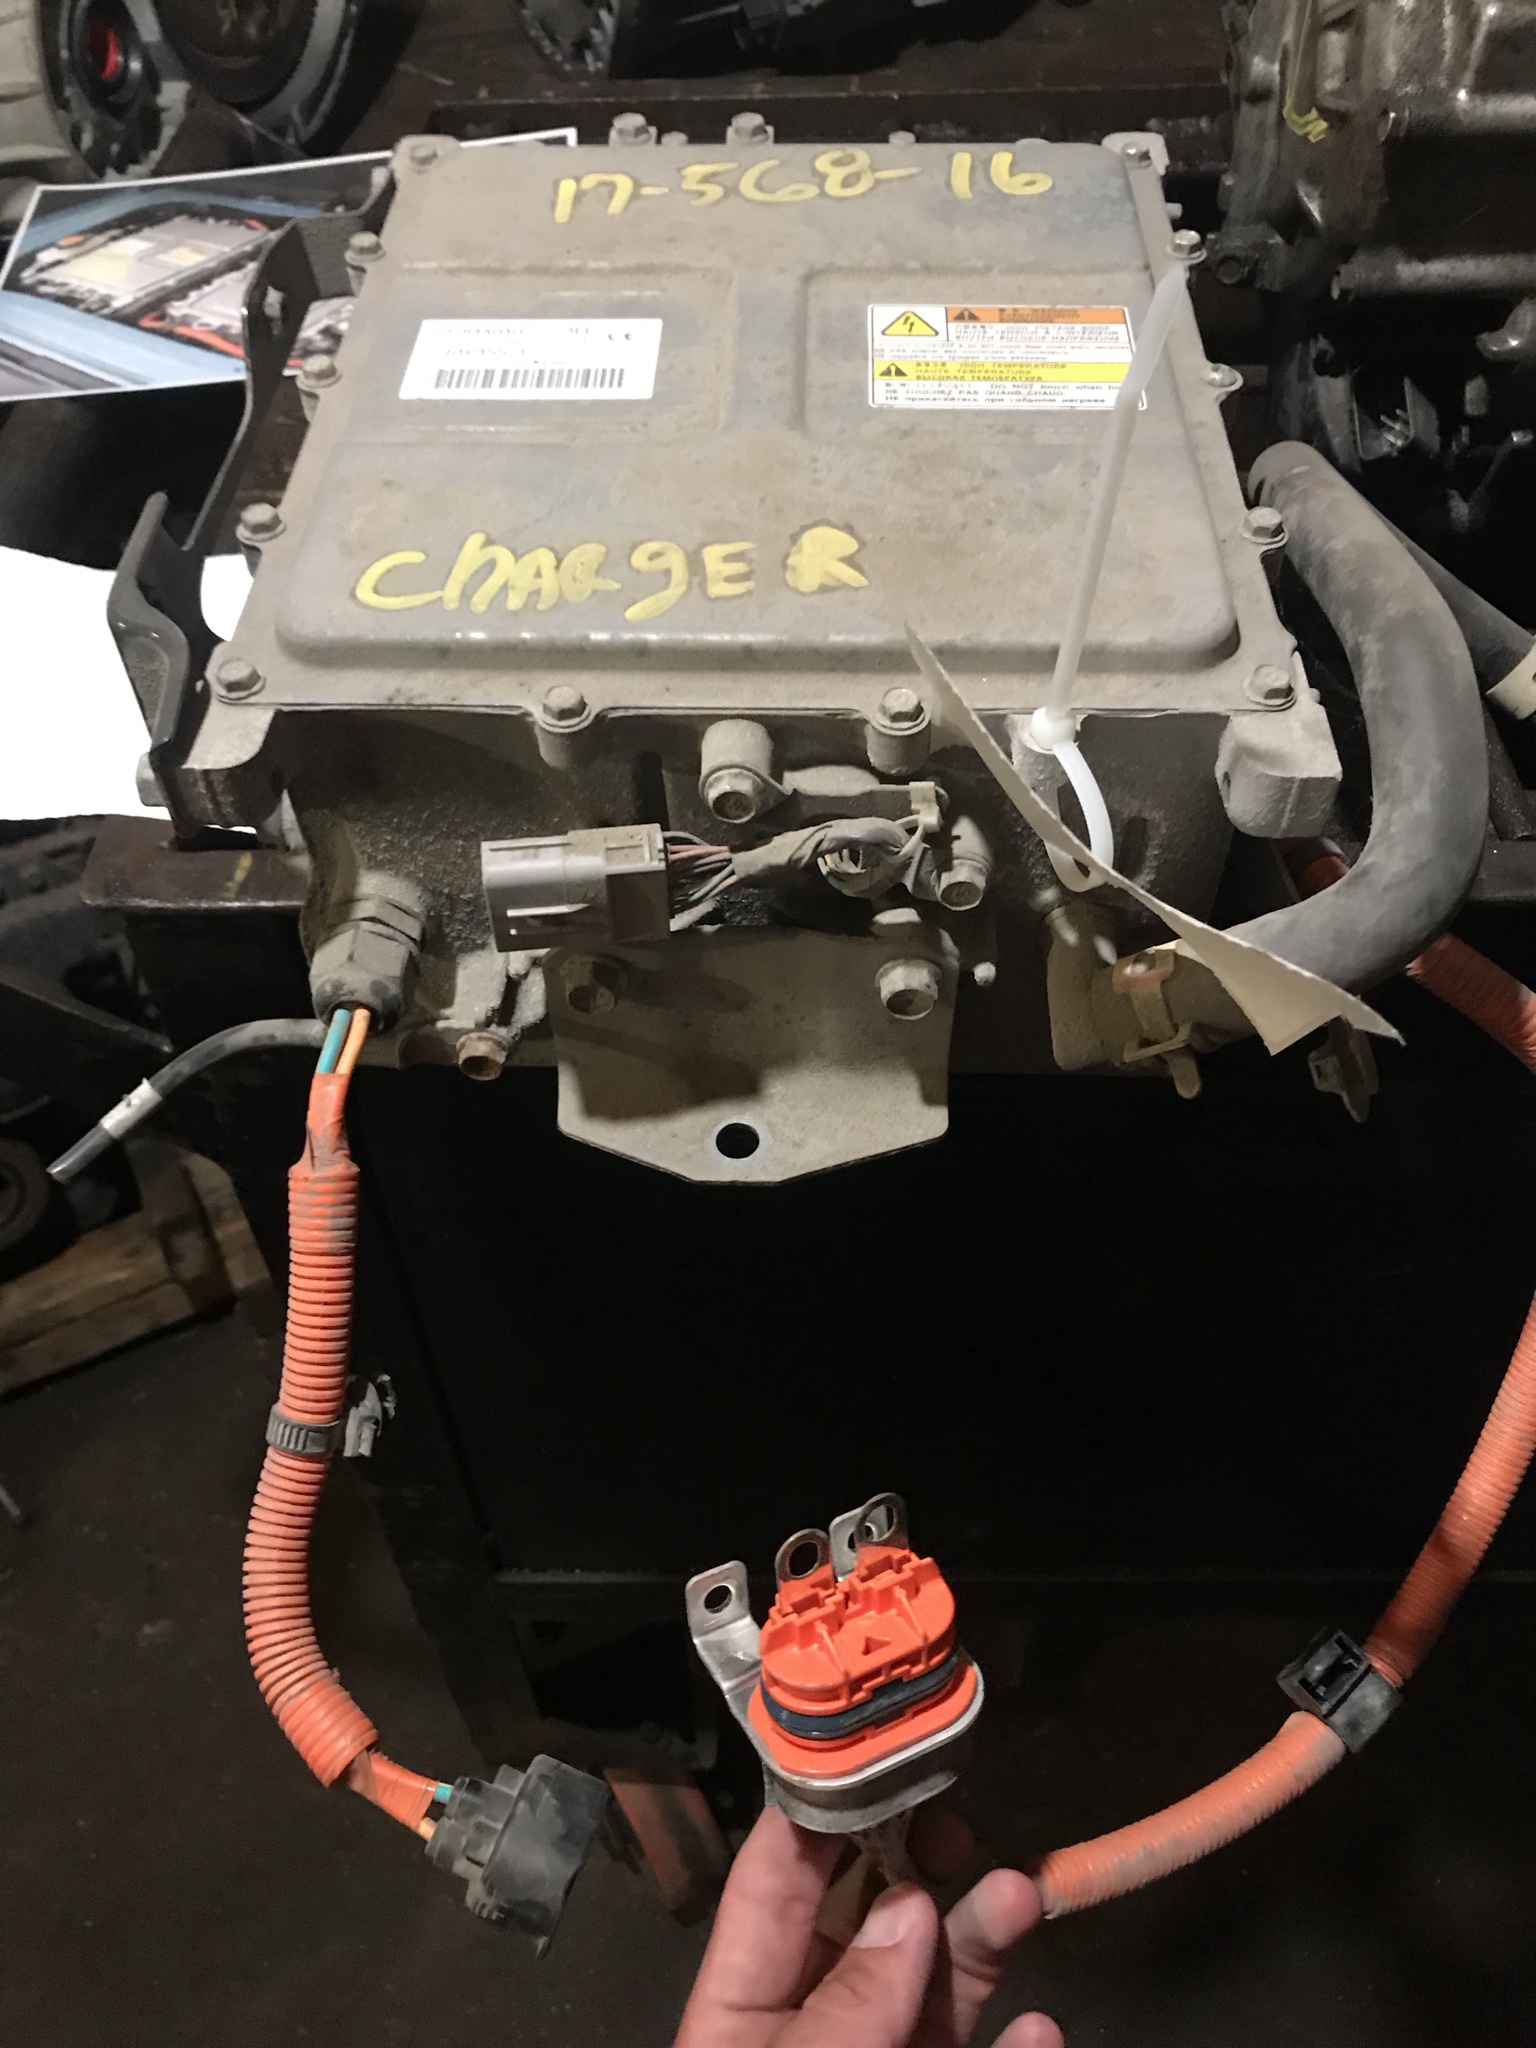
So I’ve found a charger from a 2016. I’m happy because it’s very new and hopefully designed for more longevity but I’m hoping someone with a newer model can help

https://imgur.com/a/1IaWZ3j

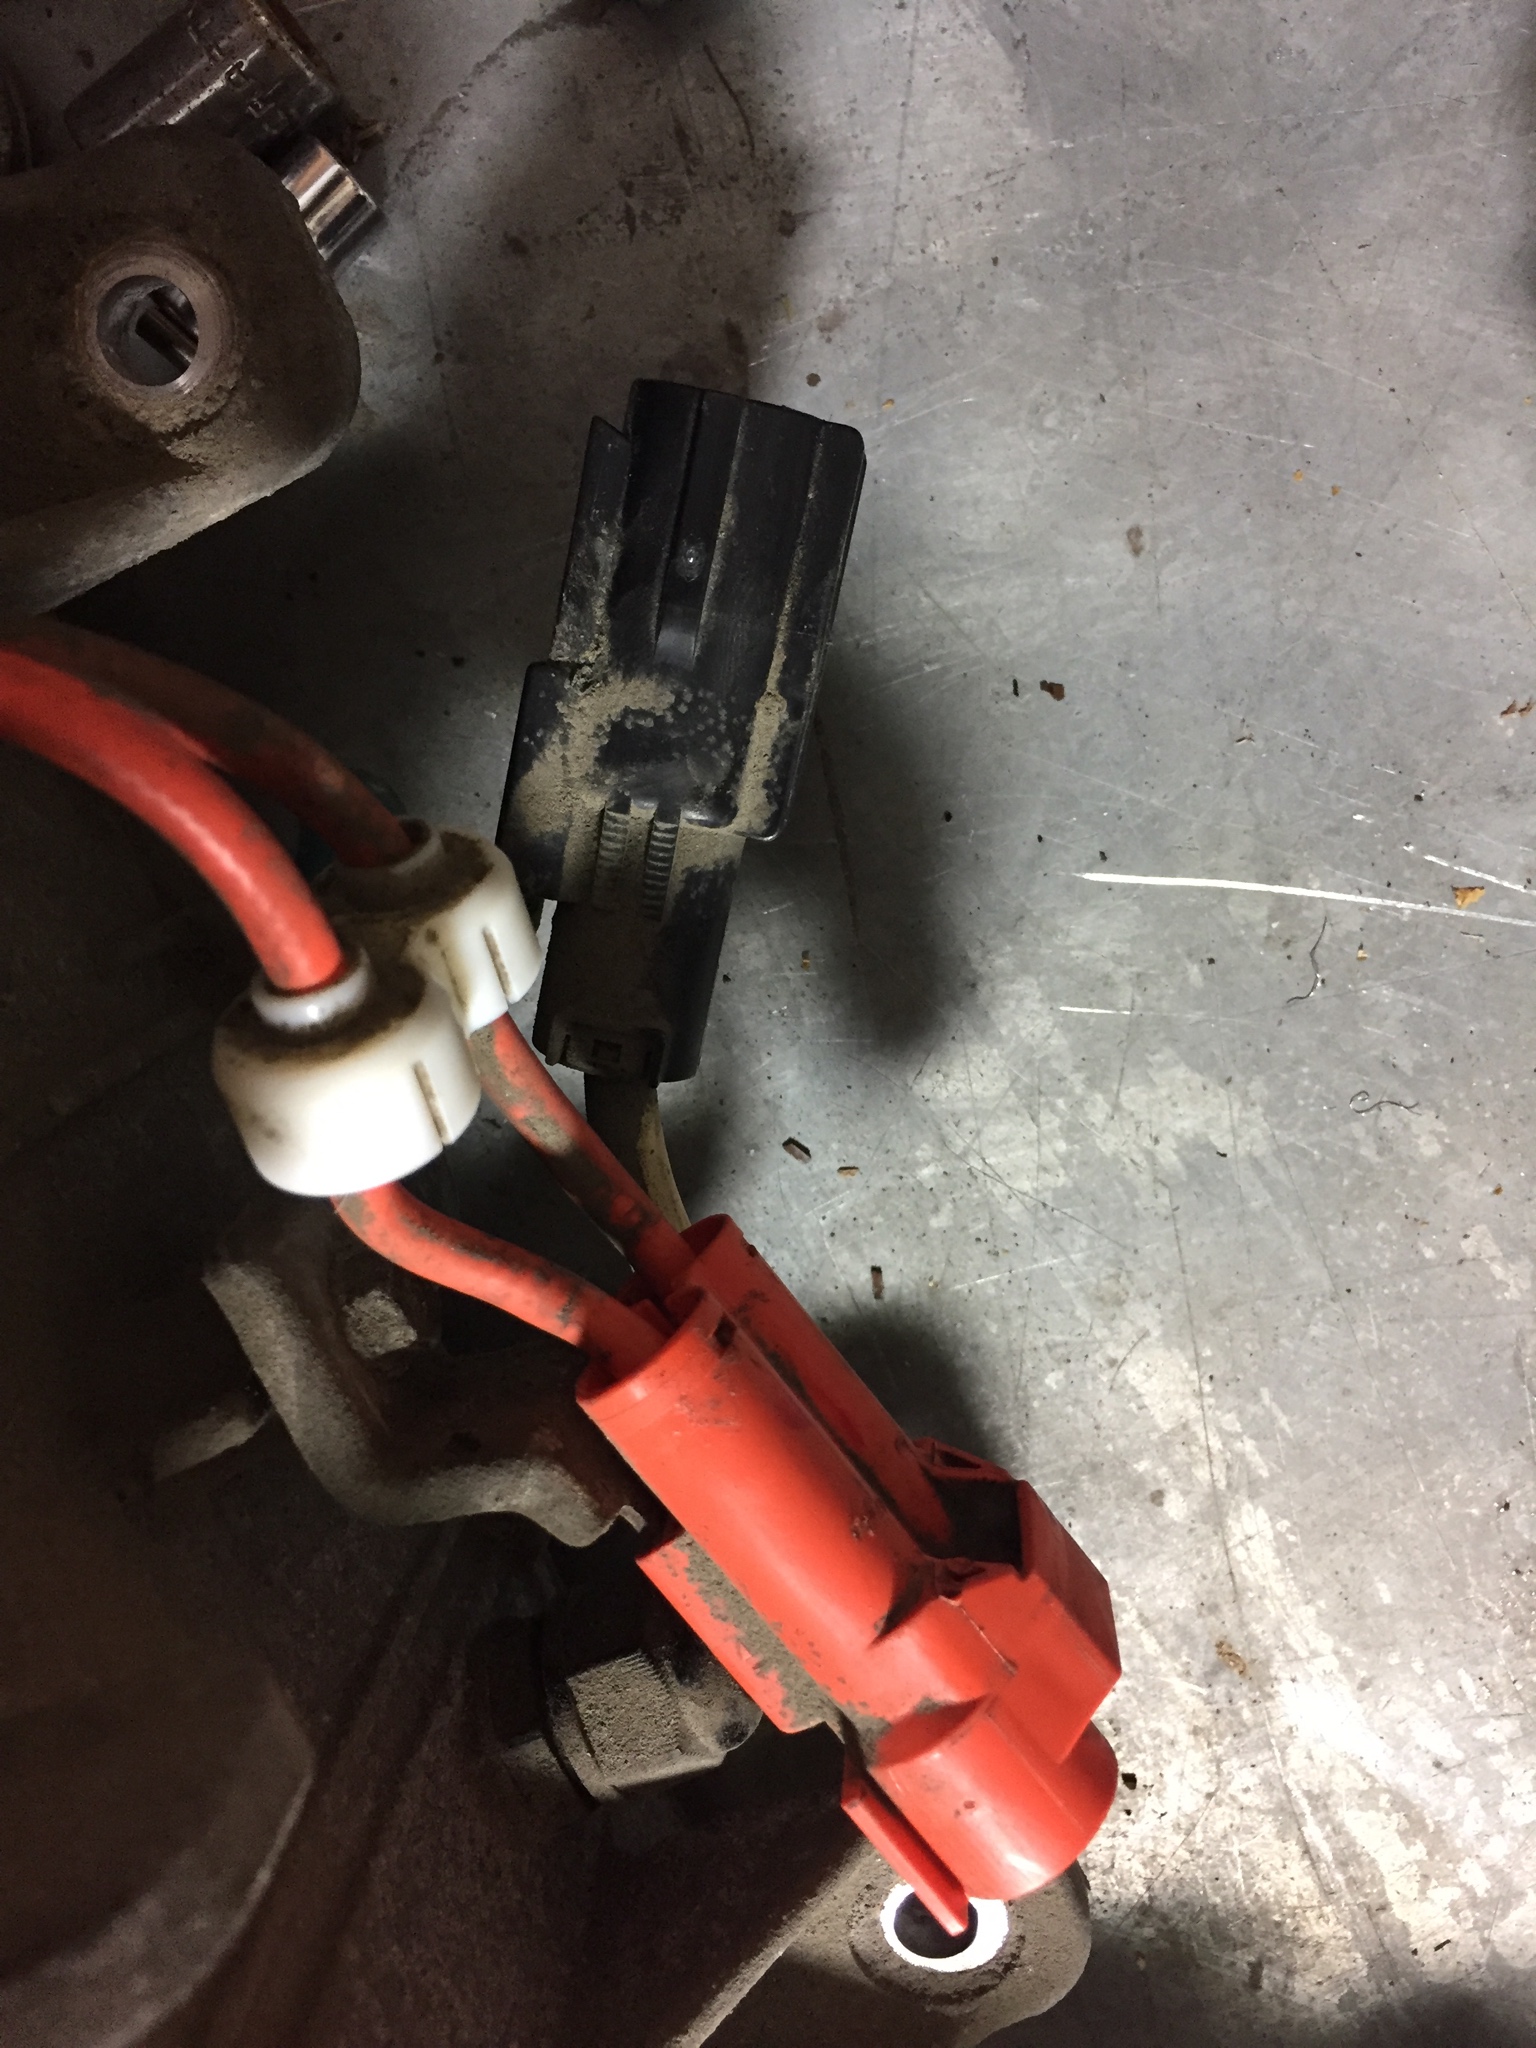
It has one connector that is different as well as no filter on top. Where does the connector in the photo attach?

Tia
 
My local dealer told me this new charger was the most current part # but I’m not sure that it is going to be able to be installed with the older Ecu. The ECU has different ports and the big orange cable from the inverter plugs into the right side of the ECU. And that is where I have run into a problem.

https://imgur.com/a/GSFgJom
 
1pk said:
It has one connector that is different as well as no filter on top.
I've noticed that a lot of chargers don't have the extra EMI filter box on top. I haven't checked, but my impression is that the newer ones don't tend to have them. I assume it was put on as an extra-safety afterthought or to meet some regulation, and now is considered an unnecessary extra cost.

Anyone know the real story?
 
Does anyone with a newer imiev feel like disconnecting the orange connector from the front of the inverter and posting a picture of it? I'm wondering if the connector coming from the MCU will fit!
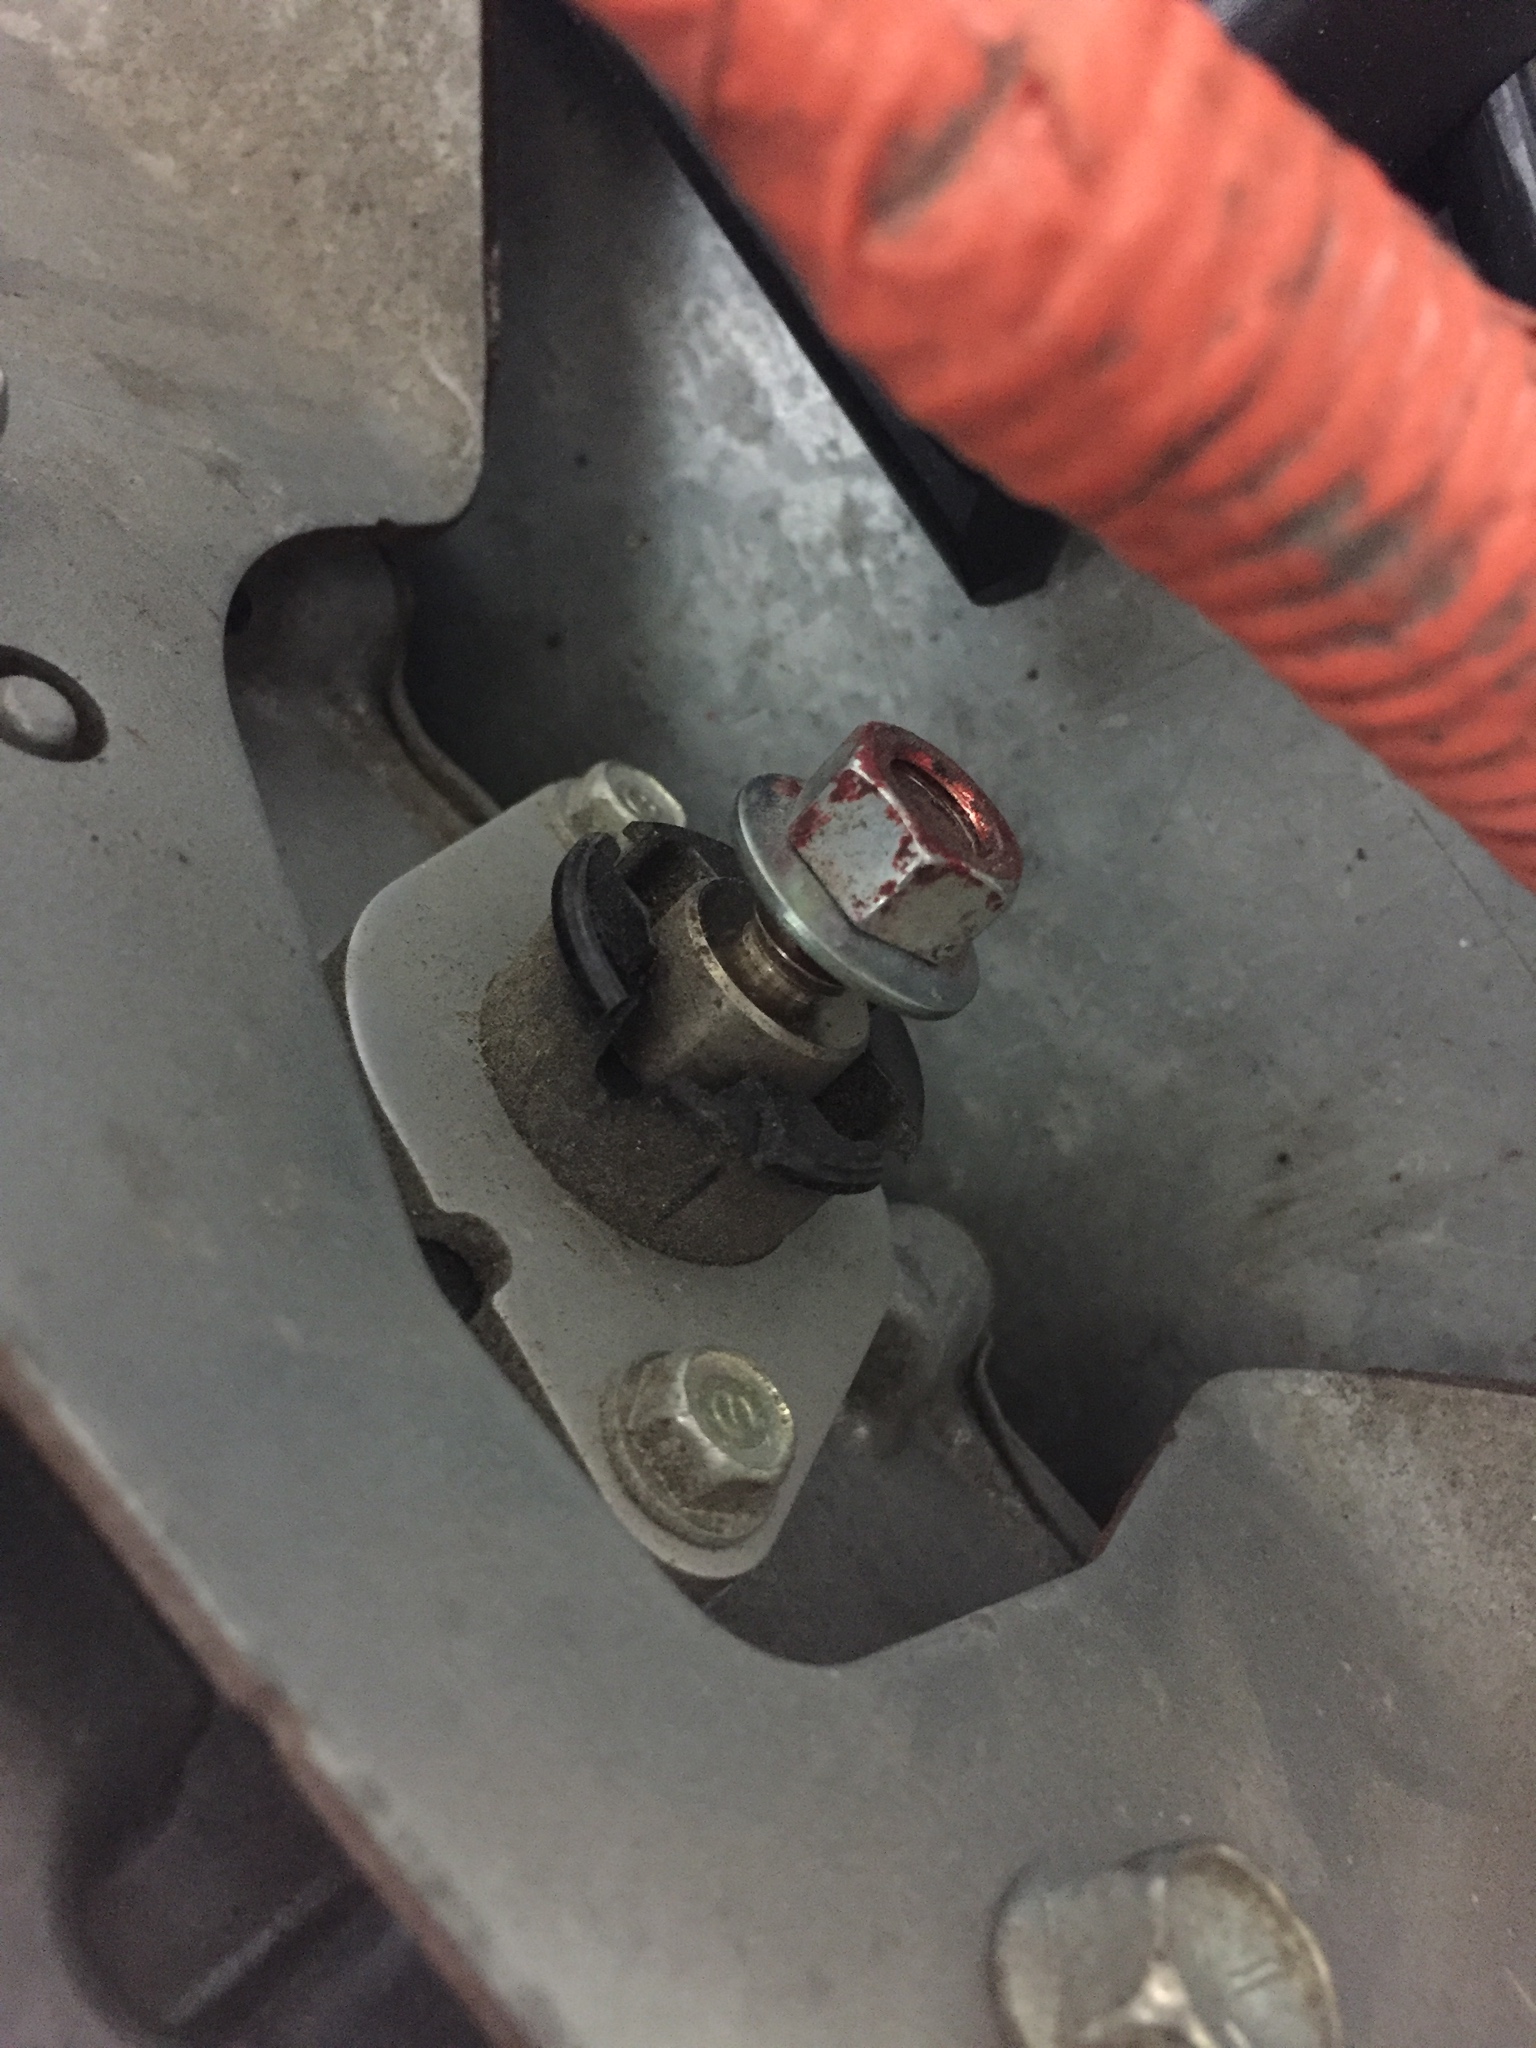
 
Kiev,

I’m hoping that with all the tracing you’ve been doing you can tell me what these orange cables do?
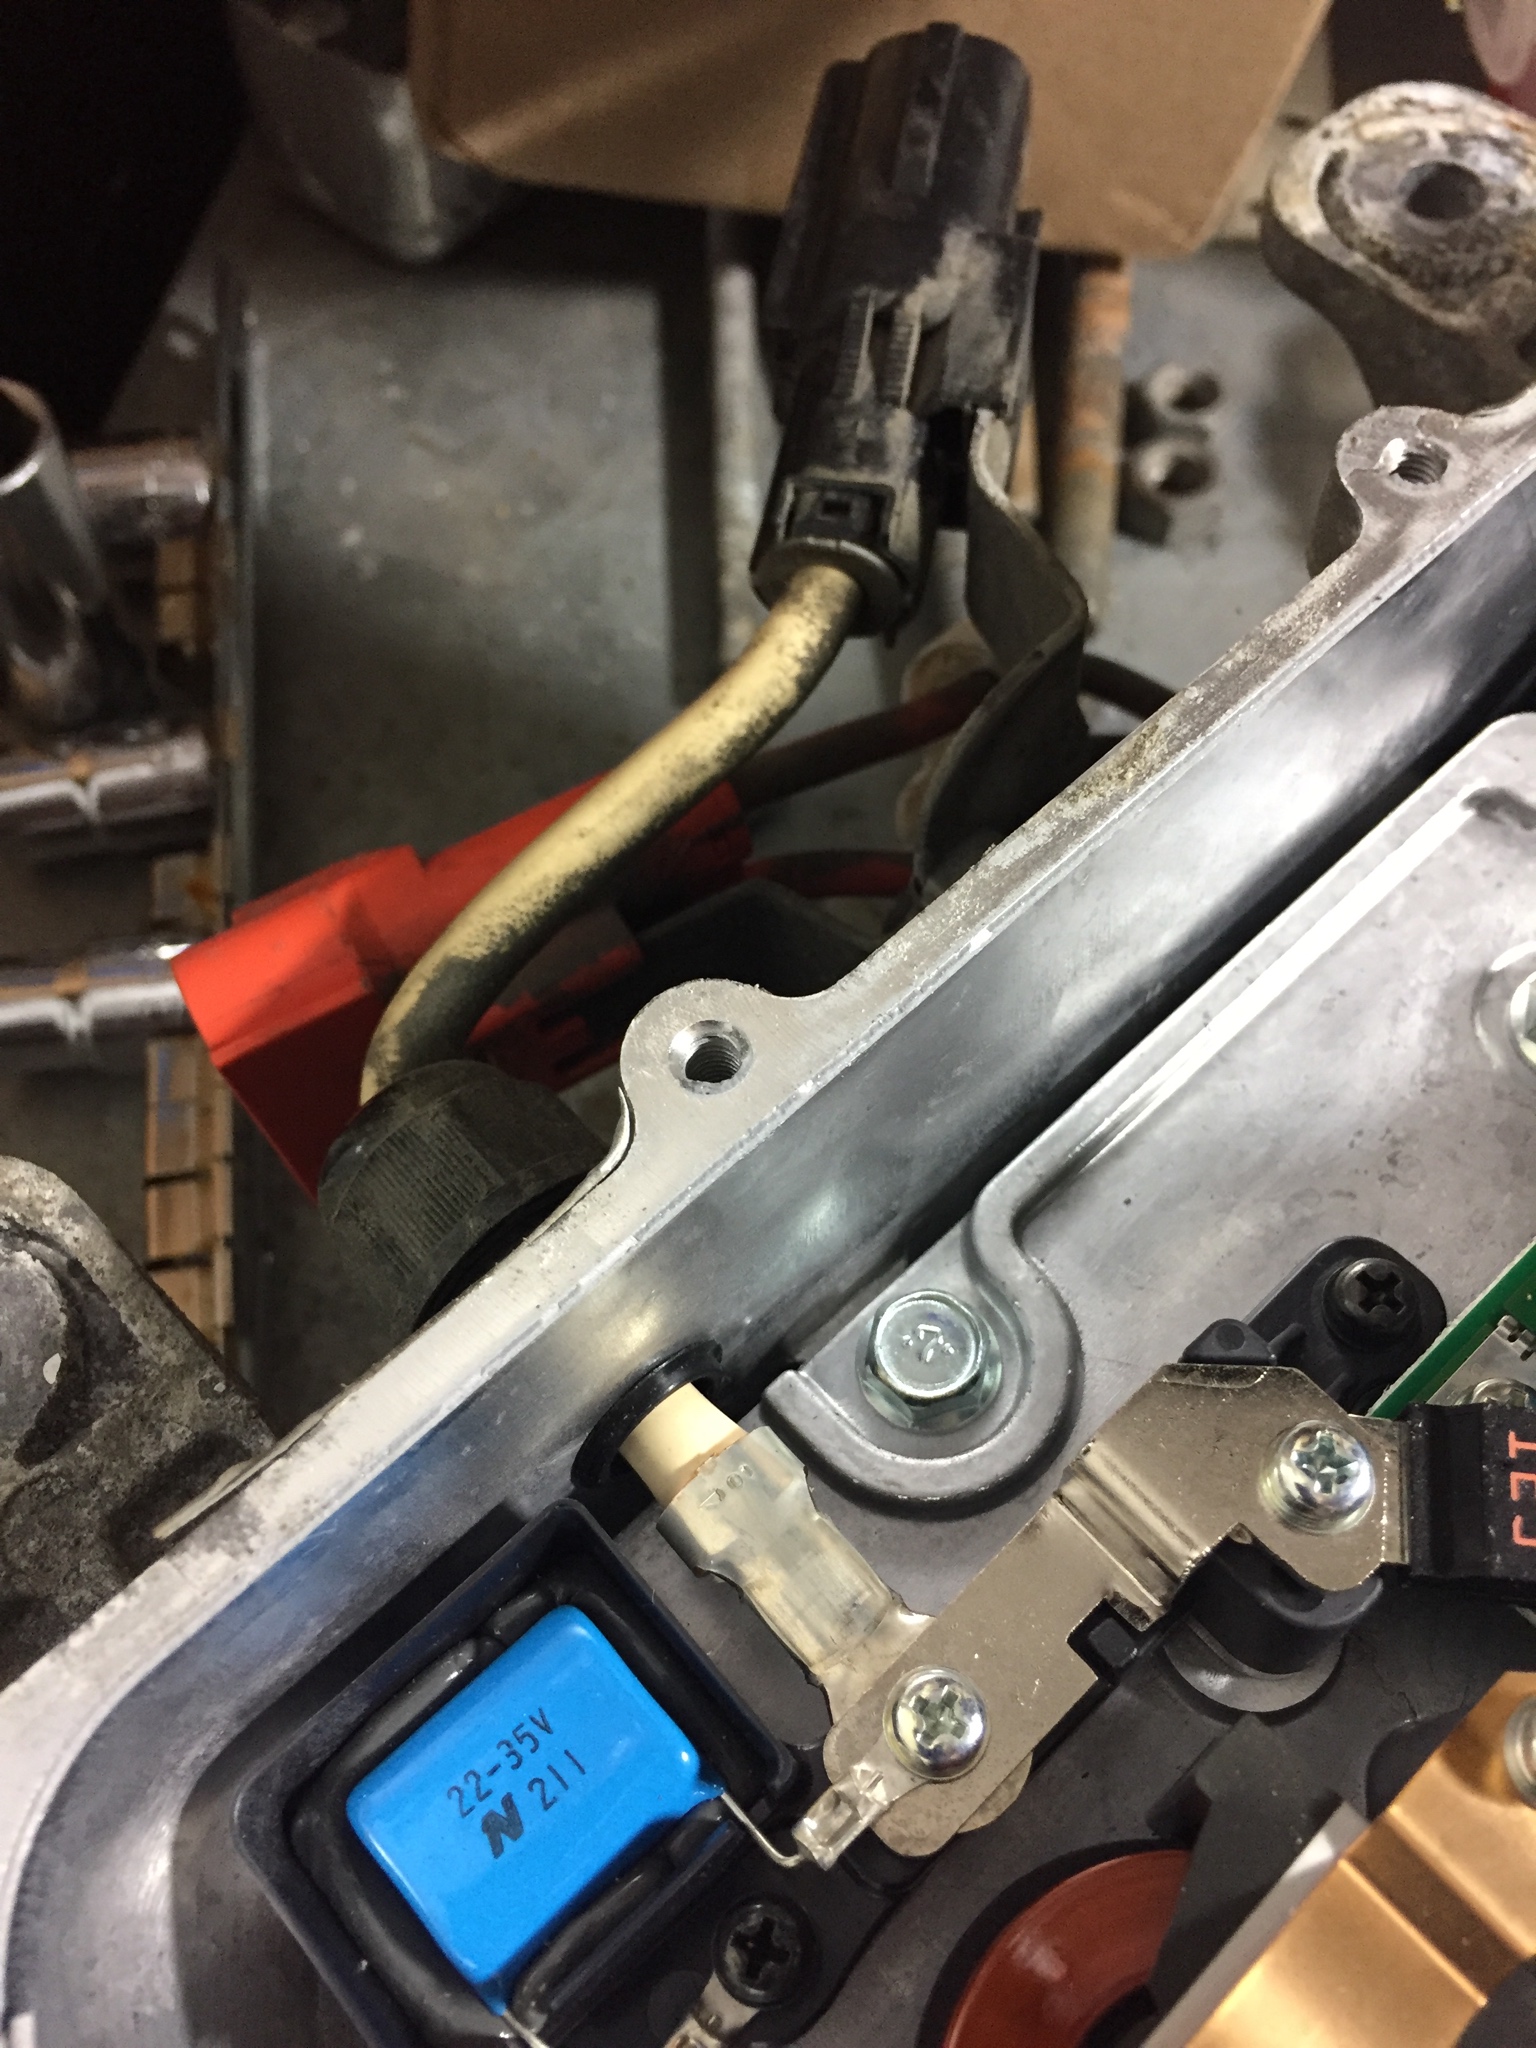
https://imgur.com/a/OMz4v4I?

They connect to the ECU in my 2012. The updated 2013 charger and ECU look different and have a different connector.

My “new” charger has this different connector but I am hoping the wiring is the same and I can change the connector and plug it in.
 
Those thick orange wires are the output high voltage of the charger. They run over to the positive and negative terminals of the battery pack located beneath the small access panel in the Motor Control Unit, MCU. There is a connector between the two boxes to make it easy to install and disconnect, etc.
 
Kiev, my new charger has a connector like this.

https://imgur.com/a/vQIBMlb

It plugs directly into the side of the newer style MCU from the 2013 and later cars. I assume Because it’s just power It should be compatible And i just need to connect it somehow. Does that sound reasonable?
 
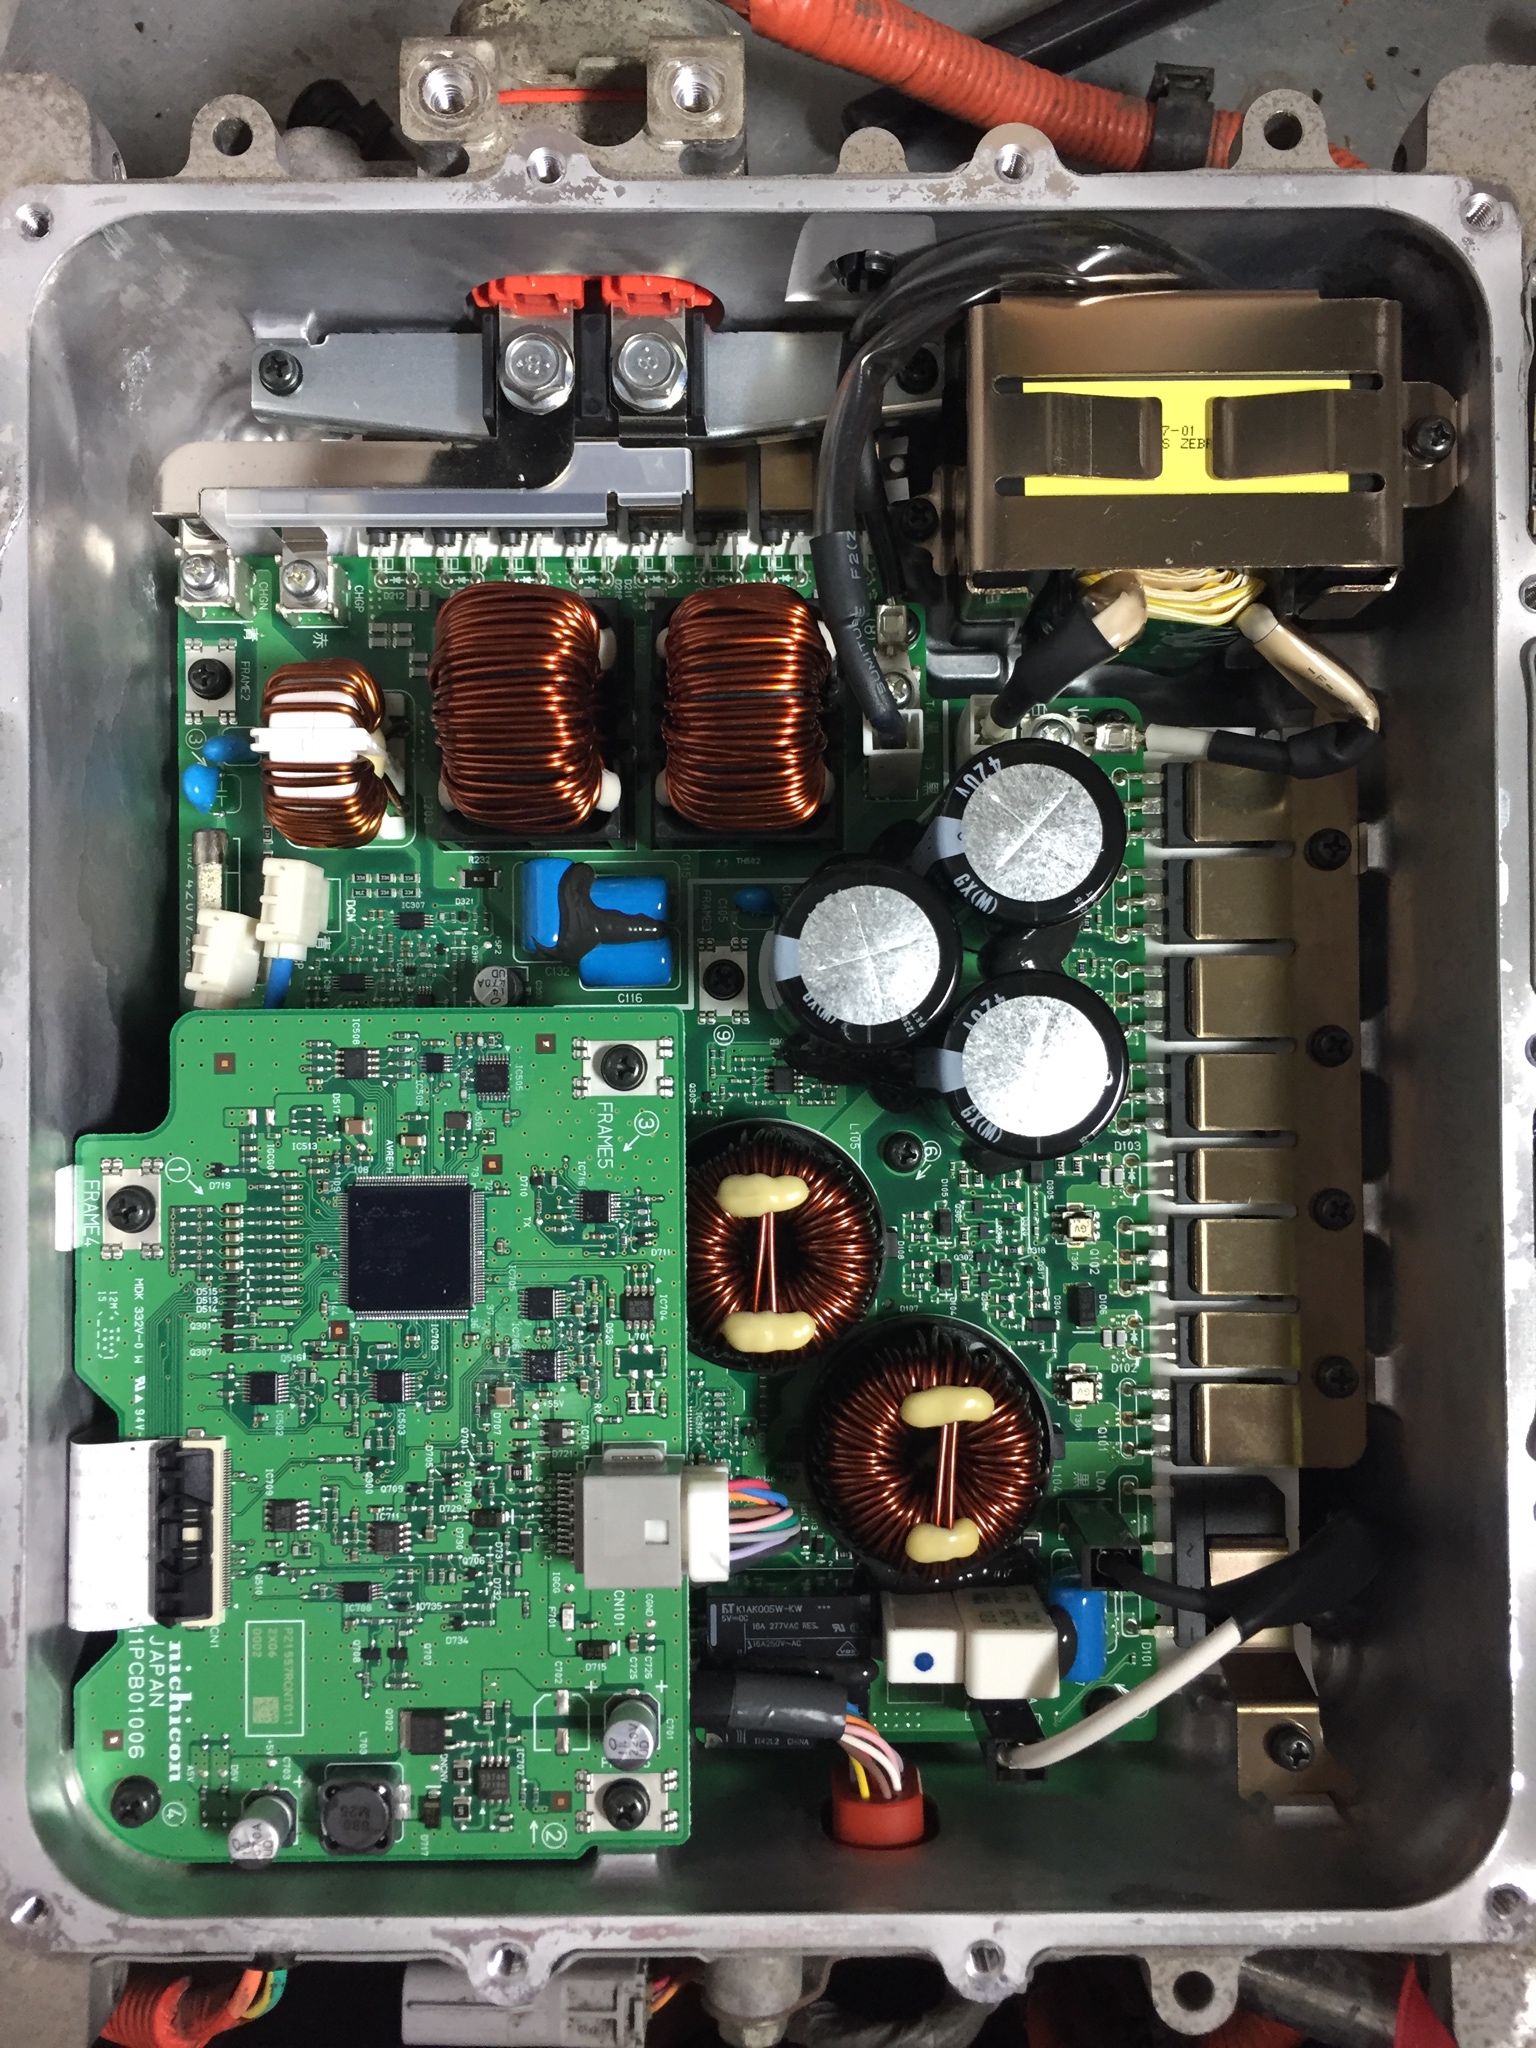
So I have the "new" charger from a wrecked 2013. So of course I popped it open and here is what the inside looks like

uVCvXrQ.jpg


Two of the four connectors are the same and I'm hoping that the other two connections can be made to fit.

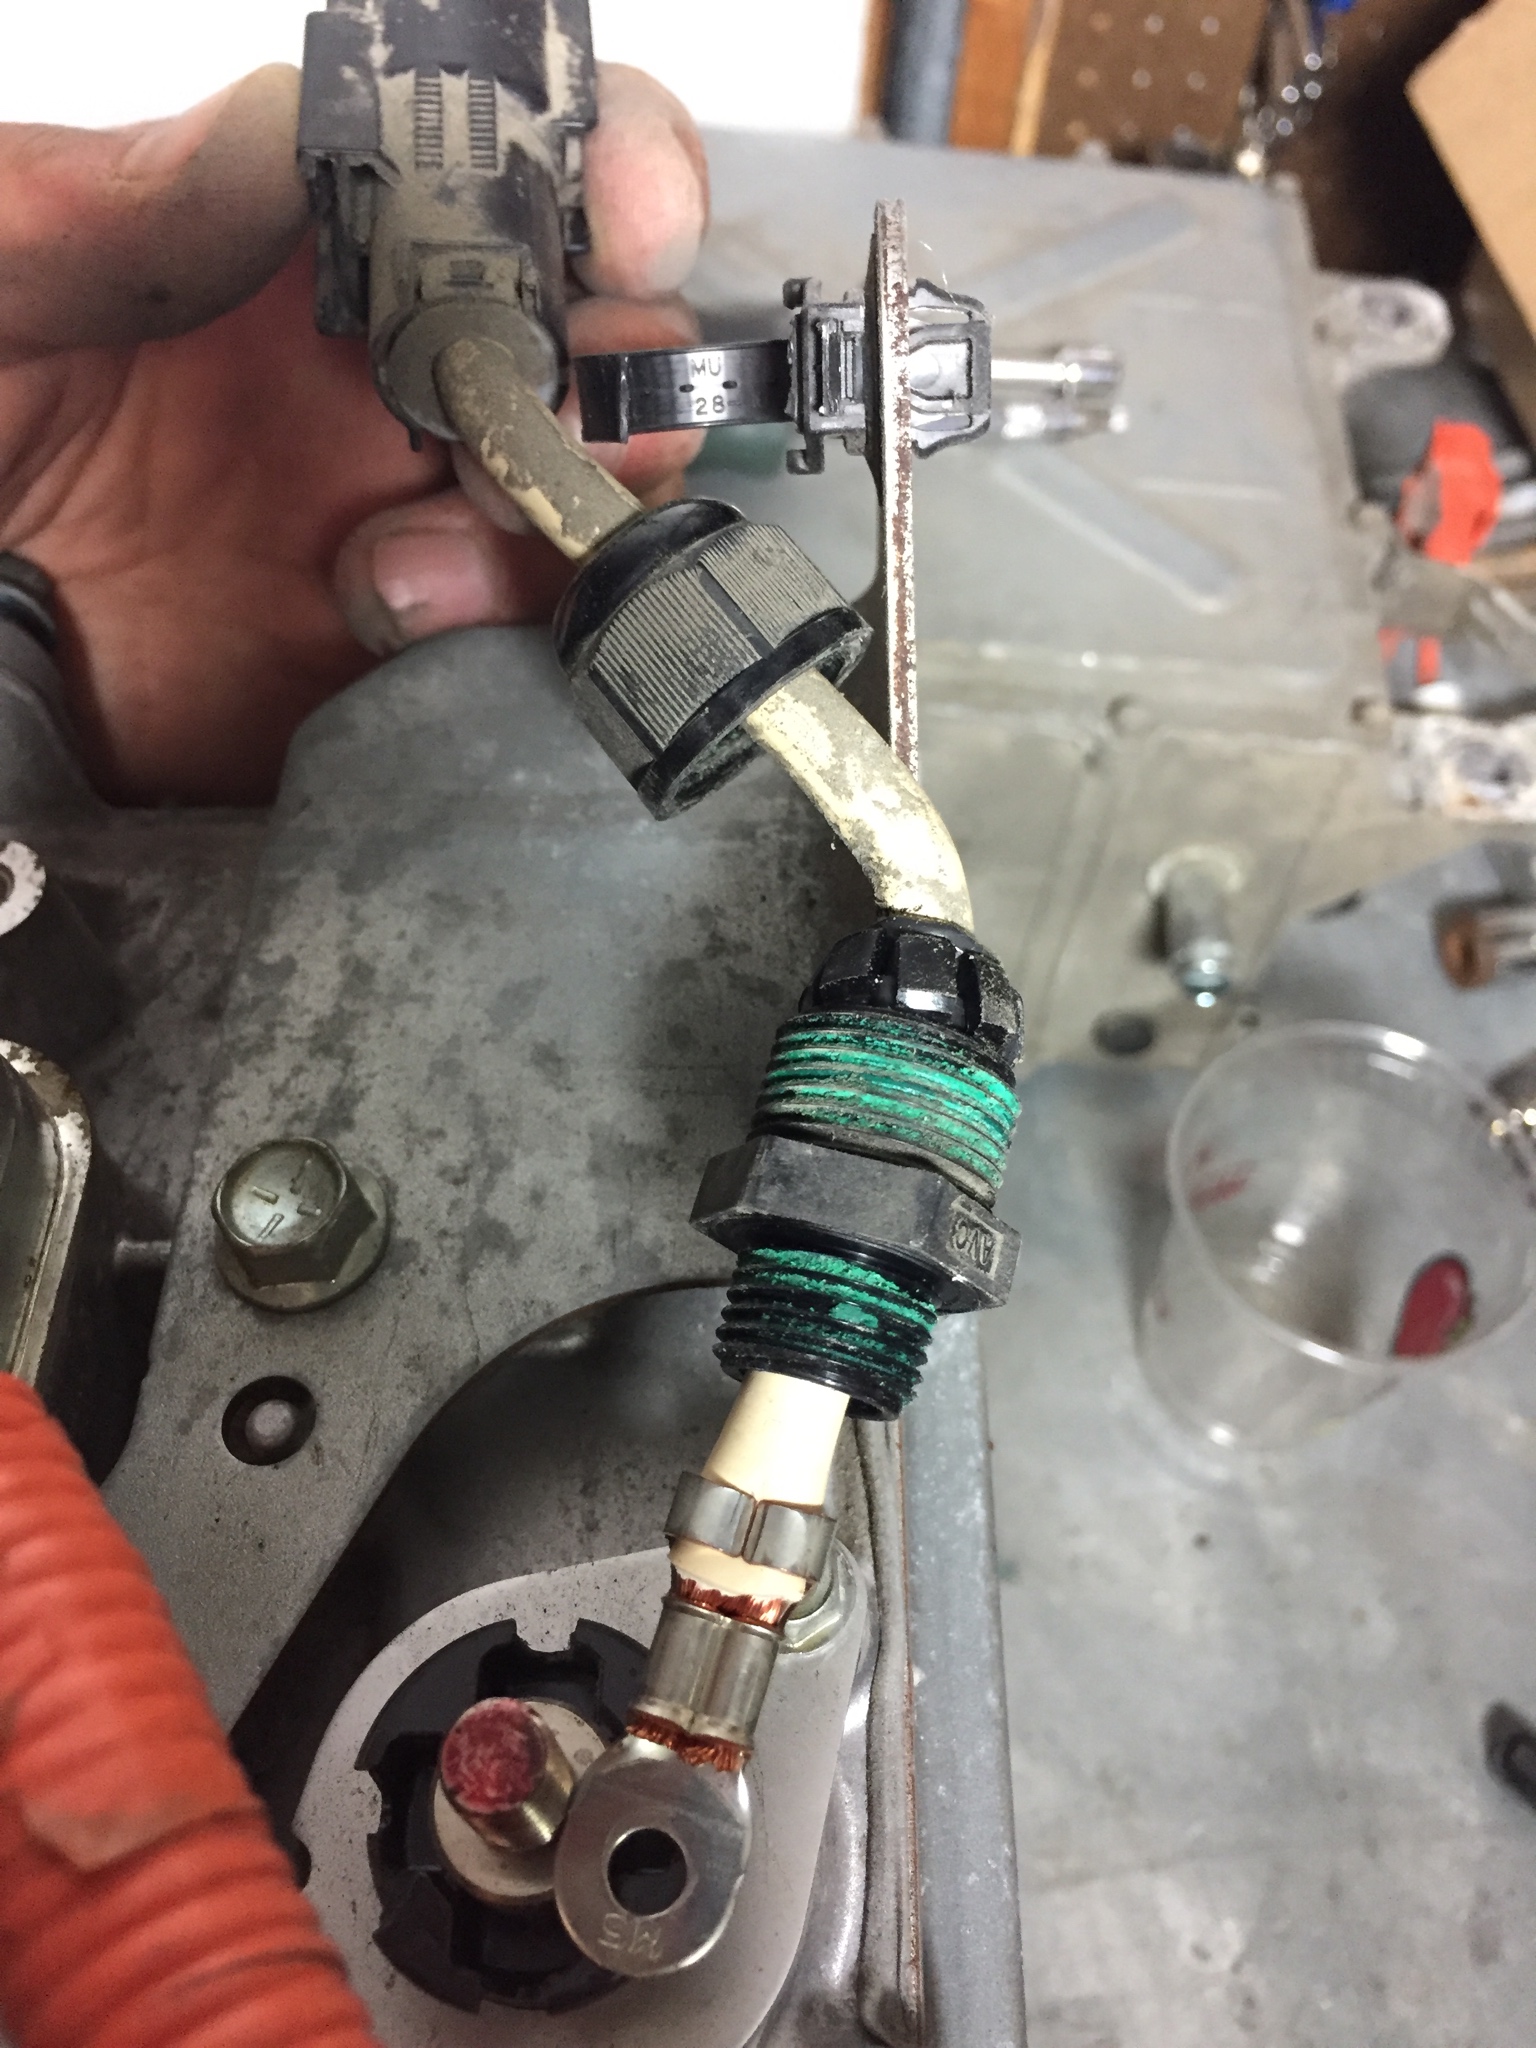
The black connector in this image has been replaced with a bolt. Kiev, what's it for?

2012
N6bNyRa.jpg


2013
IZdwnuU.jpg


It attatches to a board in the bottom half of the box

viRPhpk.jpg


so I've pulled it out and hopefully It can now go on the outside

5amdHBv.jpg


And this is the new high voltage cable connector. It's the same at both ends.

MLPo3F5.jpg


This is the how it connects to the charger

kxN7OXc.jpg


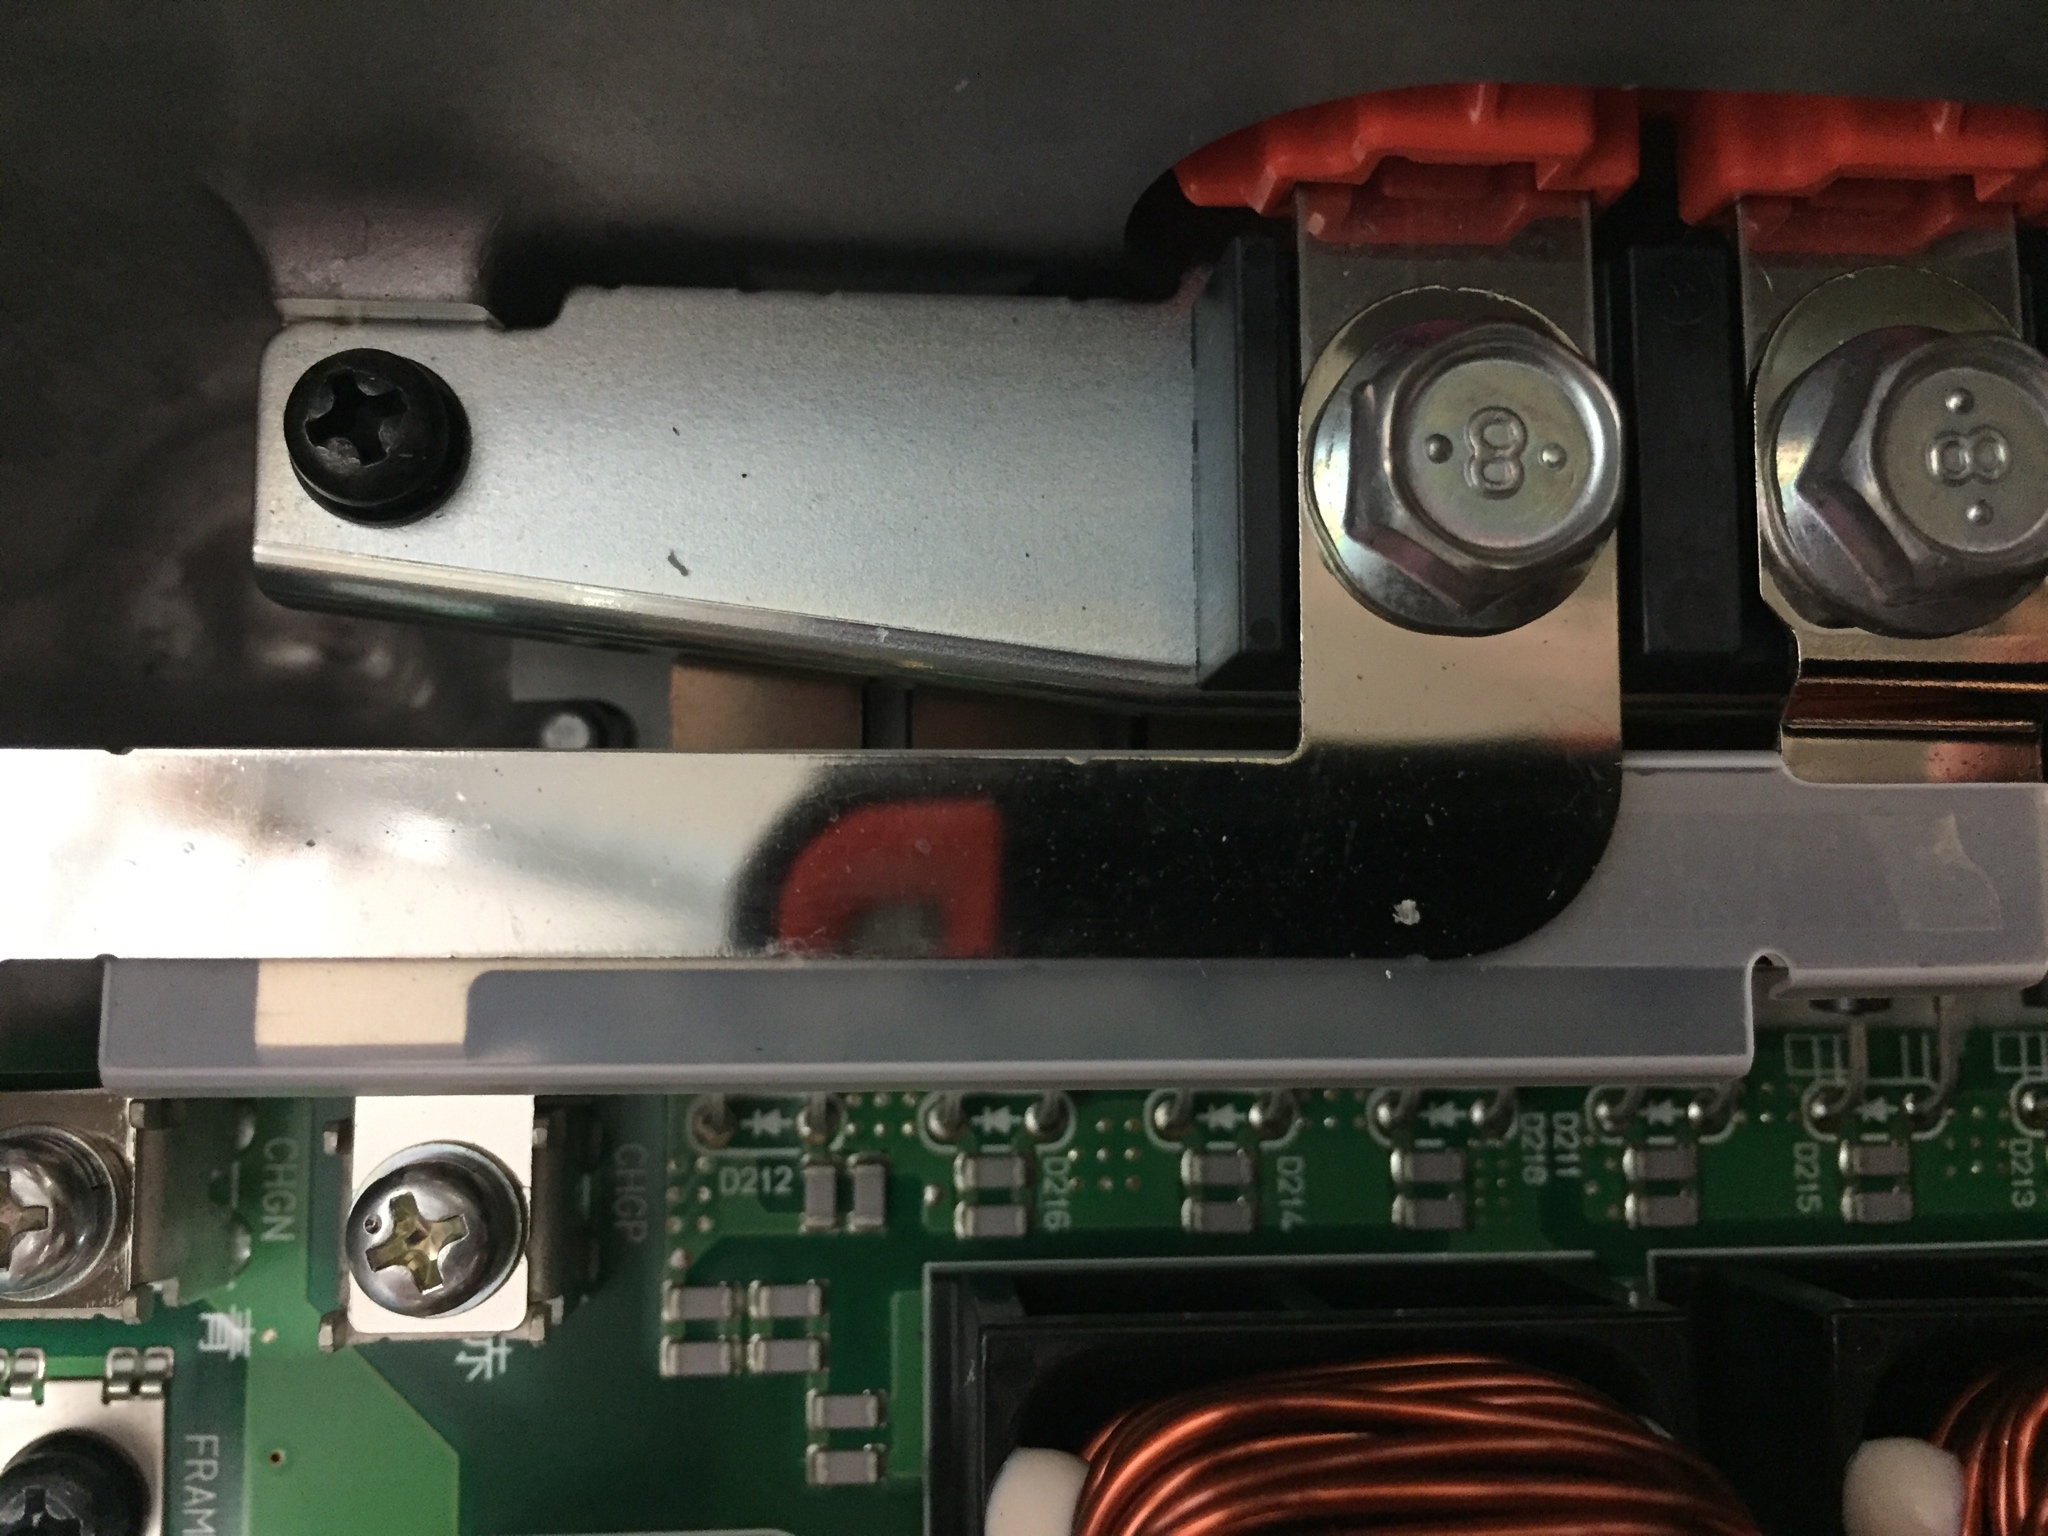
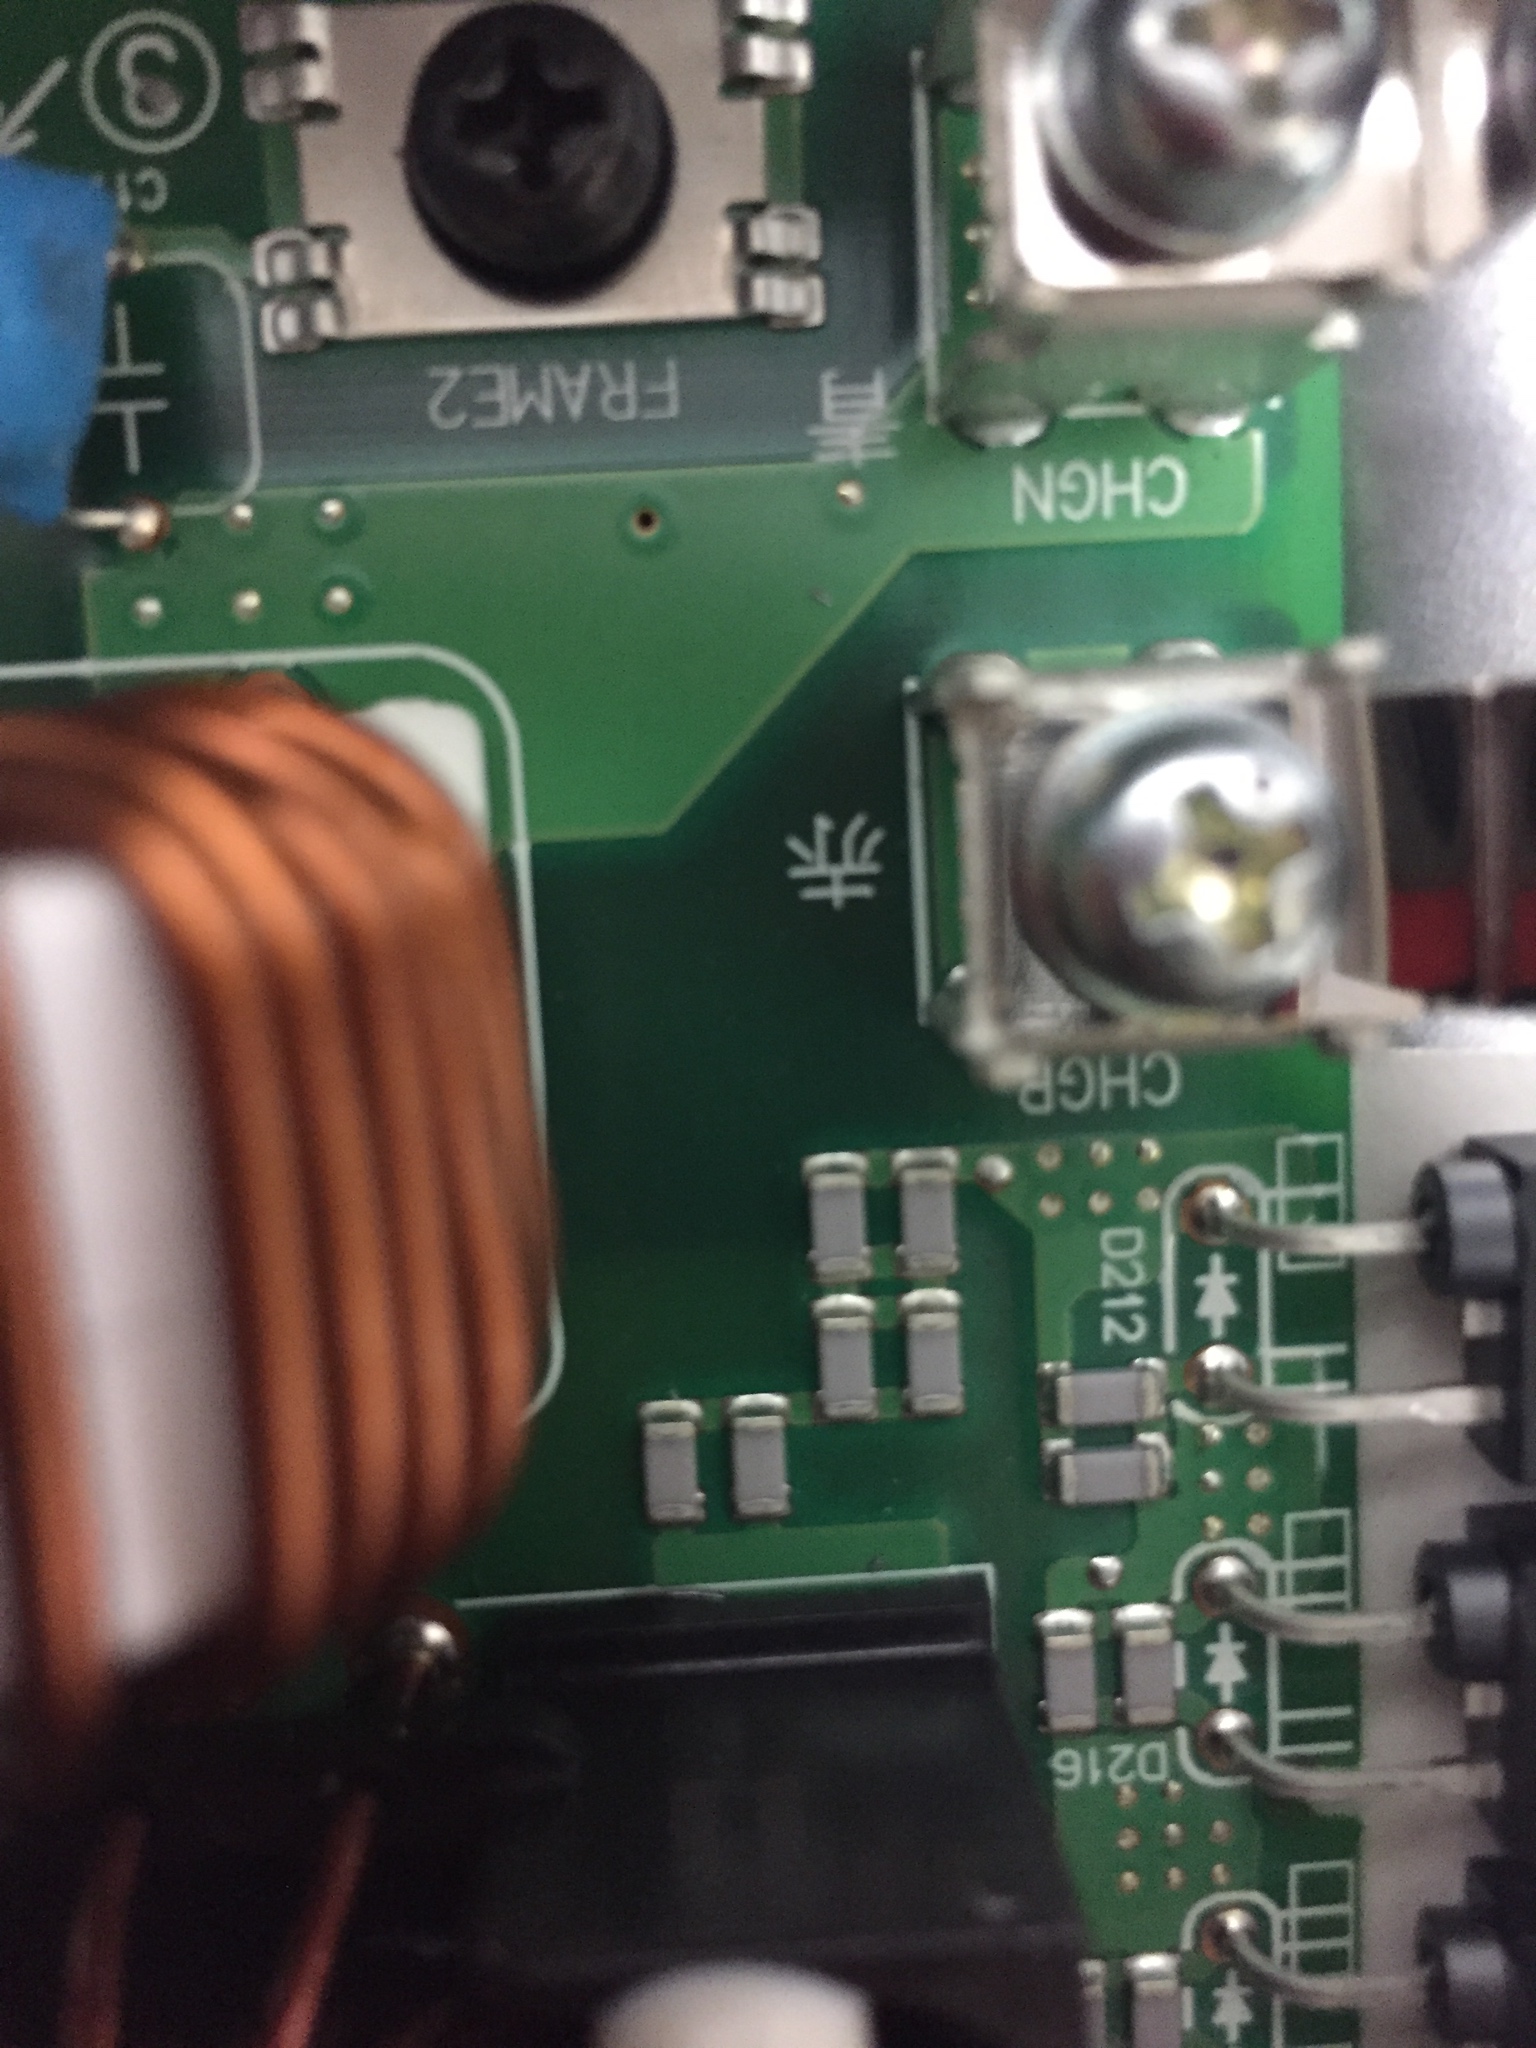
And here is a closeup of the connections at the board. The posts are labeled CHGN and CHGP

ZuheEMP.jpg


Tomorrow I will have a crack at connecting things up. Any advice is appreciated as I am WAAAAY out of my element.
 
1pk said:
So I have the "new" charger from a wrecked 2013. So of course I popped it open and here is what the inside looks like
Wow! Really different. But still Nichicon, so hopefully essentially the same circuit. Looks like it might be easier to pull apart and repair, too.

The black connector in this image has been replaced with a bolt. Kiev, what's it for?
That has to be the 12 V output from the DC-DC. You might have to crimp an eye terminal to the thick white wire that leads off to the 12 V battery. Disconnect battery negative when you work on that, or be careful to avoid splats. 12 V will return via the case, so ensure that there is a good path to the metalwork.

And this is the new high voltage cable connector. It's the same at both ends.
Just be sure to connect positive to positive and negative to negative. Of course, have the battery isolated when working on that.

And here is a closeup of the connections at the board. The posts are labeled CHGN and CHGP
That will be charger output Negative and Positive, respectively.

The connections are pretty easy: mains in, 12 V out, and 350 V out. It's mainly a matter of getting things to reach, be safe, connections to be tight, and be waterproof. Some neutral cure (important!) silicone sealant might come in handy.
 
1pk said:
So I have the "new" charger from a wrecked 2013. So of course I popped it open and here is what the inside looks like
I note that there is no dog house on either the upper or middle boards.

As alluded to before, no waffle plate™. The three large capacitors also have no dog house, and they have their plastic extending over the top of the aluminium case. There seems to be a lot less wiring clutter, and possibly fewer magnetics. It's really neat inside, compared to the older models.
 
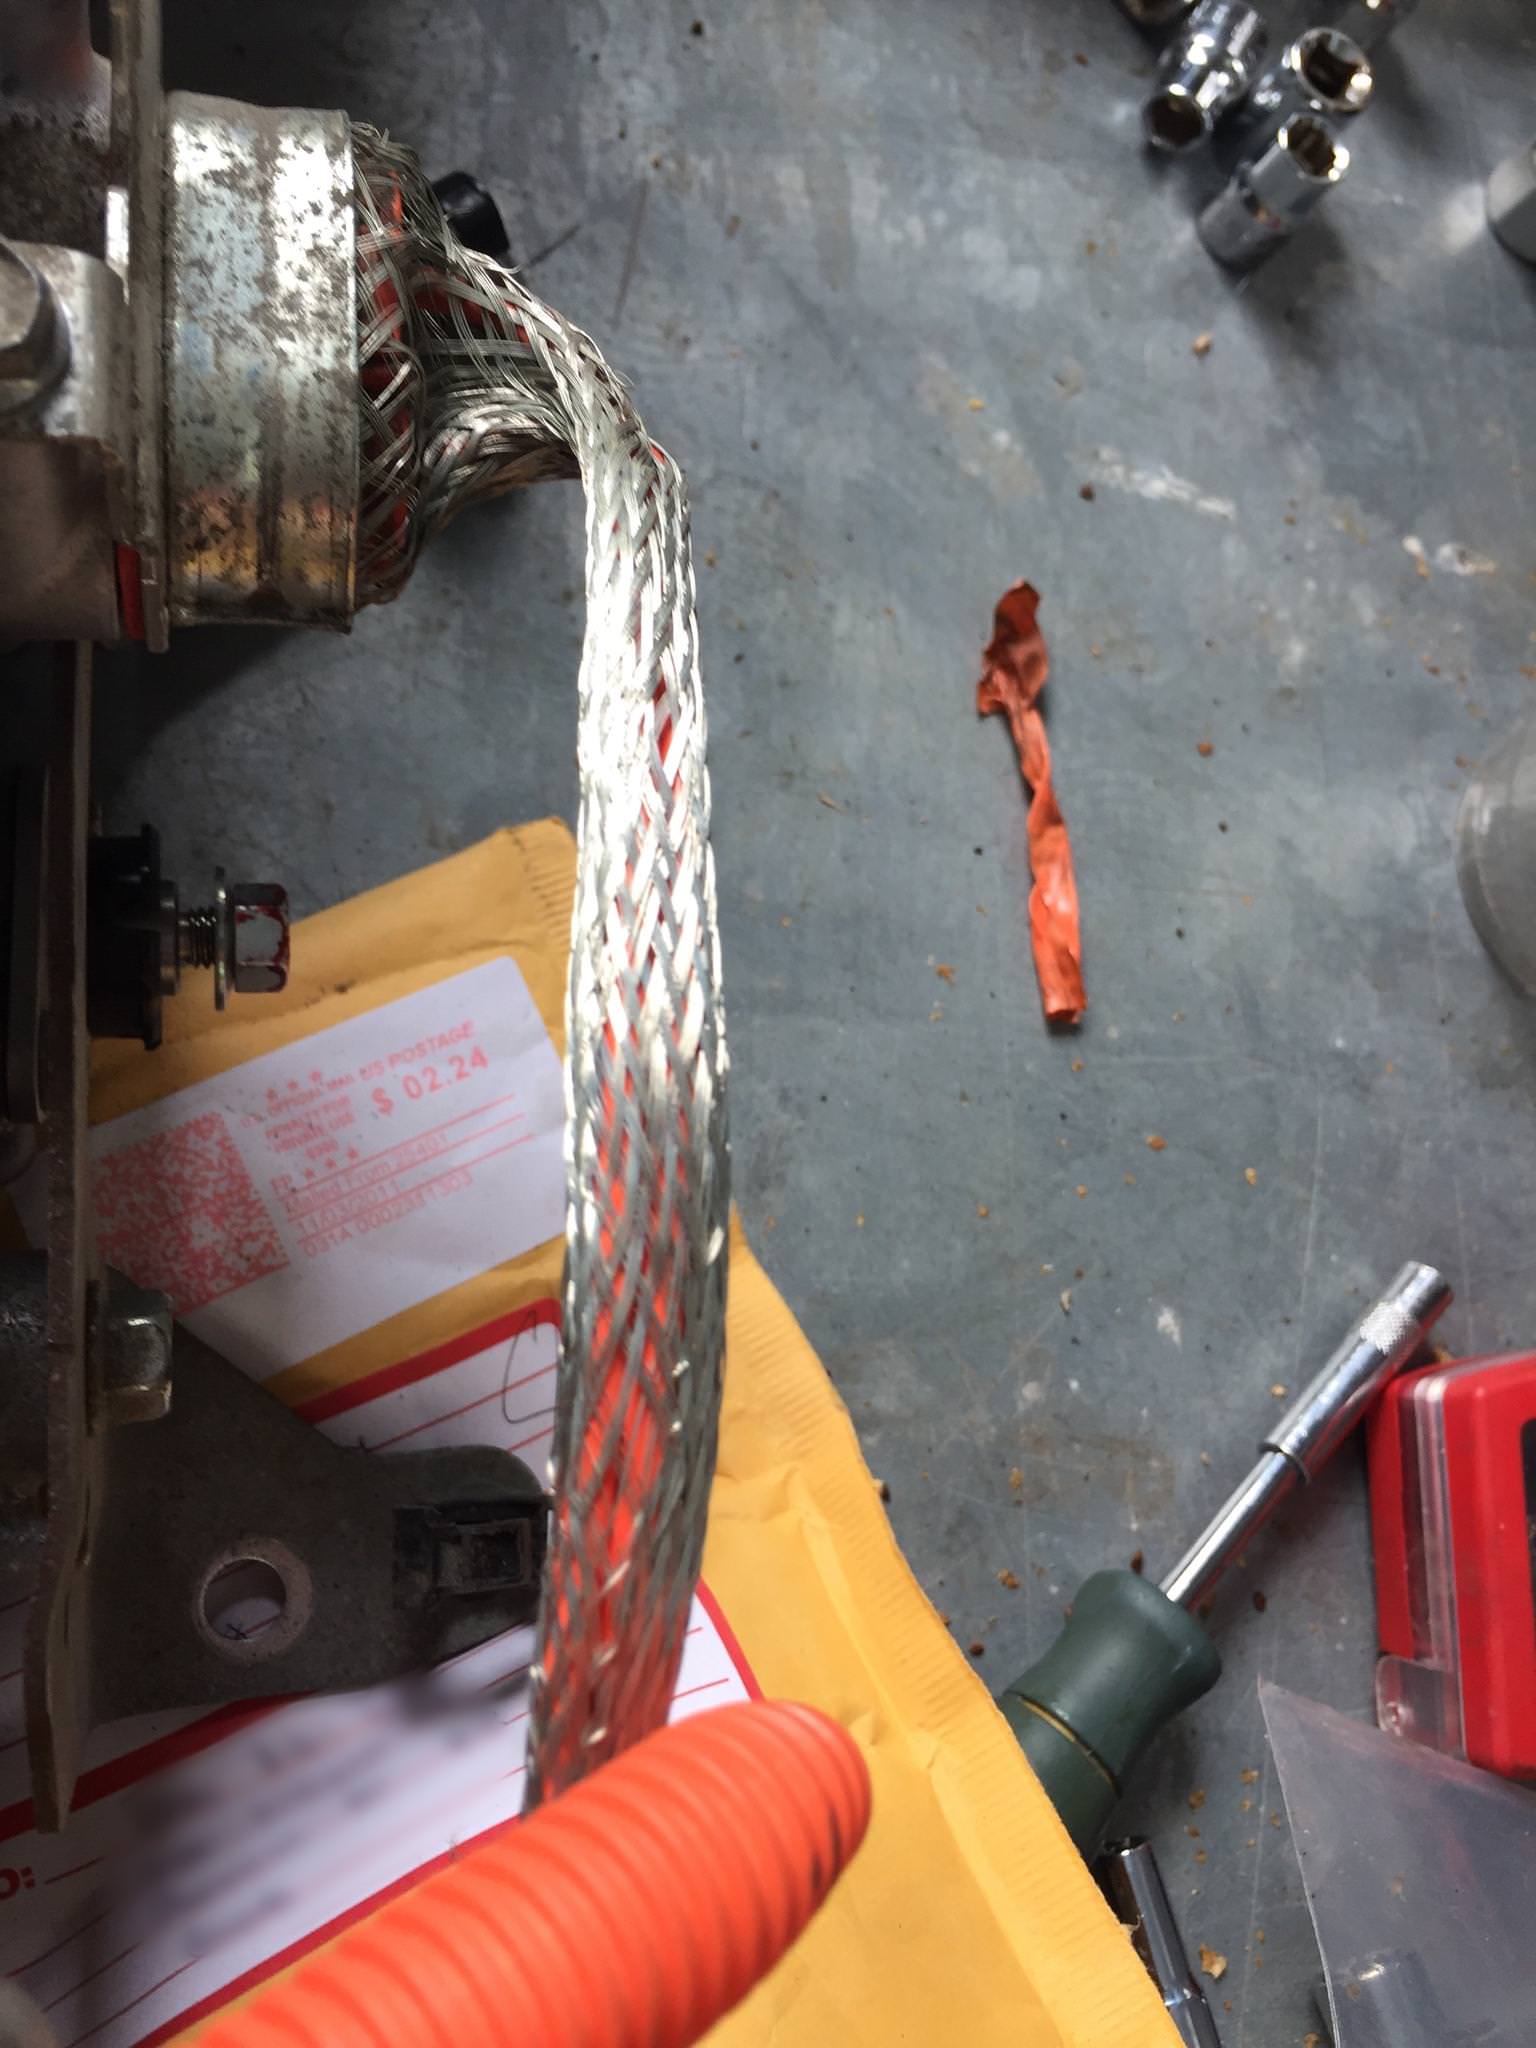
This is the high voltage cable from the charger to the MCU . Is this silver sheathing important? It doesn't exist on the 2012

GPaUzqf.jpg


If it has a purpose then I need advice as to how to proceed because my plan is to cut it.

Also I have to figure out the polarity of the HV cables.

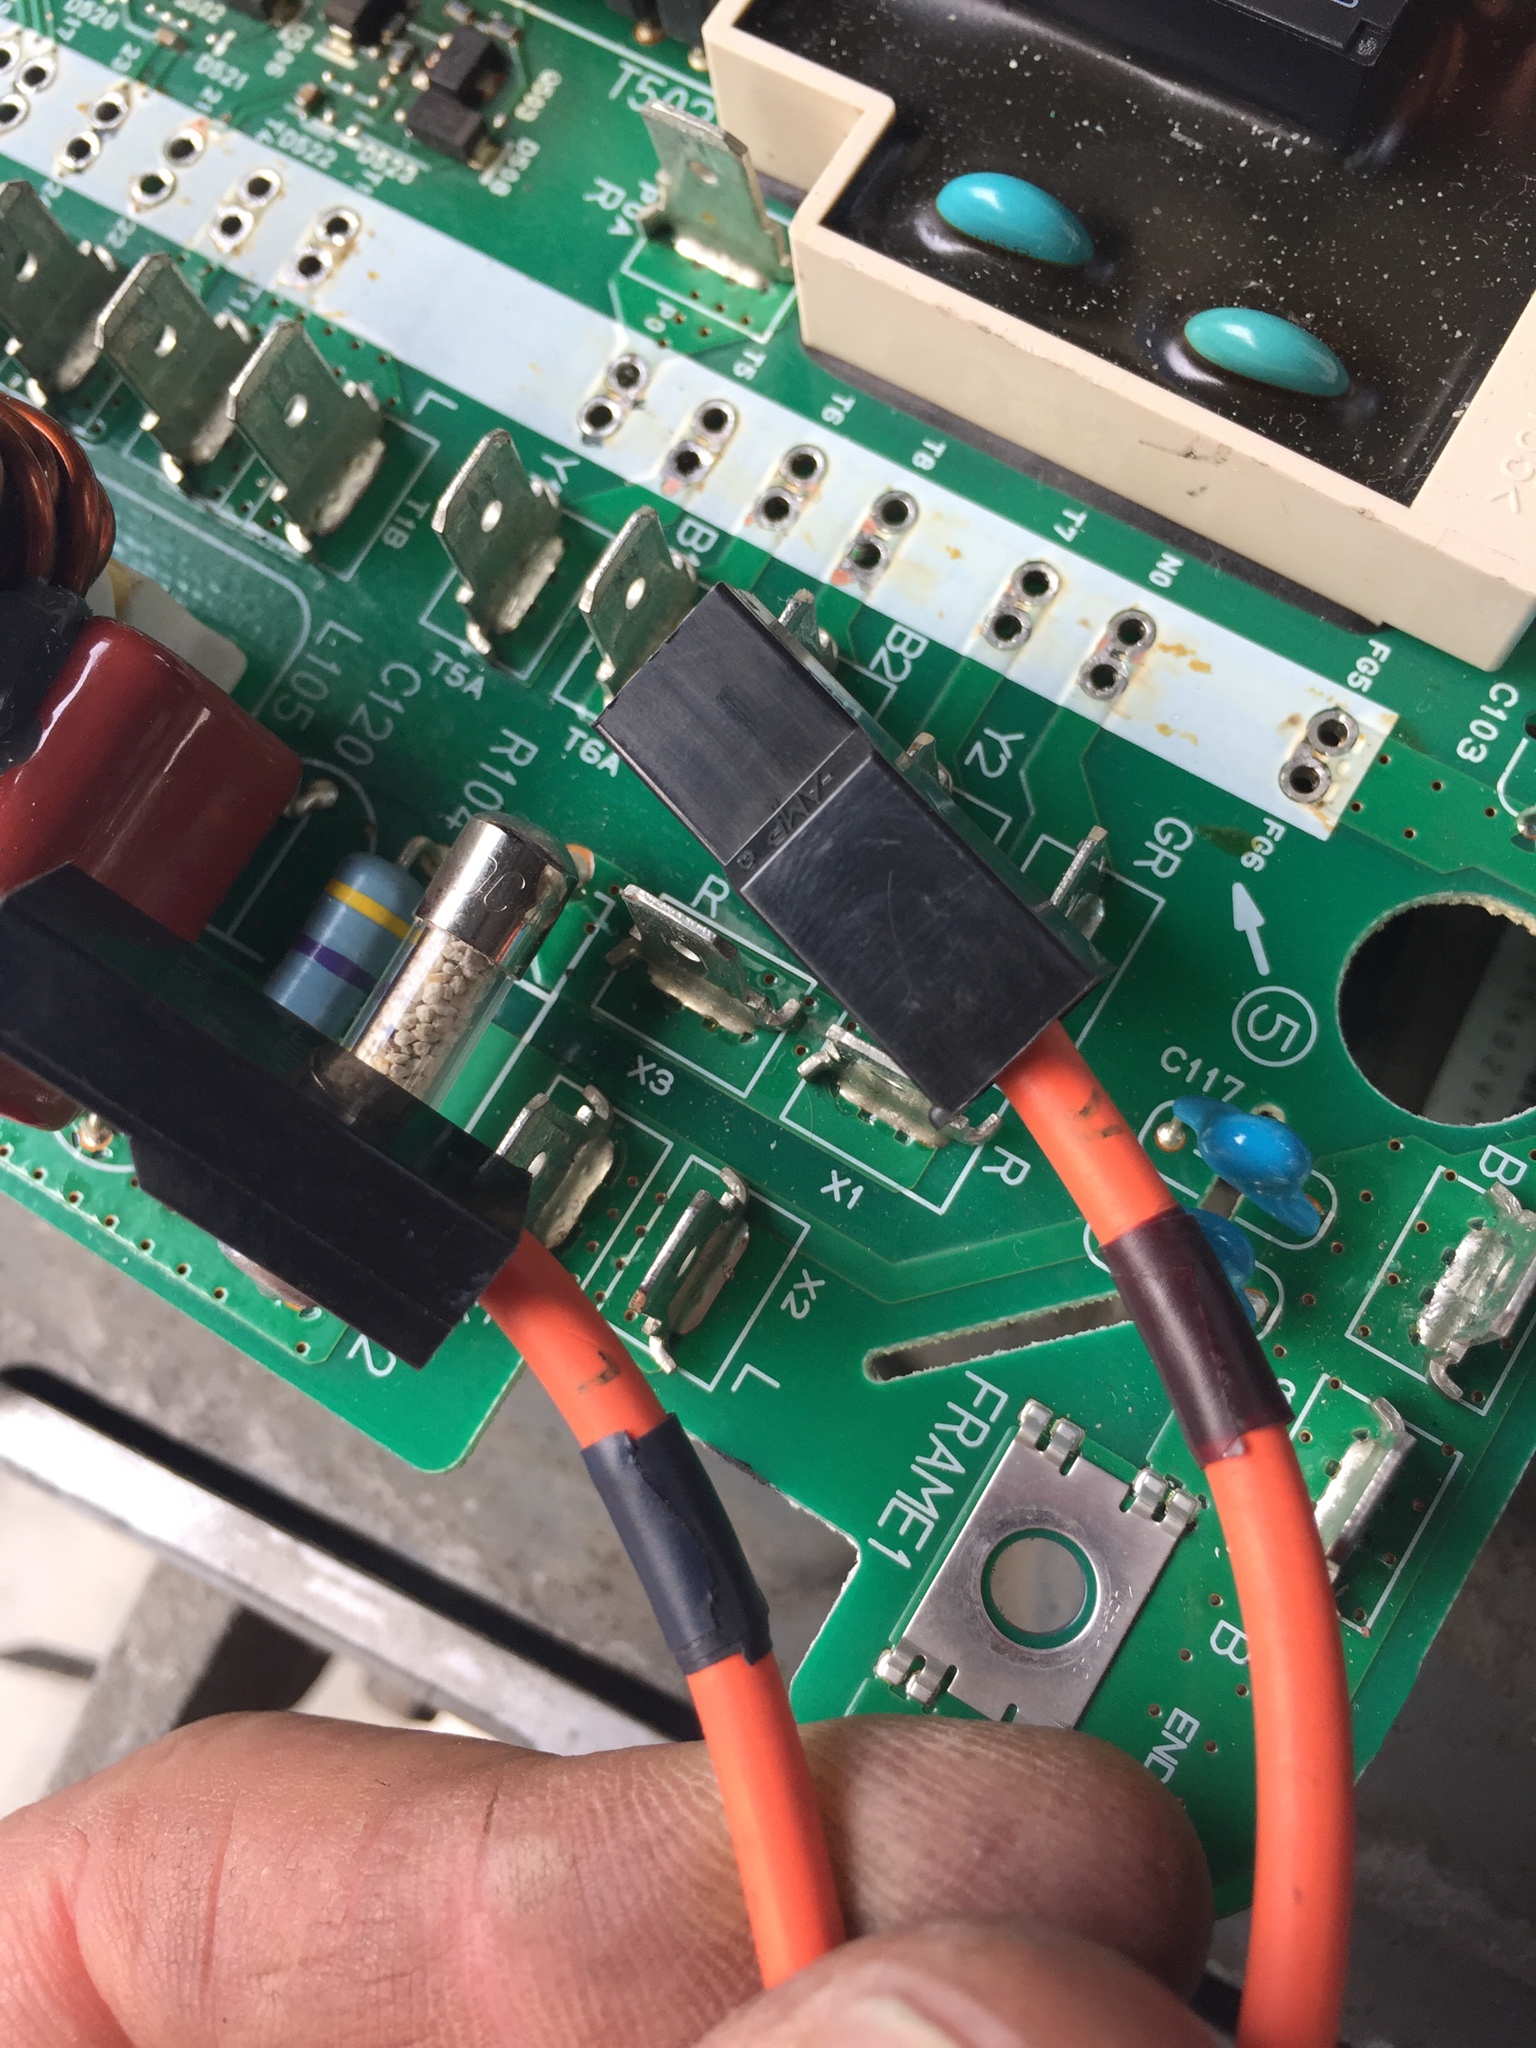
the 2012 charger HV cables are labeled L and R which is great.

KoV3RAK.jpg


but the new one is labeled P and N? Is there a convention to relate these two labeling methods?

ZuheEMP.jpg


And I can't tell from the MCU which is which. This is under the small panel. The HV cables come in directly under the 2 connections in this image.

GSd8MDP.jpg


I've got all the other connections worked out, and as soon as I can solve the these issues with the HV cables I can hook it all up and test it.
 
1pk said:
This is the high voltage cable from the charger to the MCU . Is this silver sheathing important? It doesn't exist on the 2012

It is likely for abrasion and cut resistance, although it might provide a minimal amount of EMI noise filtering, but the spacing of the webbing is too coarse for any real EMI control.

It looks like it bolts to the case so it could be removed and re-used.

Also I have to figure out the polarity of the HV cables.

the 2012 charger HV cables are labeled L and R which is great.
The R and L are the color codes, for RED and BLACK, which is the color of the tape wrapped around the orange jacket. The RED is the Positive (+) high voltage output that would connect to the Pack (+) in the MCU.

but the new one is labeled P and N? Is there a convention to relate these two labeling methods?
This is for POSITIVE (+) and NEGATIVE (-), and would be equal to the R and L.


And I can't tell from the MCU which is which. This is under the small panel. The HV cables come in directly under the 2 connections in this image.

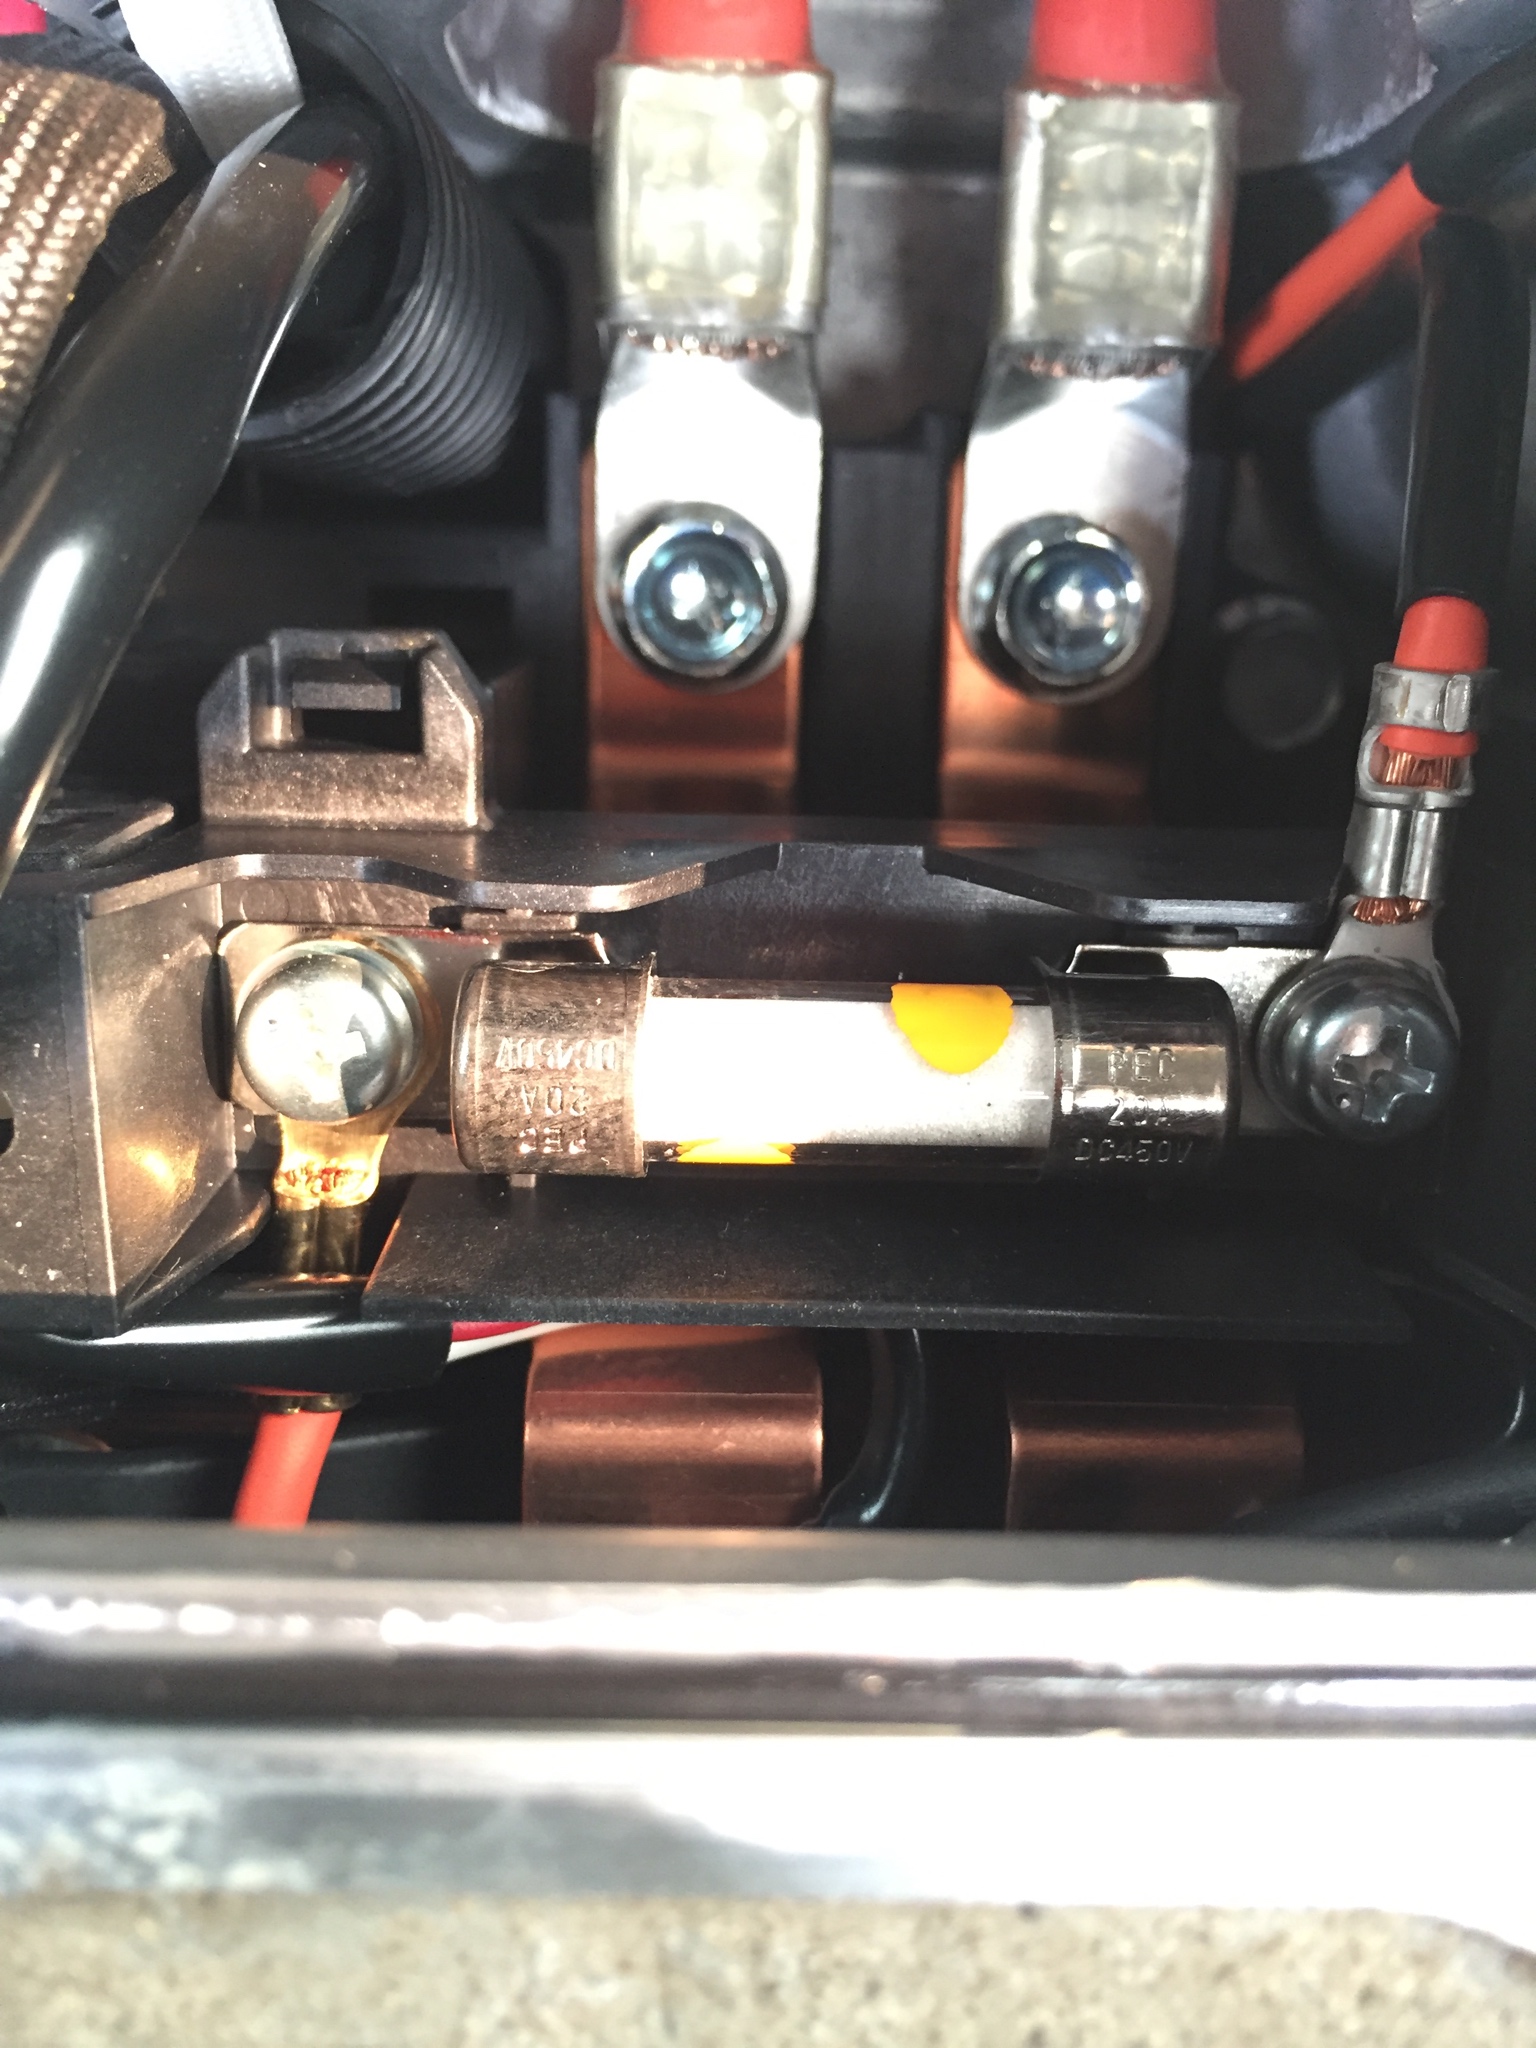
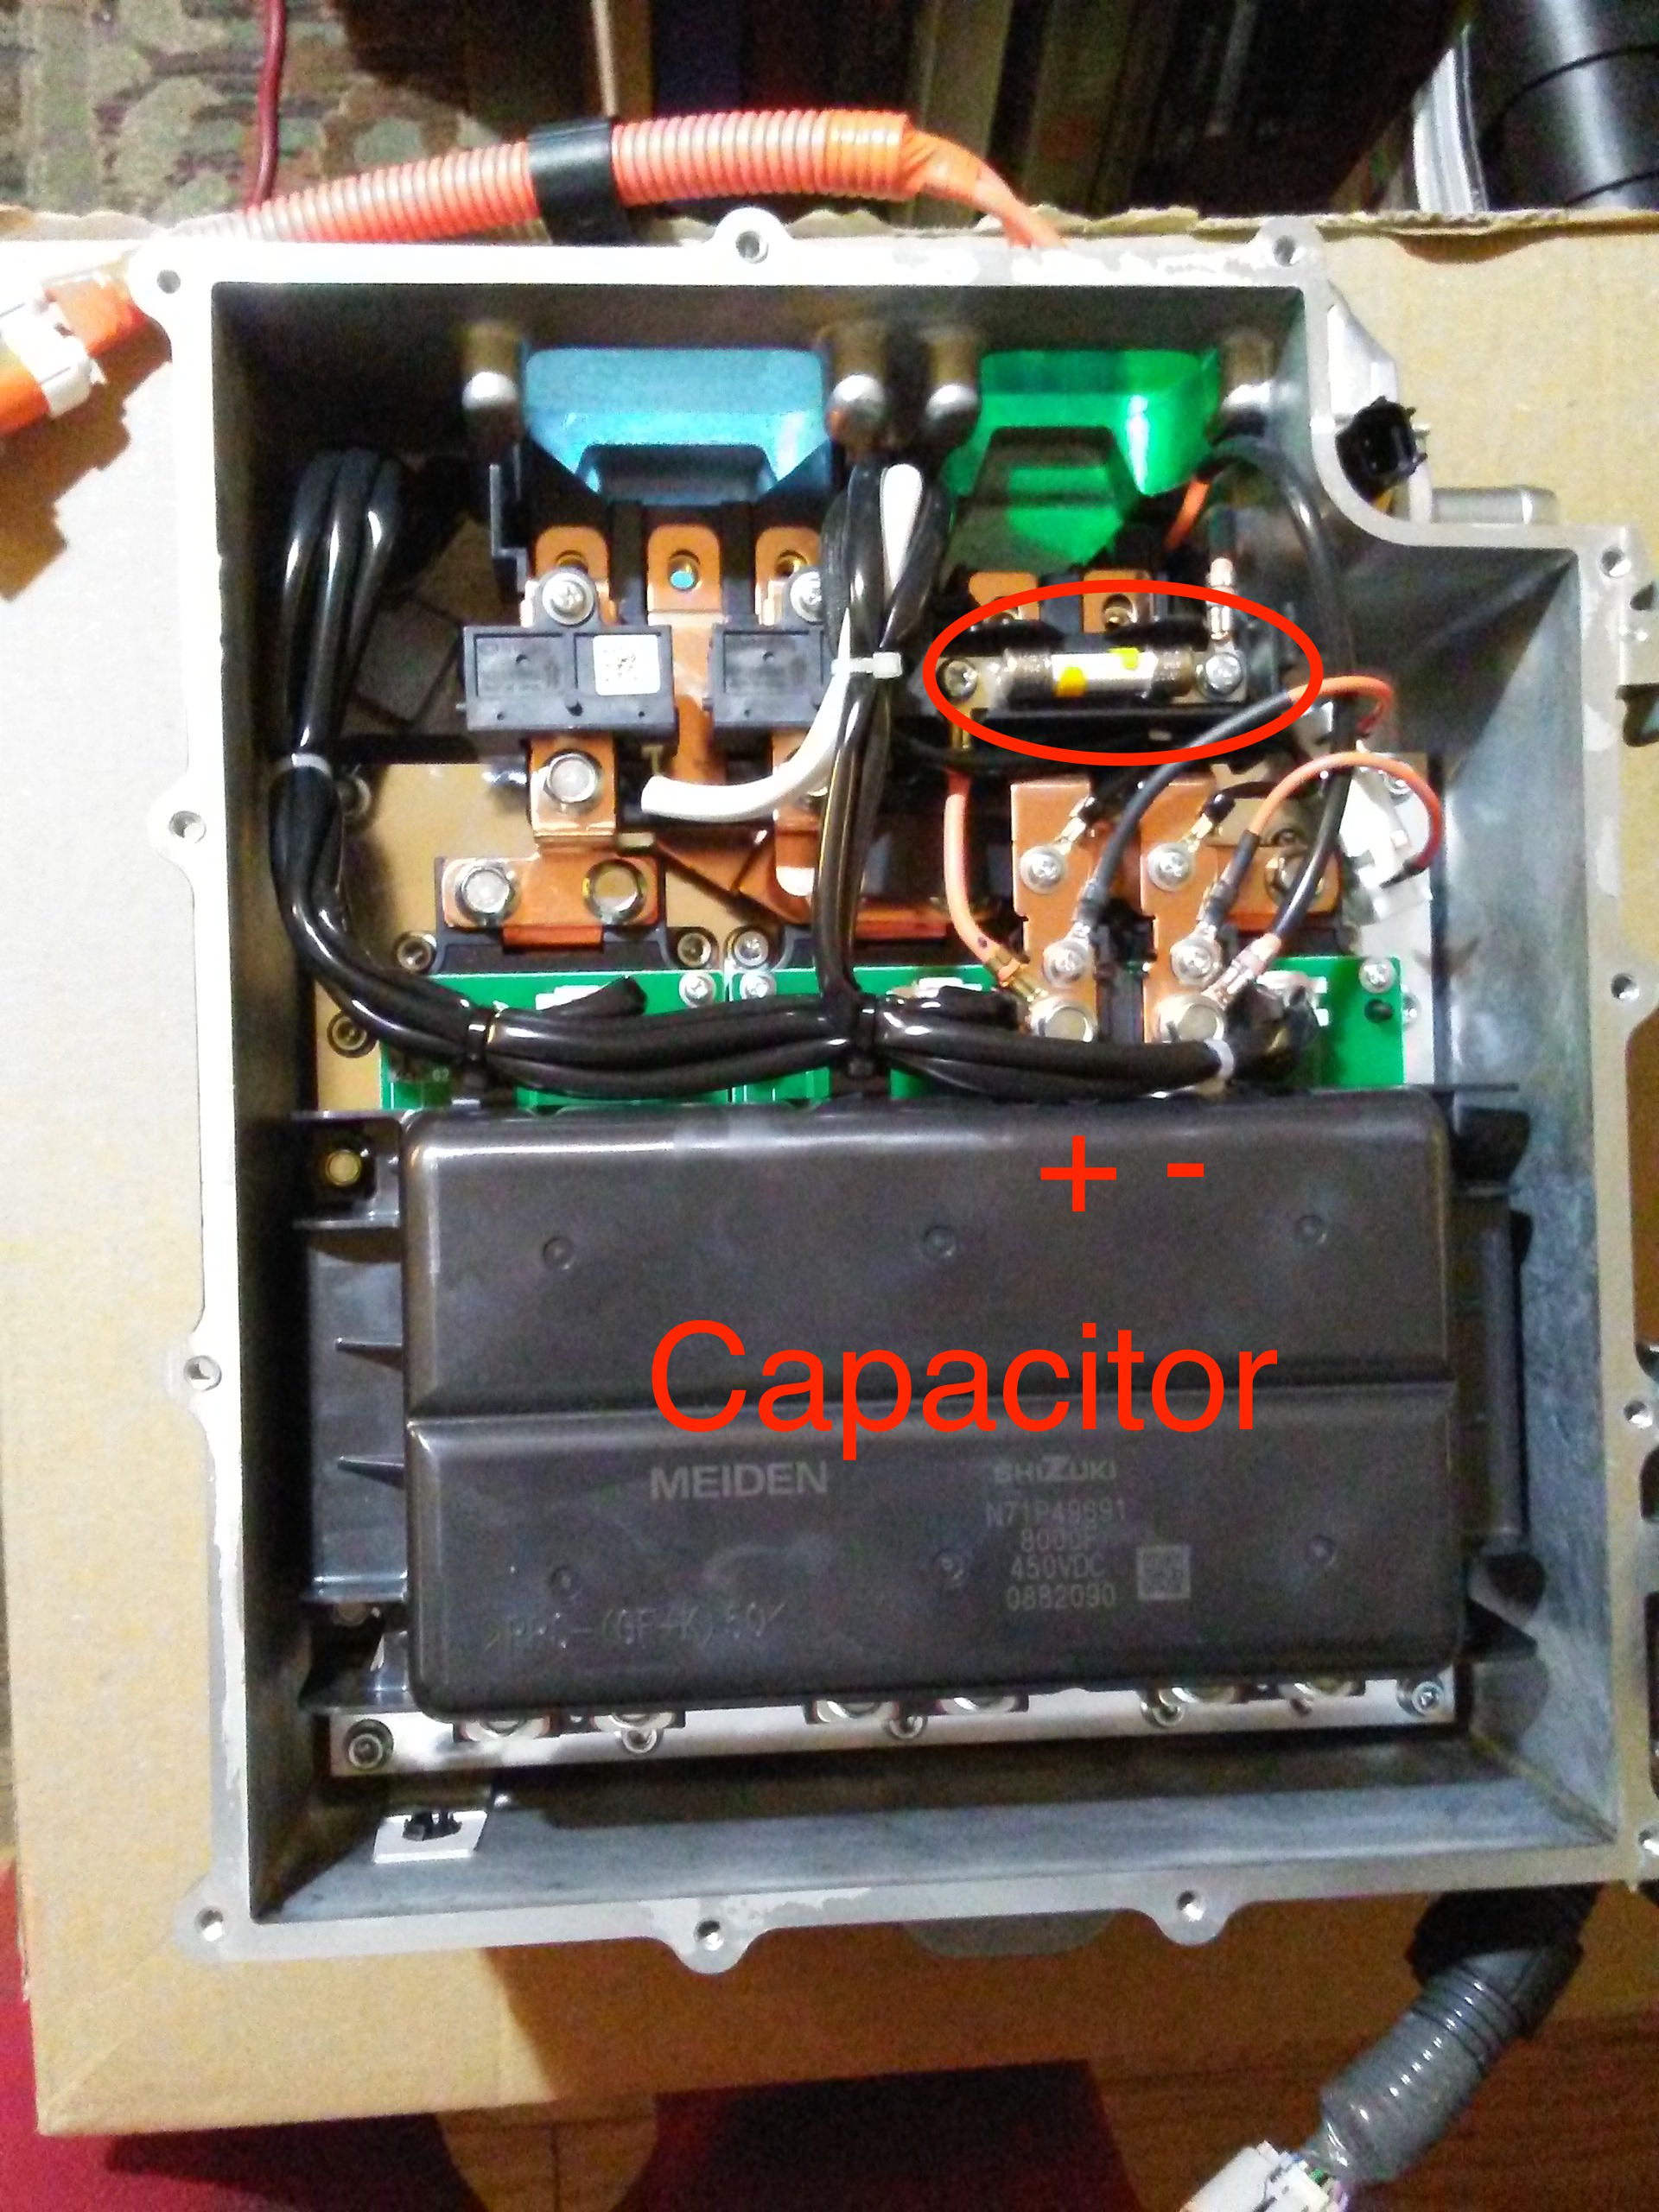
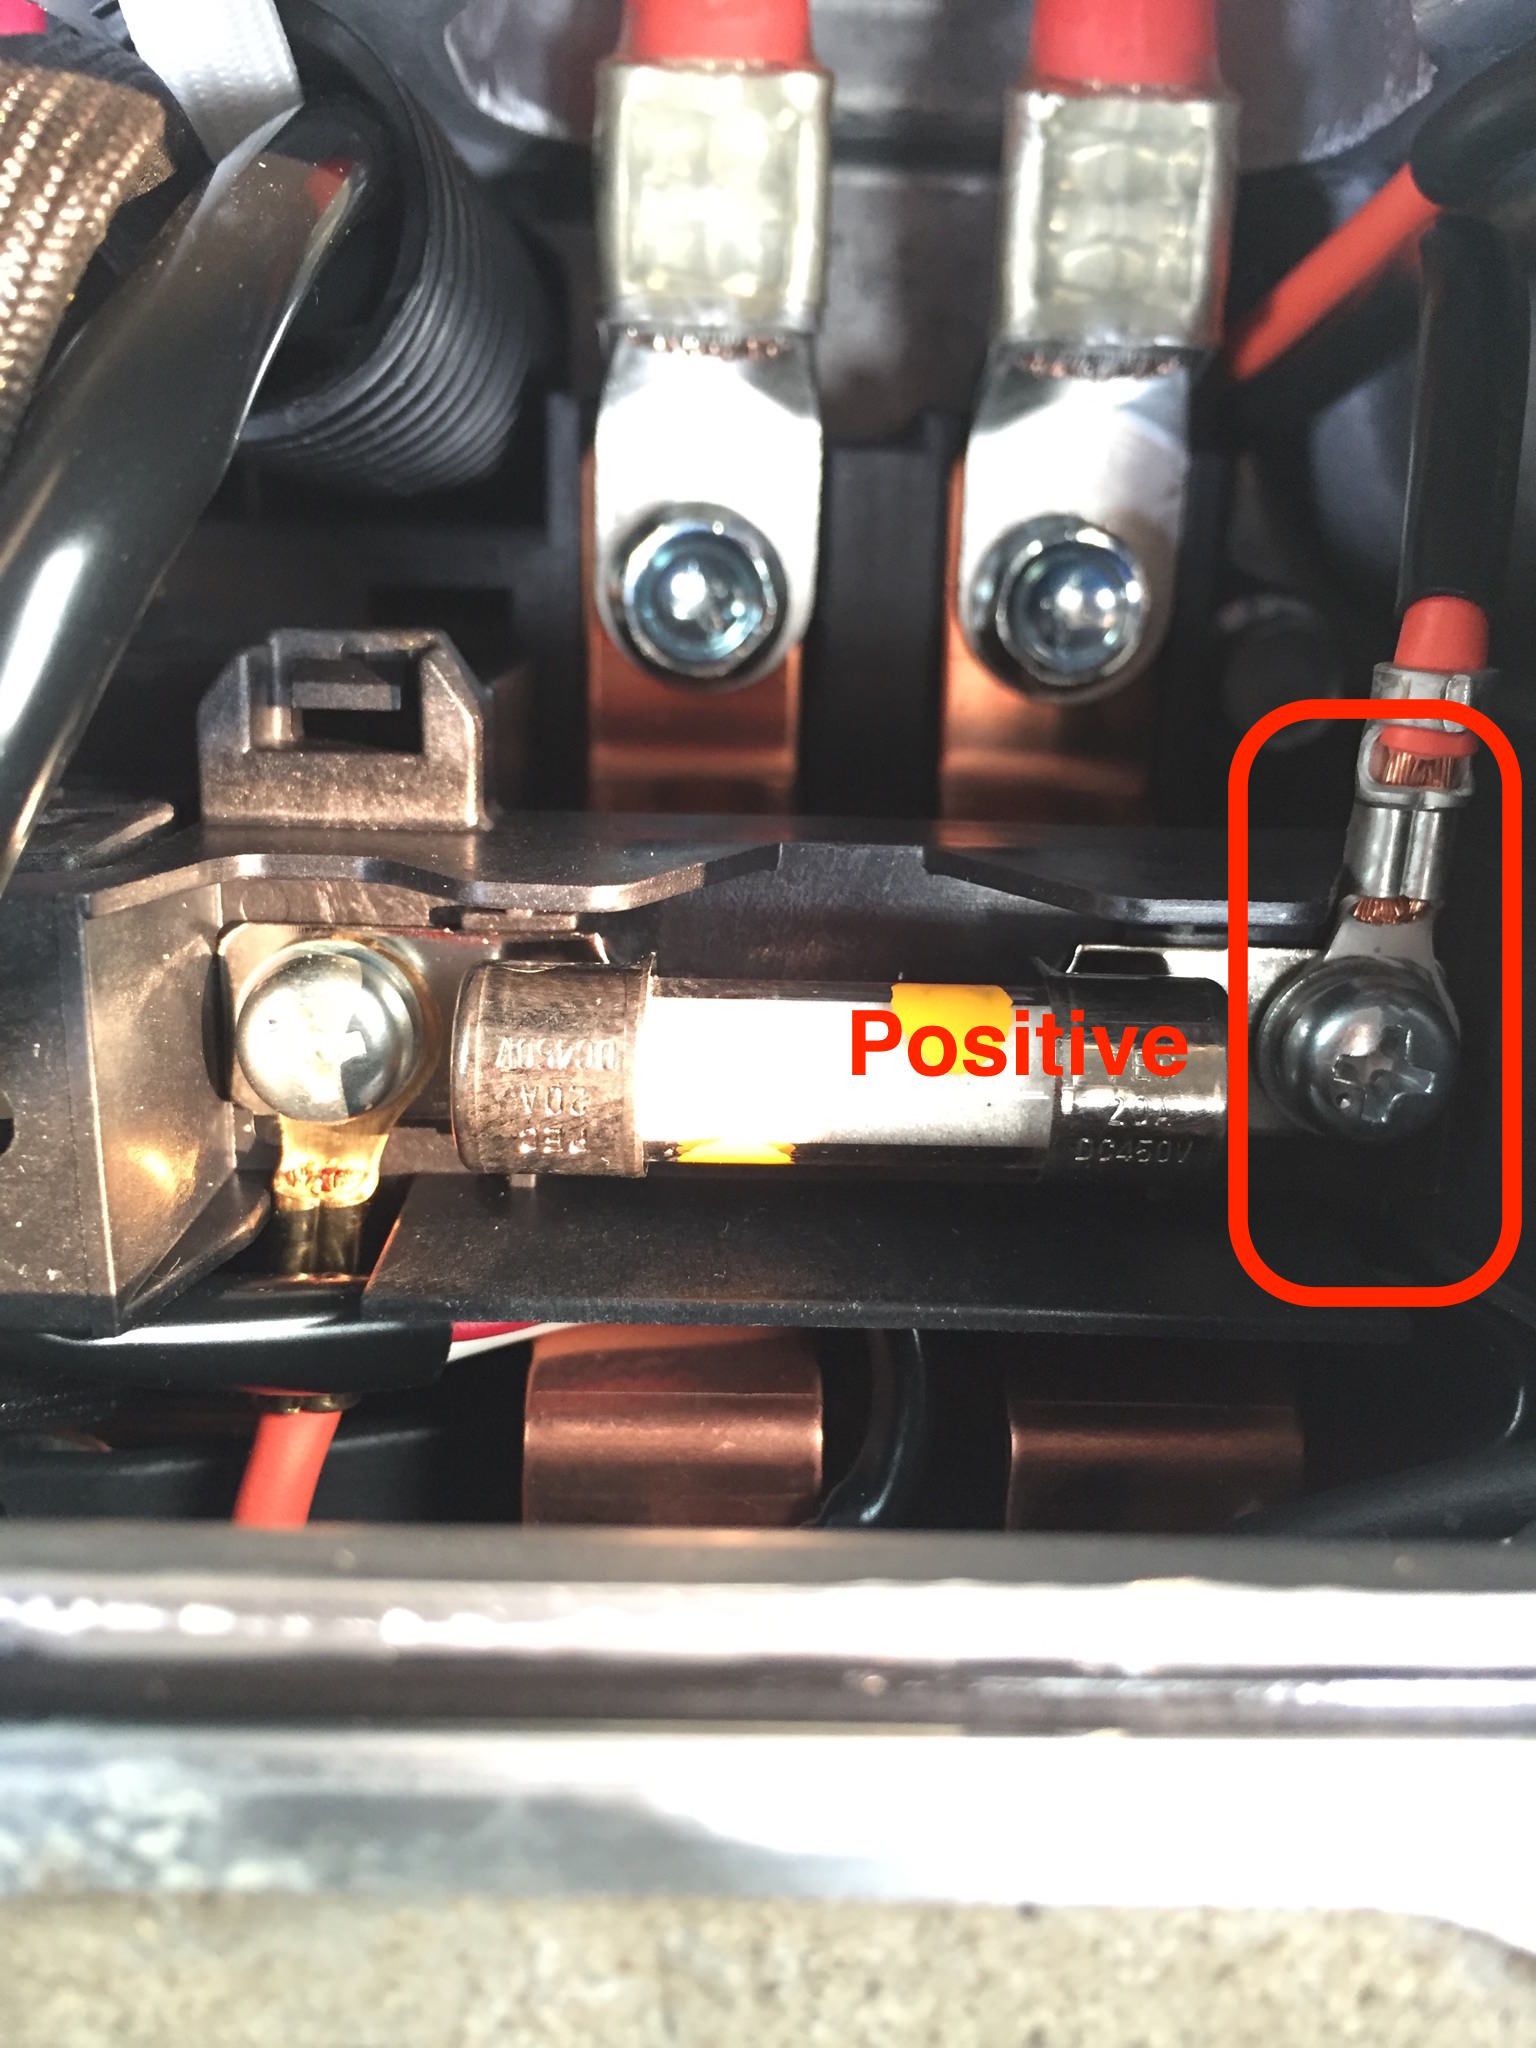
Here is the 2012 polarity marked for the MCU with the cover open. If you have a voltmeter that will read up to 400VDC, then you could turn the key to READY and verify the polarity at those connections in the MCU. The Positive from the charger connects to the fuse, the Negative bolts directly to the (-) buss bar.

tEh7pHq.jpg


I've got all the other connections worked out, and as soon as I can solve the these issues with the HV cables I can hook it all up and test it.

Here it is marked the connection from the OBC to MCU at the fuse, the Positive or Red wire, will attach to the fuse.

wQNX36A.jpg
 
It has been a while since I've seen this!

zhpc90P.jpg


Thanks Kiev!!!!! I'm very relieved. Its been charging for 3 hours now and it's almost done.

I need to improve some of the connections and make them more permanent but now at least we know it works and at least a 2013 charger can be fitted into our cars.

A huge Thank You to everyone who helped out.

Pete
 
1pk- congrats on the repair! Which yard in Tacoma crushed a car after radio removal only? A very nice black car was auctioned recently here and I haven't found where it landed. If you were after the blue n white car at B&R Auto Wrecking, take some solace that I got basically EVerything BUT the motor before it was crushed...
 
Thanks Jray. It feels good to have it back on the road.

It was B&R in tacoma. I’m glad you got to it. It seemed unlikely that they would not salvage it before crushing. Is that the inverter you used?

I’m hoping that the new inverter design was to make it more robust.
 
Yes, that's the charger that I transplanted. The motor and inverter are still in the B&R warehouse (well, at least I saw the motor). They had no clue on component naming, so I negotiated down the charger price. True-to-form, their manager sits behind a one-way mirror and that *** behind the glass would never come out and speak to me in over 18 months and $2k of buying parts off of that car. He crushed it right after I offered to buy all that remained, but he wouldn't budge from a $4k price!!
I worked in a wrecking yard during college- and those boys are a special breed..... :roll:
 
How did you connect the wire that was different from the other one?
Which wire do you mean? Do you have a picture or description because this is quite nebulous?

The fat white wire coming out of the bottom of the OBC, is the 12V output of the DCDC converter and it runs up front to the positive terminal of the 12V battery.
 
Back
Top