[ The P1A15 Troubleshooting Thread ] No READY. P1A15 error. Condenser charge timeout.

Mitsubishi i-MiEV Forum

Help Support Mitsubishi i-MiEV Forum:

This site may earn a commission from merchant affiliate links, including eBay, Amazon, and others.
That's some good troubleshooting, especially adding the heater.

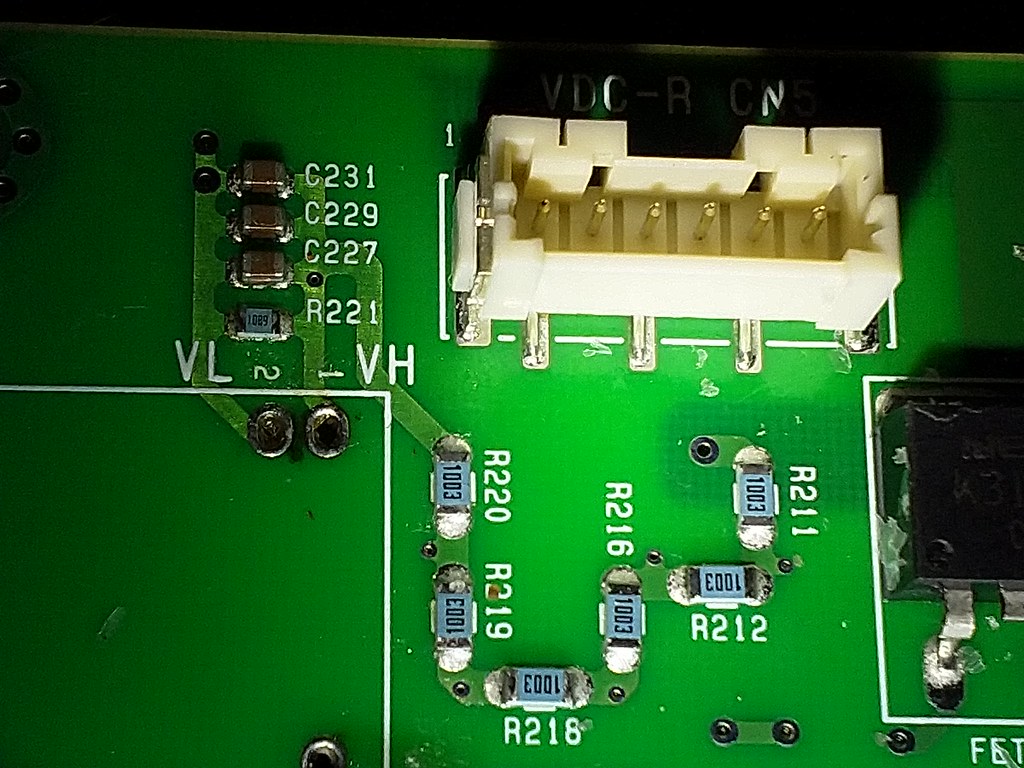
i would guess that there is a ceramic capacitor (C227, C229, C231) that is leaking as the temperature goes up. i chased something like this in a Volvo fuel injection computer years ago.

Maybe you can repeat this and then use a can of cold-spray with a small tube tip to aim it at those parts one at a time to find the culprit. And check this on the resistors in the voltage divider if it is not a bad cap.

Good luck and let us know what you find.
 
Yesterday I had a chance to continue troubleshooting the issue with the P1A15 error when the car is hot.

At first I have to tell you I already had a "fix" last year for this issue based on the recommandations from a member from the German forum goingelectric, unfortunately that fix worked only for a while and due to the measured voltage drop which is temperature dependant, the measured Vcap go below the threshold and does trigger the error...again.

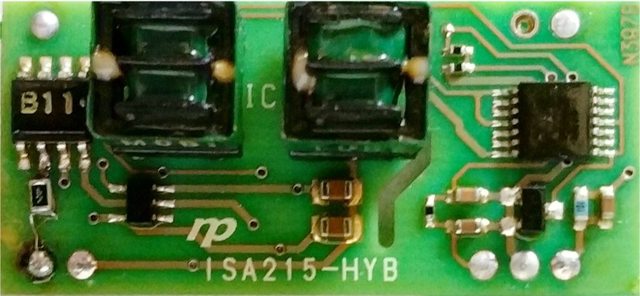
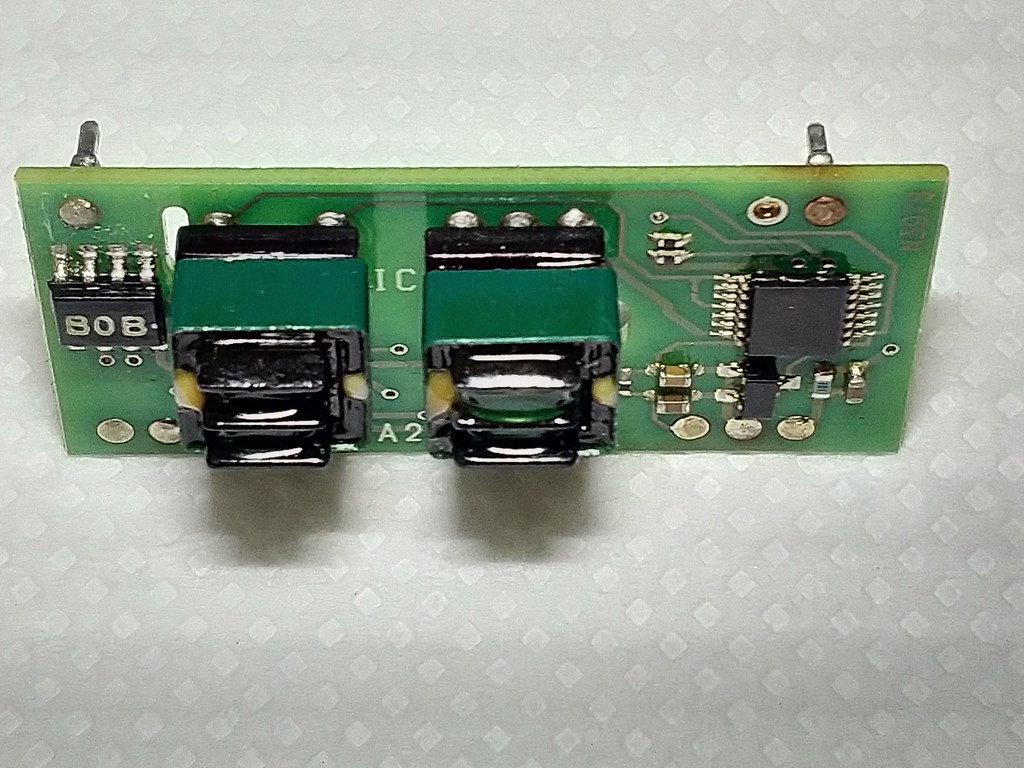
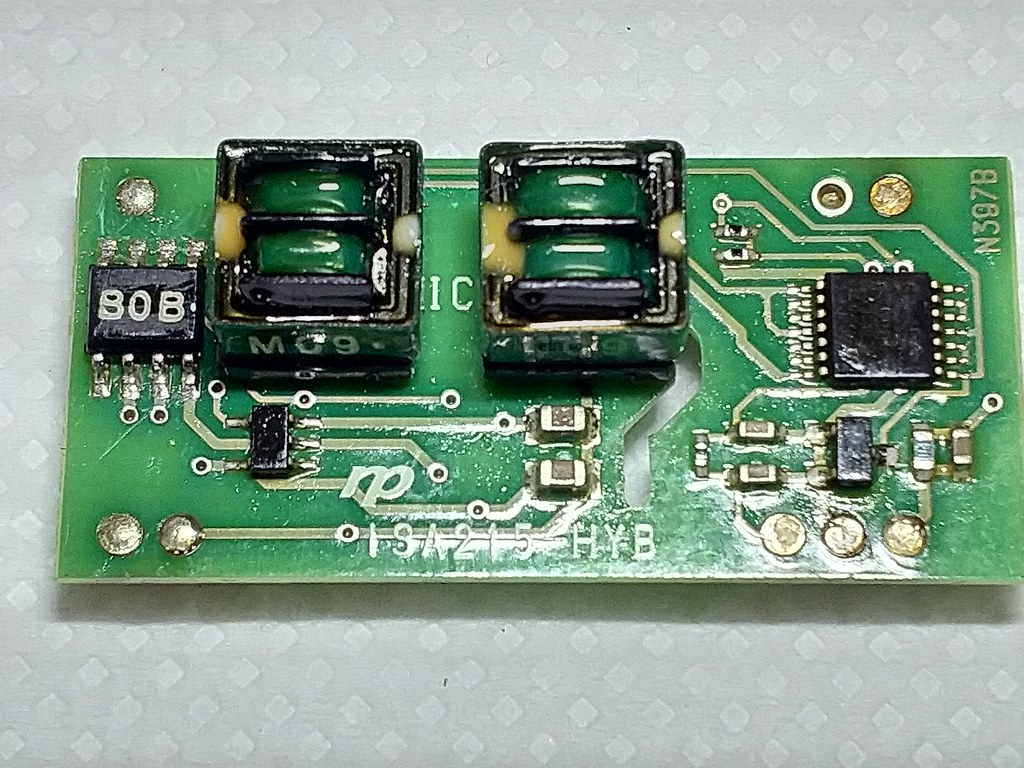
That "fix" consisted of a 4Mohm resistor soldered between pin one on the Nihon isolation amplifier board and the soldering point right in front (pin 2 of the SMD chip)

file.php


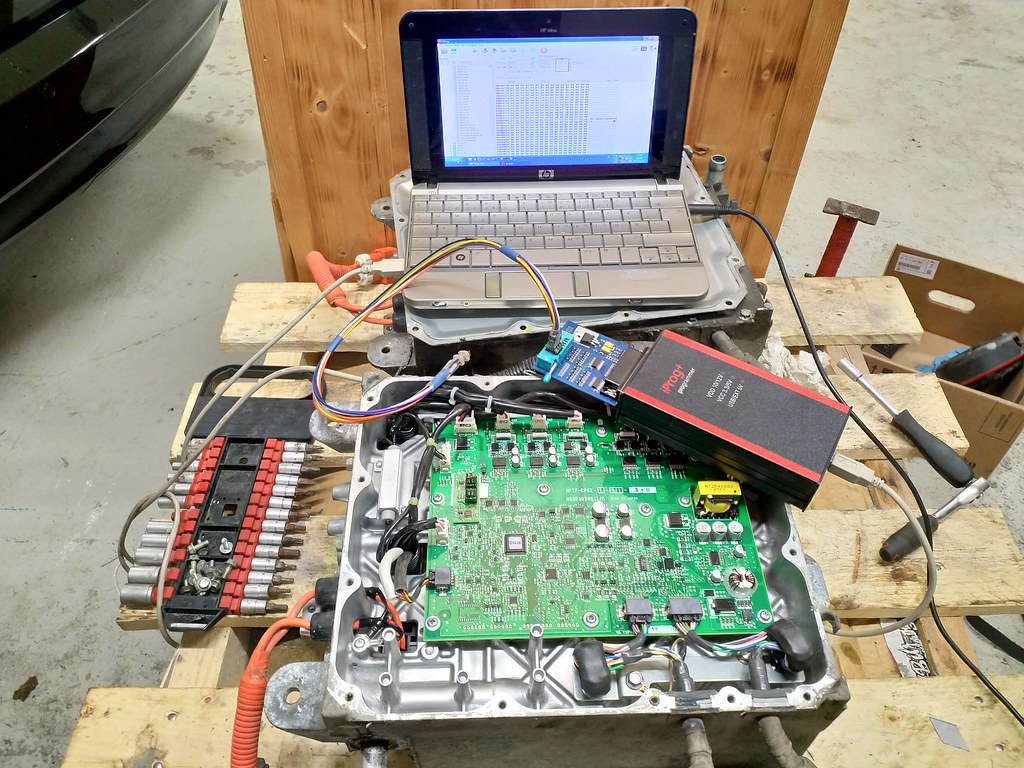
So I removed this resistor (cause the error appears anyway) and I installed the MCU back in the car:

Outside temperature 25°C/77°F
V Batt: 353.7V from BMU
V Capacitor: 340V from MCU
P1A15 triggered in the ECU

I then decided to solder again the 4MOhm resistor but now with a second one on top (Requivalent = 2MOhm)

V Batt: 353.7V from BMU
V Capacitor: 356V from MCU
No errors
I applied more heat on the board with the fan heater, VCap dropped to 354V then 352V but still no errors, I was able to switch off the car and put back in Ready several times.

Since the 4Mohm 0806 SMD format are tricky to solder, I ordered new 1206 SMD 2MOhm resistors, so will be able to do a better soldering job, will put the covers with sealant and declare a successful fix or workarround for my issue. :)
 
Thank you for sharing your test results and repair notes. The photo link requires an account, so i'm reposting it over here. That mod attaches to the inverting input on pin 2 of the op amp.

UFACkBPl.jpg
 
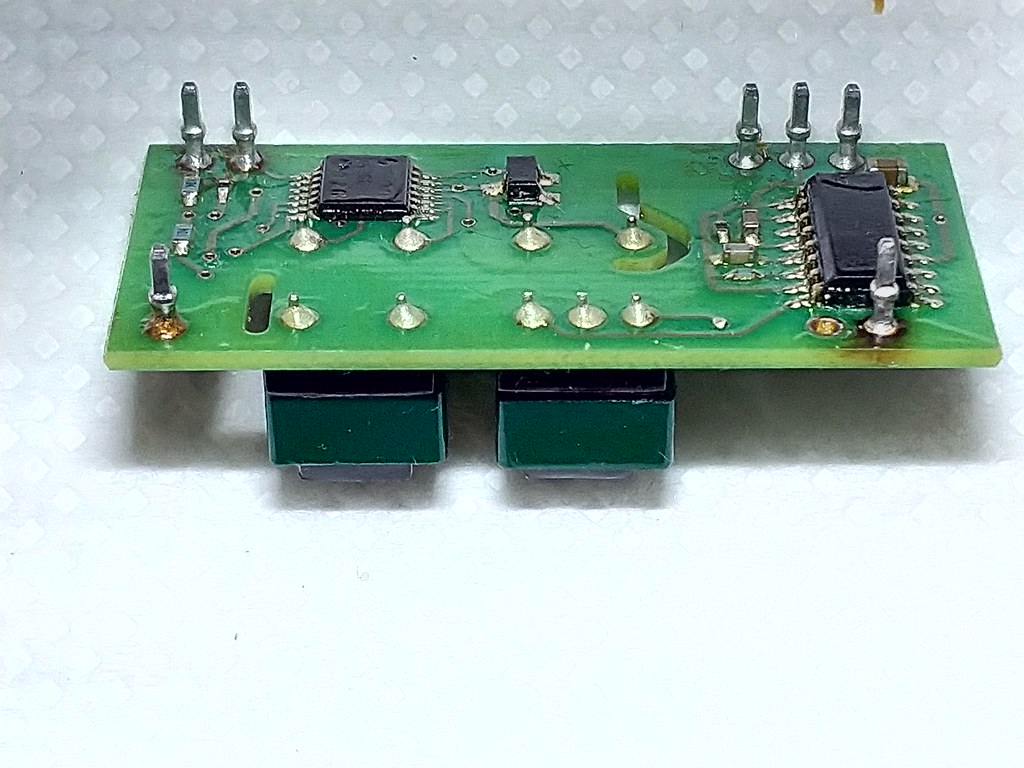
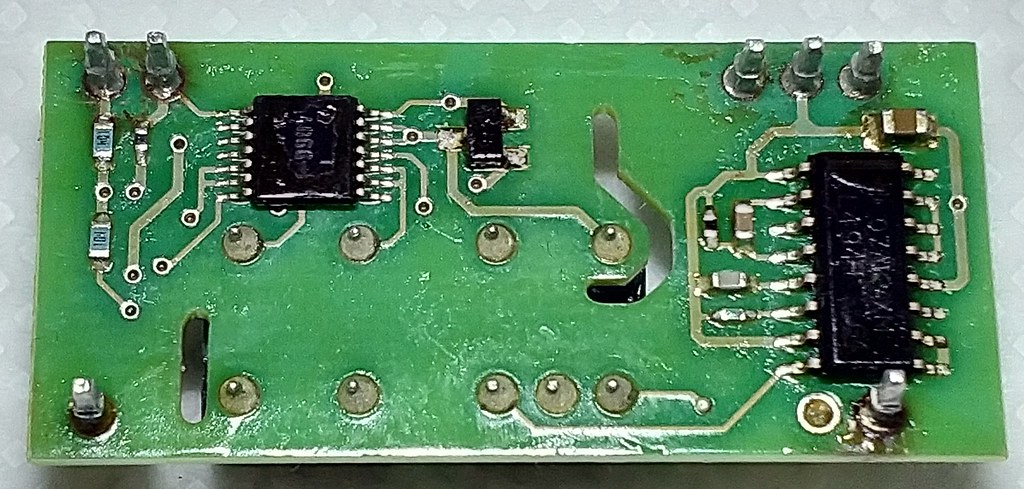
Would you happen to have a picture of the bottom of that board? Maybe it wasn't removed for the repair, but i would be interested to see if possible.

i now realize that ChristopheFR on mymiev is user: cvelec on the French electric vehicles site, and he has some great photos of his replacement of parts in making repairs.

[edit: the scaled-down High Voltage measurement is fed thru a 100k resistor on the bottom layer the ISA215 to the inverting input pin 2 of the op amp; there is another 100k feedback from Output pin 6 to pin 2; and a 50k on the non-inverting pin 3 to ground. So it is a unity gain inverting amplifier. By adding resistance on the top side in parallel with 100k input resistor, the effective gain can be increased Vout = -(Rf/Ri)*Vin , and it can be twiddled with to get some value such that it think Vcap is within the allowed limits for the precharge by the pack.
i measured the C227, C229 and C231 surface mount capacitors as 390 nF (100Hz) for a combined ~1.2 uF at the pin 1 input of the ISA215 board. They are in parallel with the little blue precision voltage divider resistor R221, which was 6.8k in the MCU that i have dismantled. So the rise time constant is ~0.72 sec and 3x is a little over 2 seconds. So i'm guessing that the ECU waits at least 2 seconds after precharge to sense the Vcap.
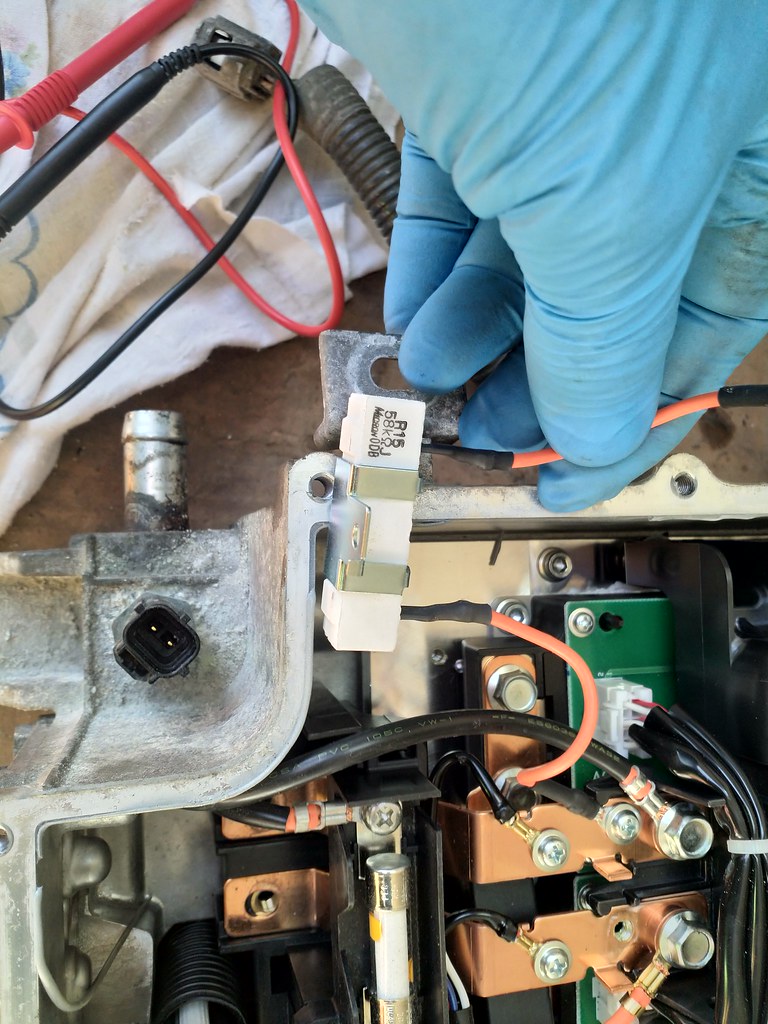
i suspect that one of those capacitors is leaking. It can be tested on the bench with a 30VDC power supply at the via by R220 and measure the voltage divider at pin 1 of the ISA board. then heat those capacitors and watch the voltage for drop.]
 
Hi, I'm new here, but as I see the problem with the code P1A15 is quite old.
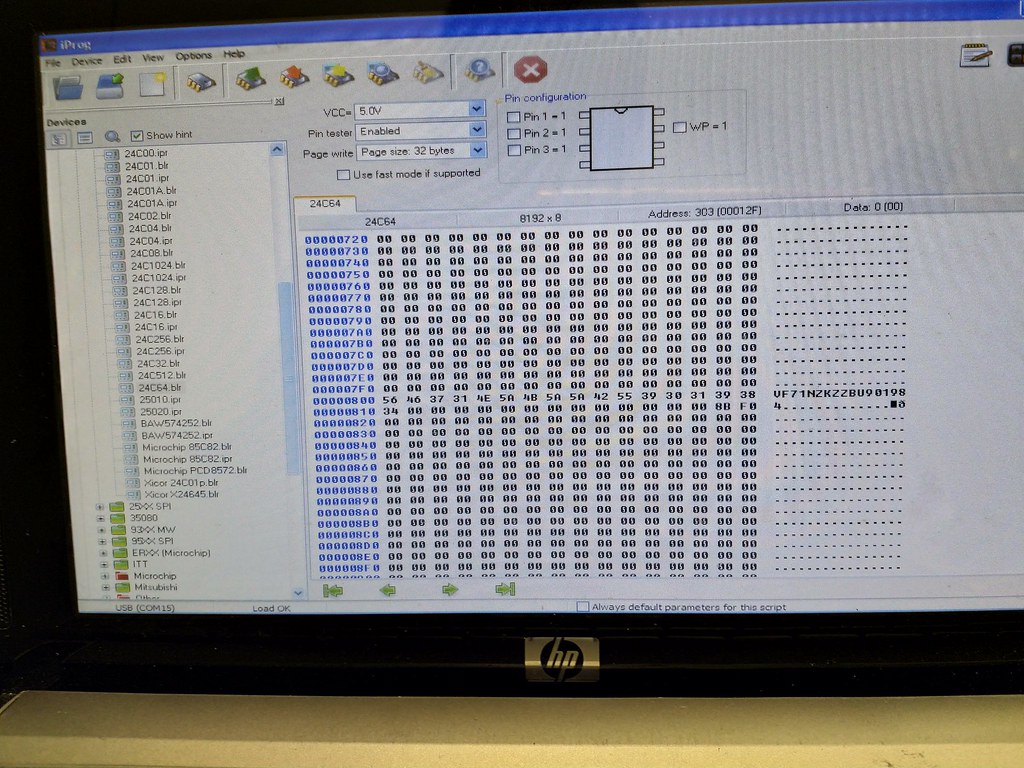
I have a question for you, gentlemen, if you can instead of coding the immobilizer after changing the used MCU, replace the EEPROM on the printed circuit board or rewind its contents. Does this EEPROM 24C64 contain the necessary data to start the car, or is it some other chip.
 
Hi Stan051, welcome to the forum.

I presume you have access to the i-MiEV manual?

http://myimiev.com/forum/viewtopic.php?f=19&t=2802

For example, DTCP1A2B is called a Three-phase Line Error and is discussed starting on page 54D-448, although judging by your questions it sounds as though you're ahead of the game already and I realize the manual does not answer your first question.

Good luck, and sorry, I can't be of help. Perhaps some else?
 
Hi. I was able to flip the content of eeproms, after mounting the used MCU the car is driving great.
But still the original inverter has not been repaired. It's infected with the P1A2B code, I'm determined to fix it.
Out of curiosity, because the car is already functional,
and the disgust of defeat remained. Thank you all for your help. and greetings from Norway.
 
The troubleshooting for the P1A2B code checks for loose connections, faulty shaft encoder, or degraded high voltage insulation. and if those are not found at fault, then to replace the motor.

Since you have the car working with another MCU, that would seem to point that the motor is okay and the fault was within the MCU.

Since the code relates to the measurement of the 3 phase currents of the motor windings, i would think the current sensors might be faulty, so that is the first components to check. The sensors are in the top plenum, the excitation and signal conditioning circuits are in the bottom plenum. Have fun and let us know what you find is the culprit.
 
Hi all.
Before I fixed that car with replacing inverter I swap that print boards to check that you meant about current sensors, they are OK in both Inverters. Problem seems to be on the way to them. Manual tell as that that P1A2B is registered after is sensed 50 A different between them. BUT I also took them out from lines they sens and in that moment there is no any different and Code still in place. The missing power AC must by caused by lack of signal to main switches MOSFETS. One more when that code is registered car is in READY mod , if I move gear shaft to a D or R position warning light come ON and cut the RAEDY mod OFF.
To me looks like there is one more system that oversees problems before Main MOSFETS. I m going to dig deeper.
 
So only one of the MCU has this problem? And you swapped out the entire bottom board to test that the current sensors were okay? All the little connectors were verified to be inserted okay?

Did you have a tool to clear this code from the EV-ECU memory?

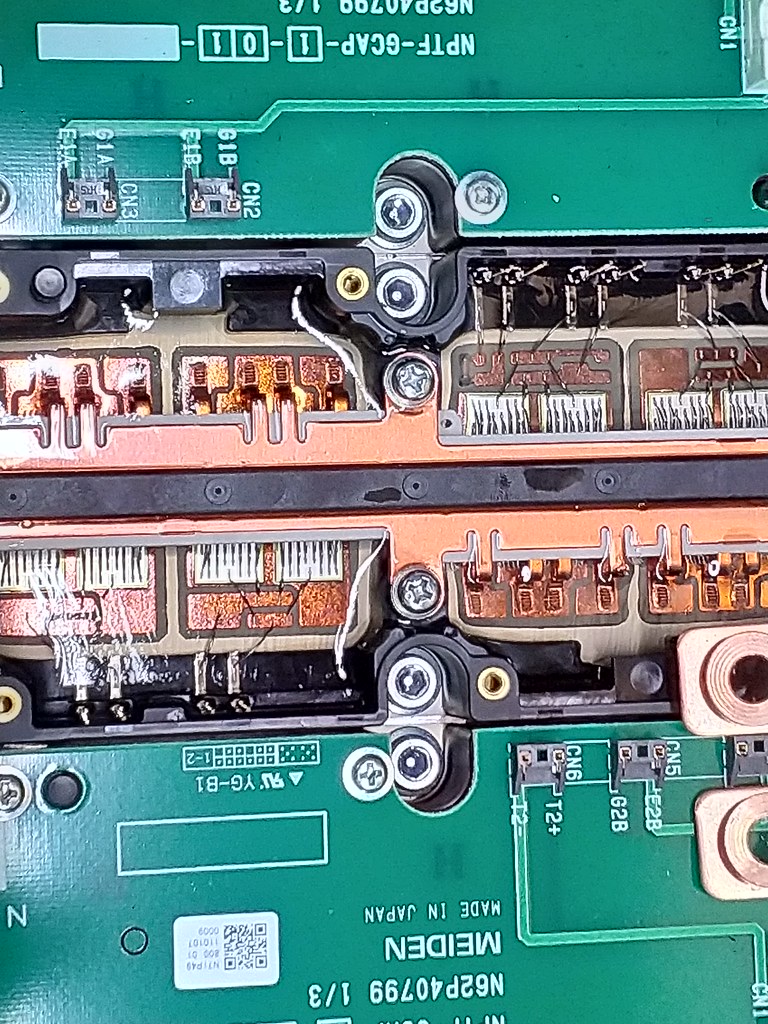
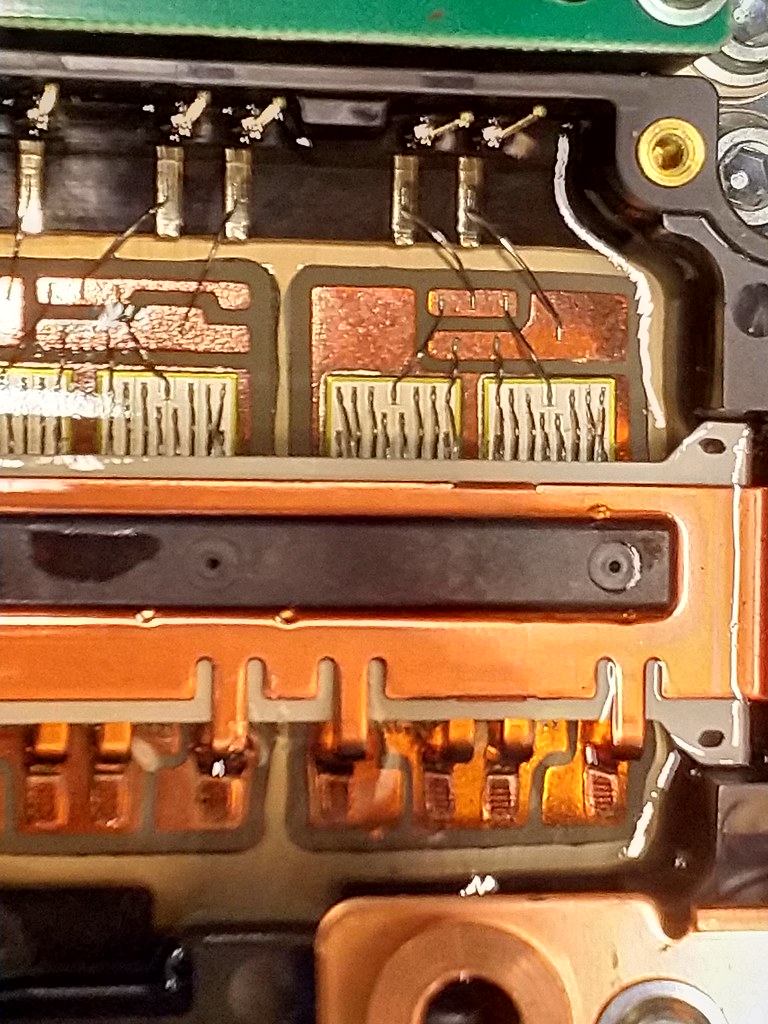
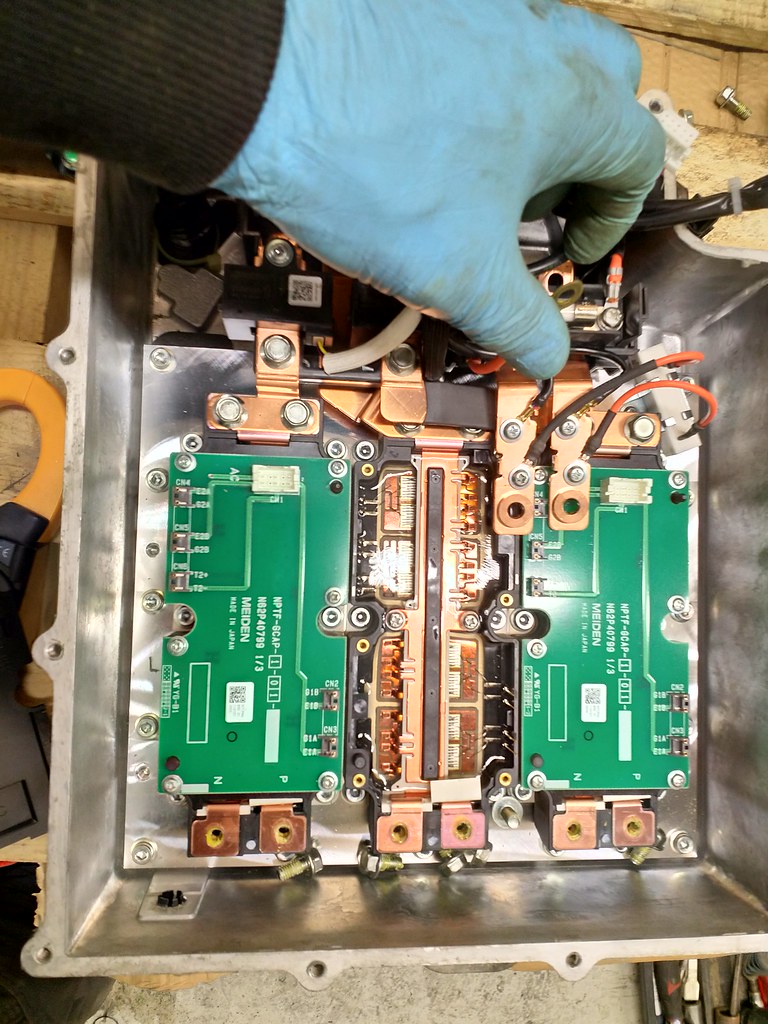
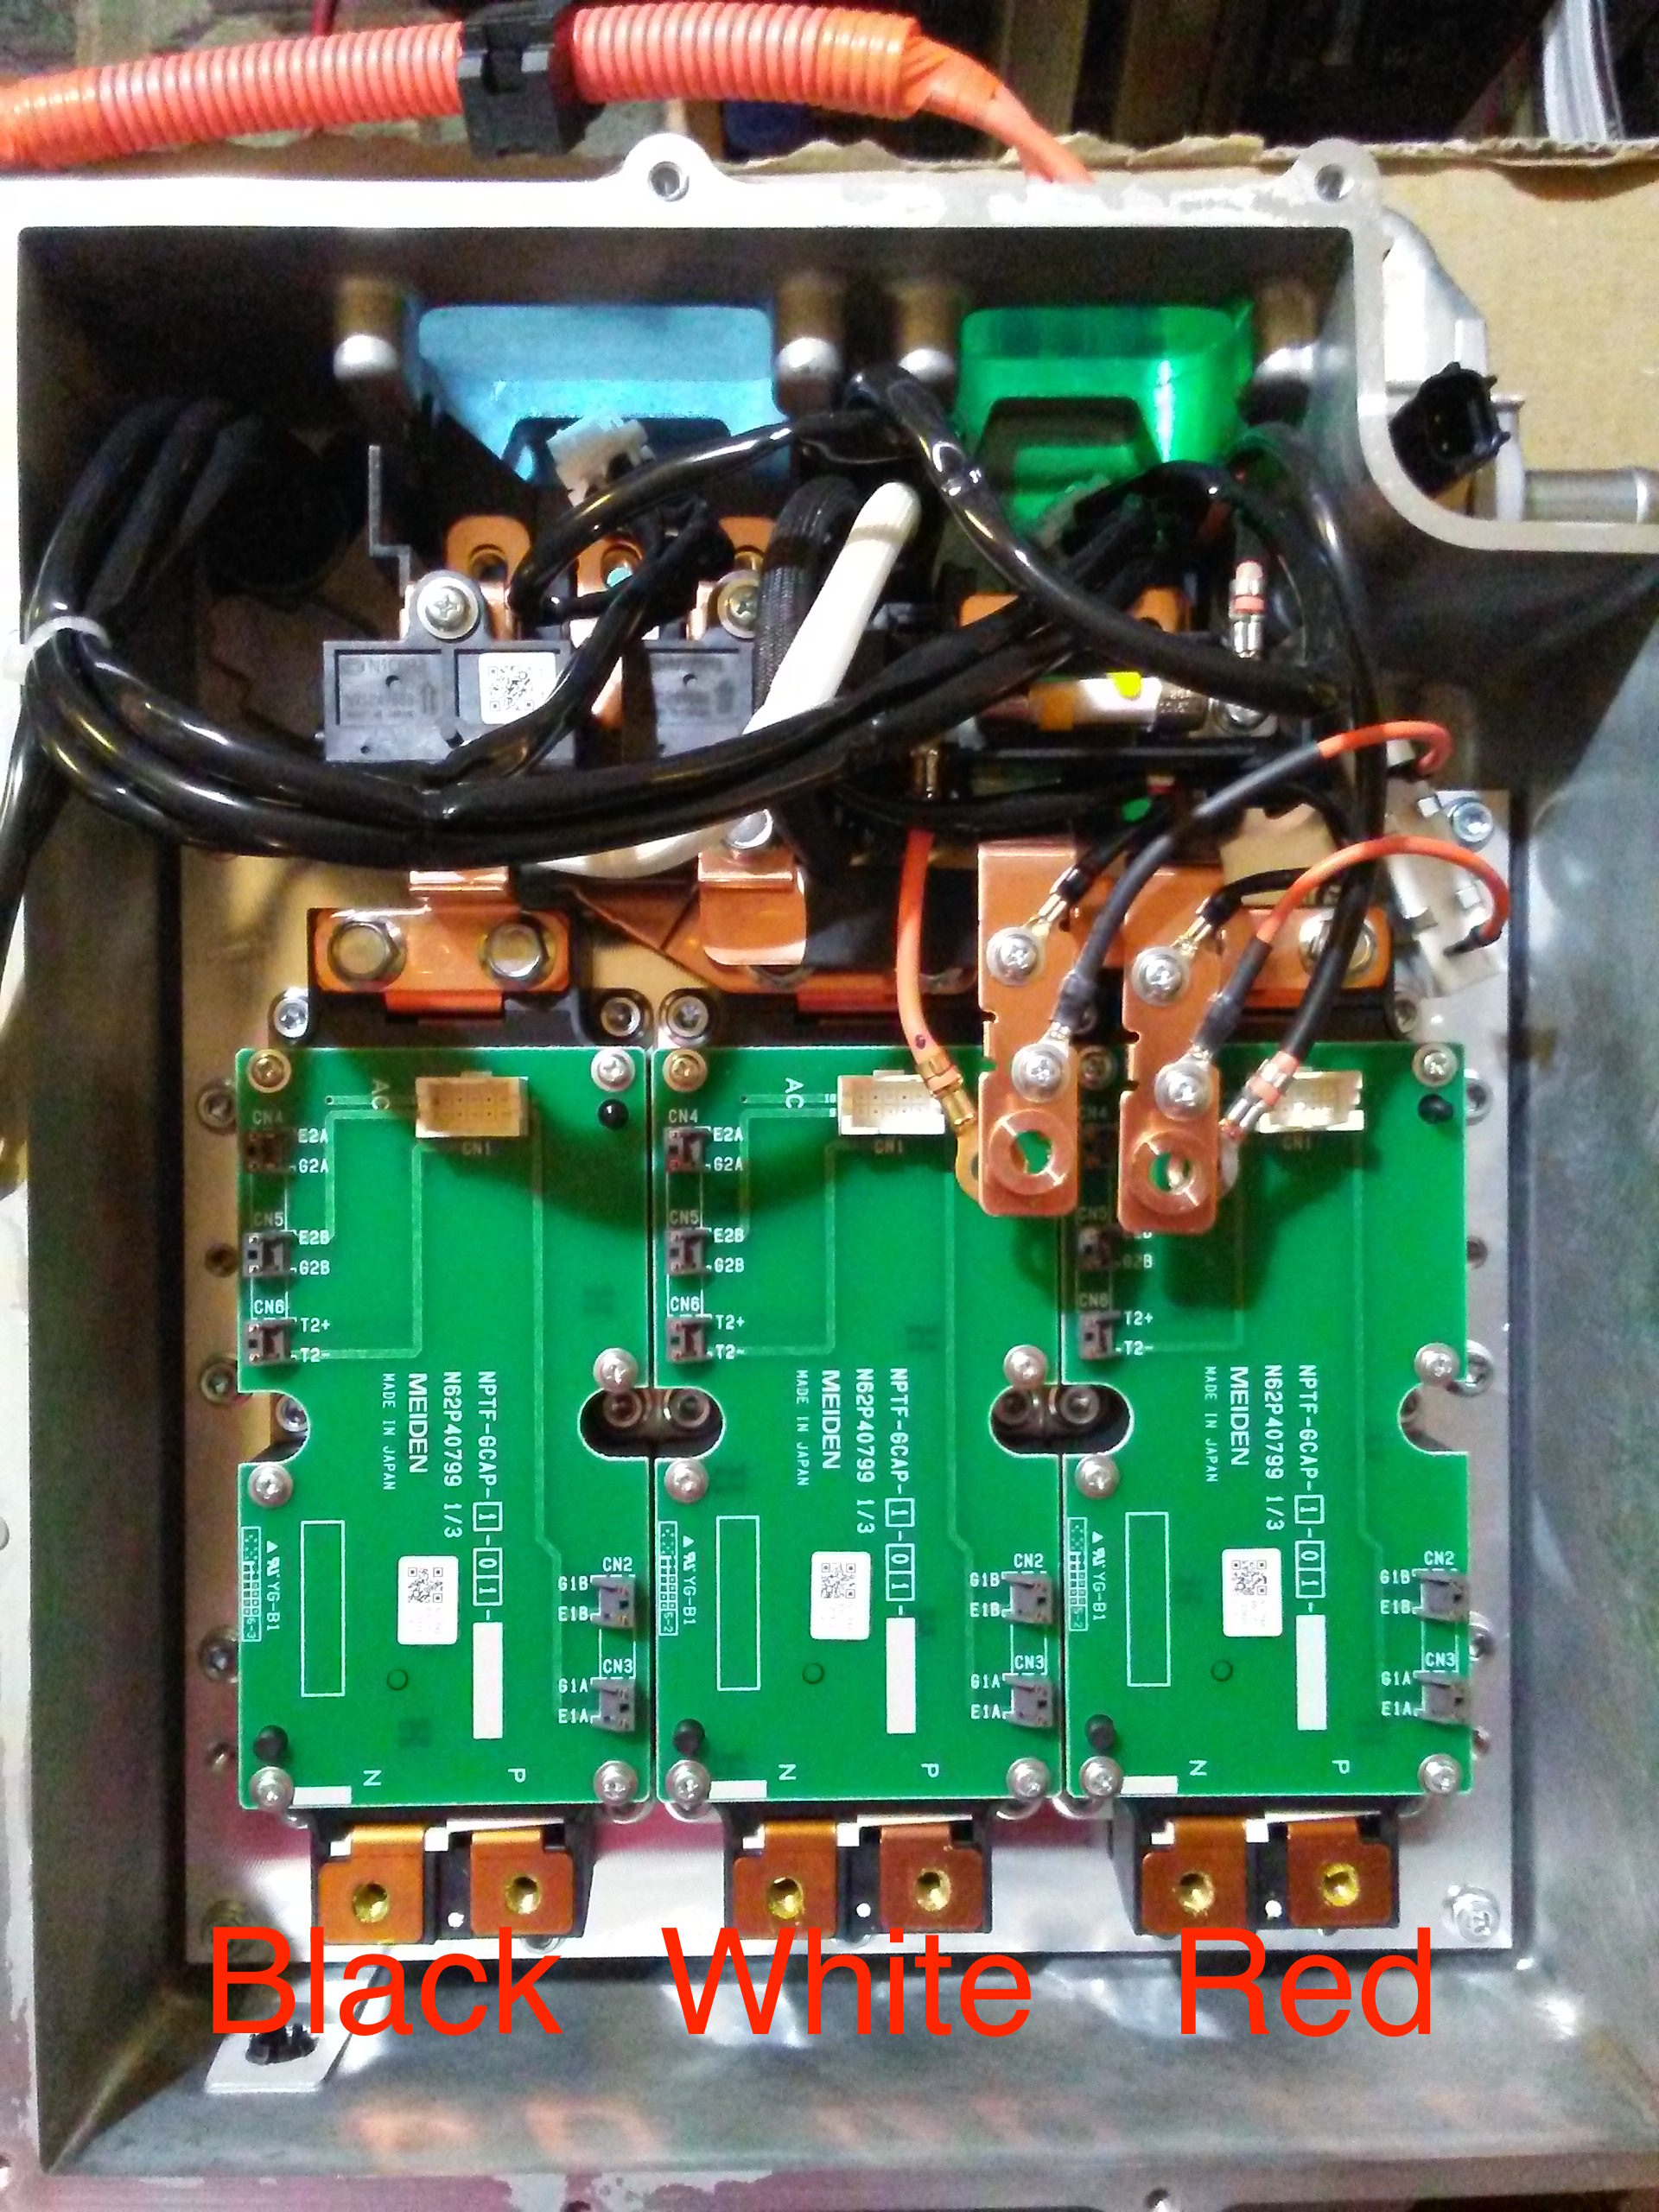
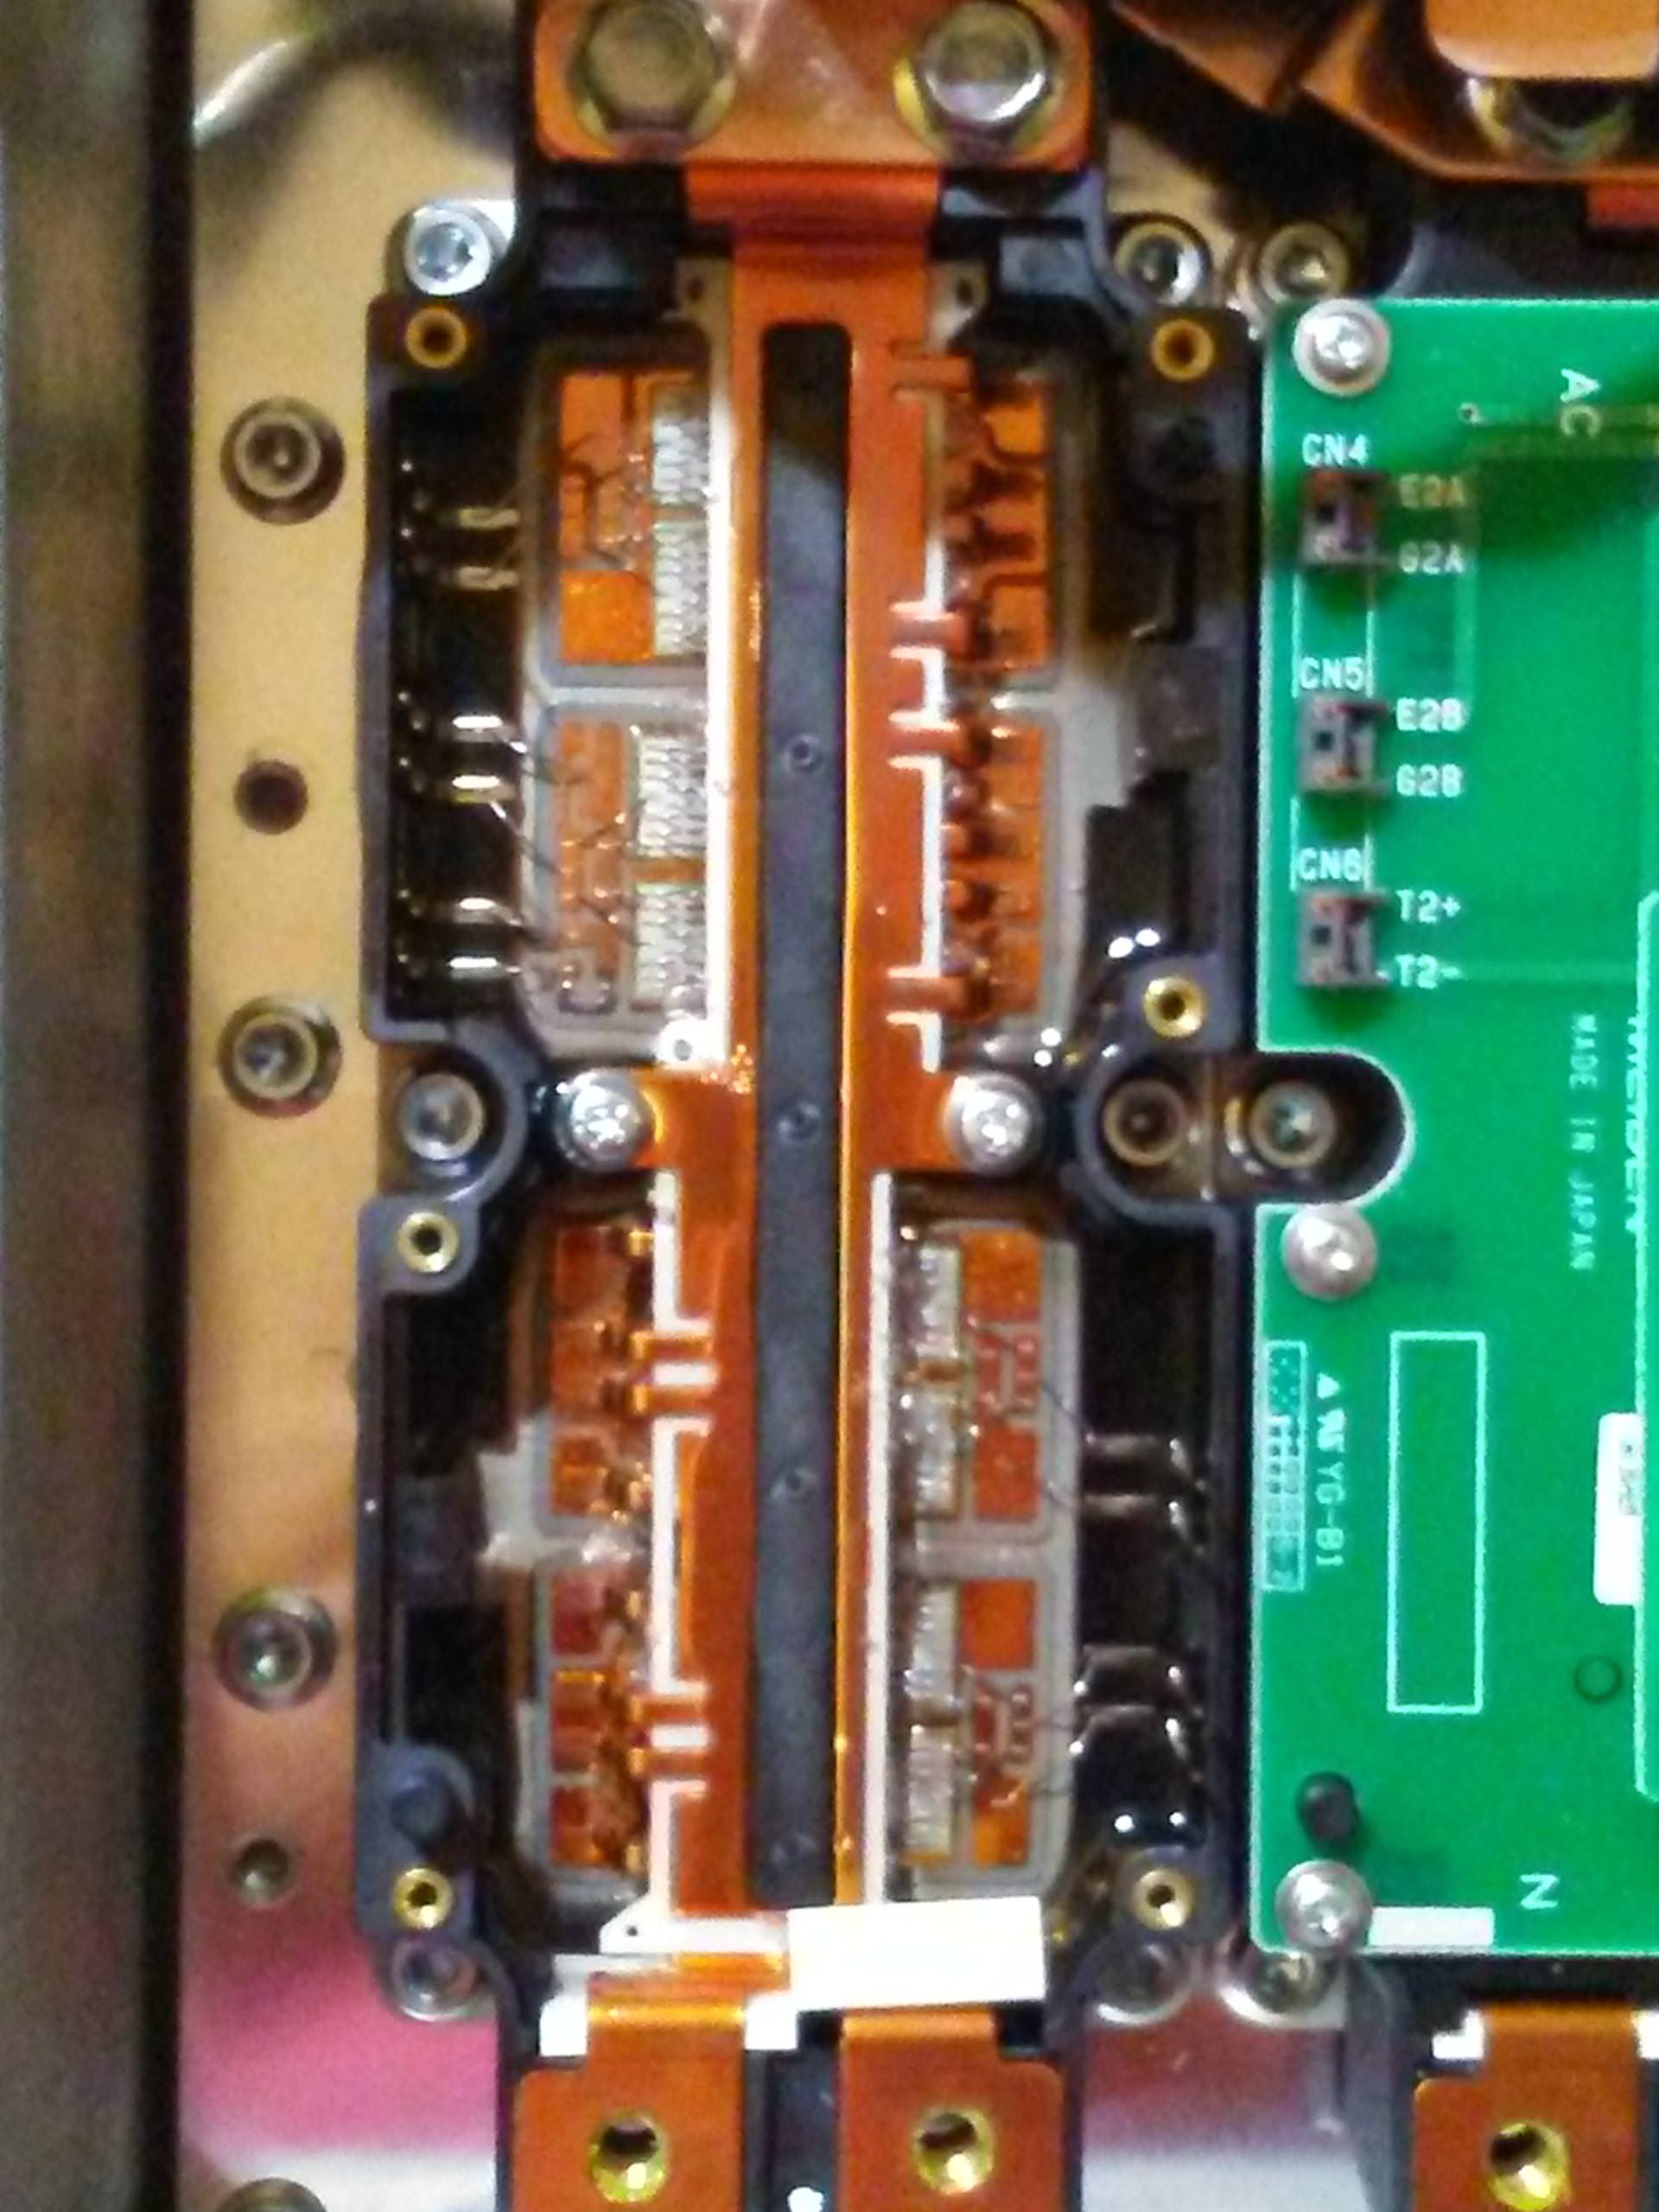
There is another thread with pictures of the boards and IGBTs, the cover can be removed to visually inspect for damage to the dies.

This is the 3 big IGBTs underneath the big capacitor
mywUO5C.jpg


This is the guts of a IGBT with the cover off to inspect for burn damage, there is a clear jelly filling
eJVJ7x7.jpg
 
HI.
That is correct what you saing. I did seperte high voltage unit that you pictured 3 series of FETs ,from control board (green print board ). And problem stays in control board.
After I swopet content of EEPROMs ( Immo and Vin Nr.) Car is working.
 
Hi Stan051 - you don't need our permission to post photos here.

For posting pictures on this site, you might look at some of the more-recent posts on this thread on the various ways you can do it -

http://myimiev.com/forum/viewtopic.php?f=13&t=1626

Basically, you post the photos to an Internet-accessible server and simply link to it by enclosing the photo's URL with Img /Img in brackets.

Looking forward to seeing your photos.
 
Stan051 said:
I have hope that pictures will be available..
They are, thanks. It turns out that flickr.com is one of the hardest ones to extract actual images from. Imgur.com is easier; you'll find a lot of images on this site hosted there.


Extracted below. I used "show source" (^U on my browser) and searched for the first occurrece of .jpg. Then copied the URL, and pasted them between [ img ] and [ /img ] tags.

49874338348_0e57f81253_b.jpg


49874339788_f788f3f50a_b.jpg


49875180707_642c4435af_b.jpg


49874340478_3239afae19_b.jpg


49875181647_93ff145b4e_b.jpg


49875184677_c3ec345a10_b.jpg


49874344513_349077f0d6_b.jpg


49874876576_de8965b6cf_b.jpg


49874348908_712575a169_b.jpg


49875194757_7148a49605_b.jpg


49874878456_61f1a3ee1c_b.jpg


[ Edit: fixed duplicate ]
 
atech said:
Where is the chip location that holds the VIN info in the MCU / invertor ?

It is U6 located nearby to the ISA board. See page 2 of this thread for a picture of the main board in the bottom plenum.

Did you get my PM from last year, it had my home email address if you have questions or need help.

Based upon our discoveries over the past year the issue is likely with either the voltage divider circuit or the op amp on the ISA board. These are in the circuit that reads the HV of the capacitor and causes the P1A15 code. The schematic is also on page 2 of this thread.
 
Back
Top