Interesting to read the comments on this thread. I bought my used 2012 (~18,000 miles on the odometer) in November 2015 and have been driving it without incident ever since. The car spent the first two years of its (leased) life in Normal, Illinois, before getting sold to a Los Angeles dealer. It basically sat on their lot for the better part of a year before I bought it. I've given the car a couple of really good cleanings since I bought it and - with the aid of a high pressure garden hose nozzle - blasted out a significant buildup of old leaves and plant parts from the rubber-lined slots on the roof and around the taillights under the rear hatch. Other than a superficial exterior washing that may have happened at the California dealer with a cursory Armor All application to the plastic interior parts, I probably gave this car the first real detailed cleaning it had since leaving the factory.
Then couple weeks ago, just out of curiosity, I decided to pop the lid to the motor compartment. At first, I couldn't get those wingnut/Phillips fasteners to budge. So, I alternately applied some B99 biodiesel (marvelous rust inhibitor for those unfamiliar with this stuff, but keep it away from rubber) and WD40, letting that cocktail soak in for a few days. The two fasteners nearest to the bumper then came off without too much trouble ( I used a big wooden handscrew clamp to grip the wingnuts on those) but the inside ones needed more work. The one nearest to the passenger seat eventually came out (a 1 1/8" socket wrench was the perfect tool to grab hold of the wingnut edges when there wasn't room for the wood clamp,) but the driver's side one was basically rusted shut. Worse, the wingnut portion of that one was spinning freely around at this point and the Phillips head portion - with slots starting to strip badly - was still capturing the wingnut and not responding to any attempts to grab by the edges with Visegrips. I finally ground off the top of the Phillips head with a Dremel tool, pried off the free-spinning wingnut portion and then proceeded to securely grip the rest of the exposed fastener's shaft with the Visegrips, slowly and methodically spinning it out. The good news was that no threads got stripped on the car's sheet metal and the lid incurred no damage. All the fasteners had rusted thread sections. Two were completely unscathed on the top portions. The third one was dinged up slightly and the 4th, of course, was a couple of pieces scrap metal after I got through with it. At first, I replaced the 4 wingnut/Phillips lid fasteners with stainless steel M6 X 1.00 X 16mm hex head cap screws, with matching stainless washers and large diameter rubber fender washers.
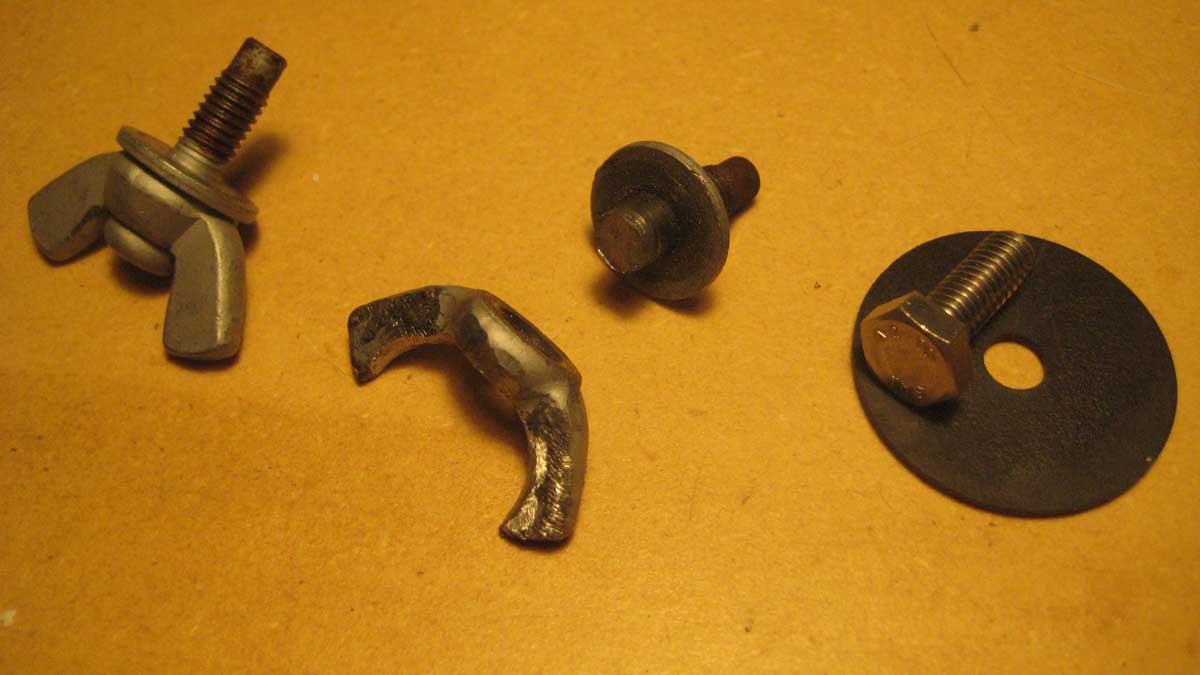
(L to R) Cleanly removed fastener with rust on threads, destroyed evil 4th fastener and stainless M6 cap screw with rubber fender washer
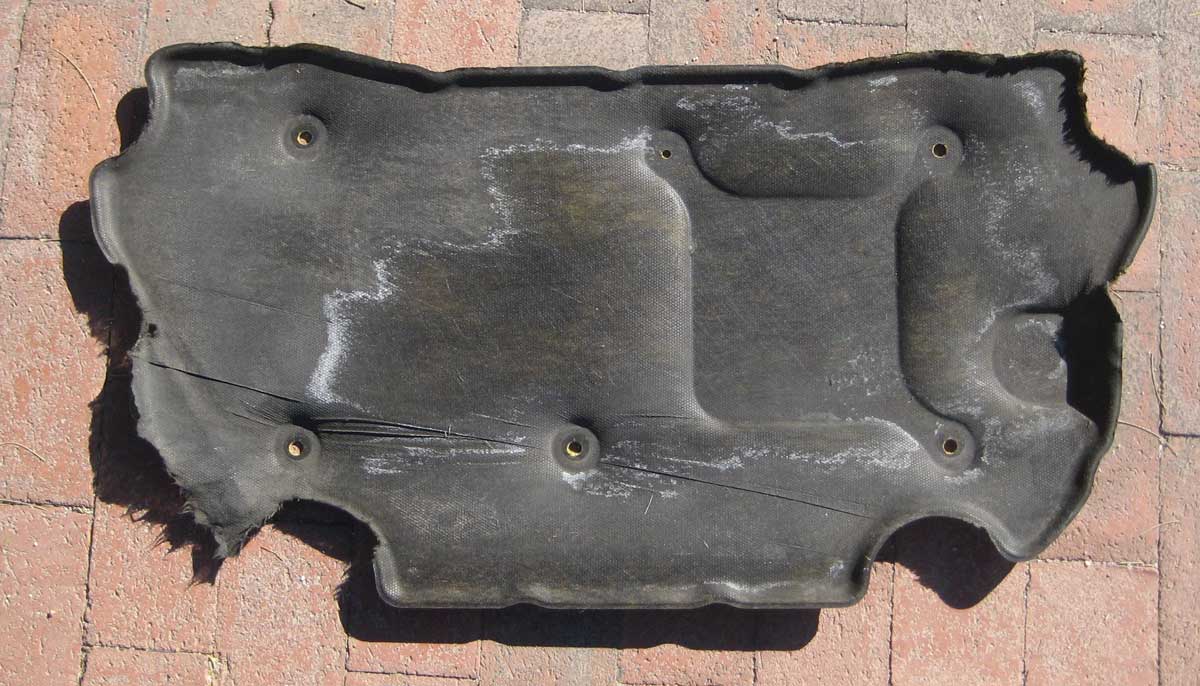
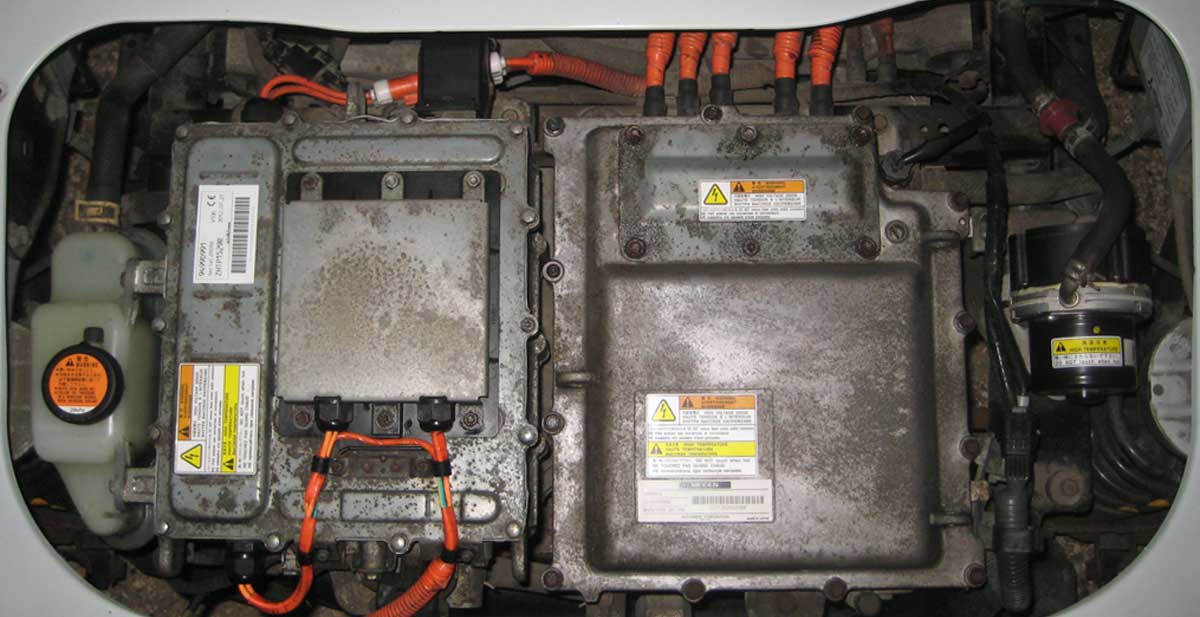
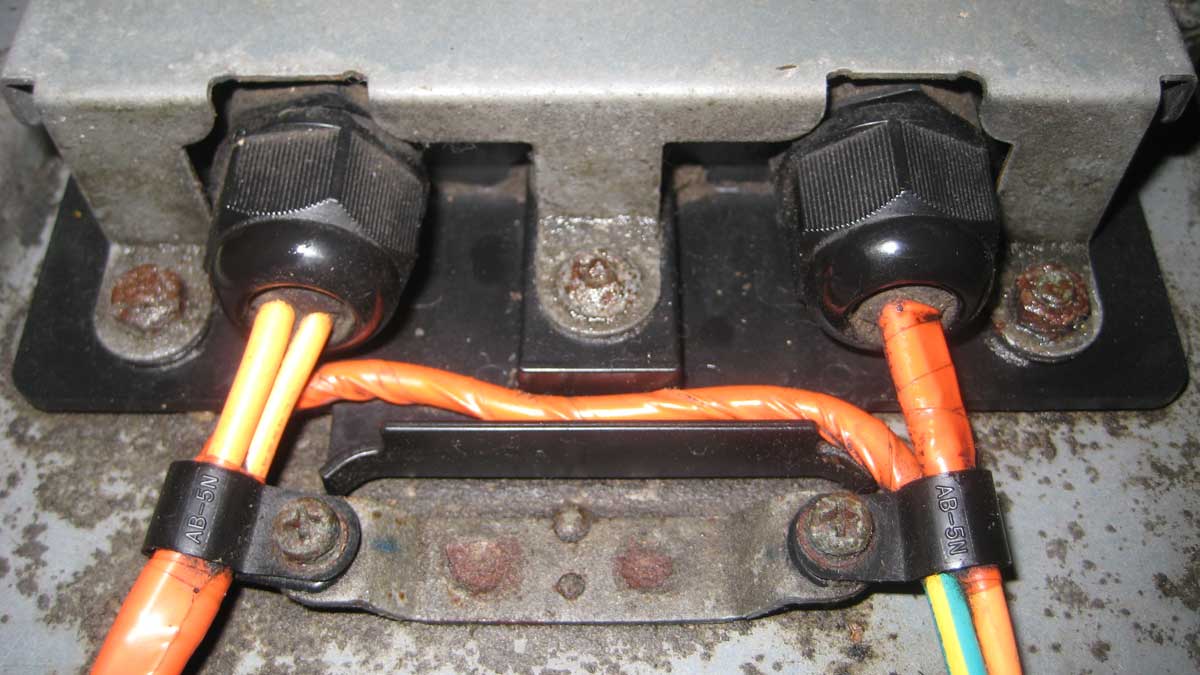
What I found after I removed the lid gave me some pause for concern. There's a piece of matted fiberglass material mounted on the underside of the lid, held on by plastic screw-on fasteners. It's got a woven black covering as well (facing towards the motor area) and, one assumes, it's basically there for sound abatement. What it ended up doing, though, was to act as a sponge for moisture kicked up from the road surface - and I'm guessing with lots of snow and road salt at times - wicking up all this crud and pressing down onto the top of the controller and charger cover! The entire top of the motor area was covered in black-colored muck. The ribbed orange plastic wire covering tubes were completely black, as was the translucent coolant reservoir.
The evil under-the-lid mat
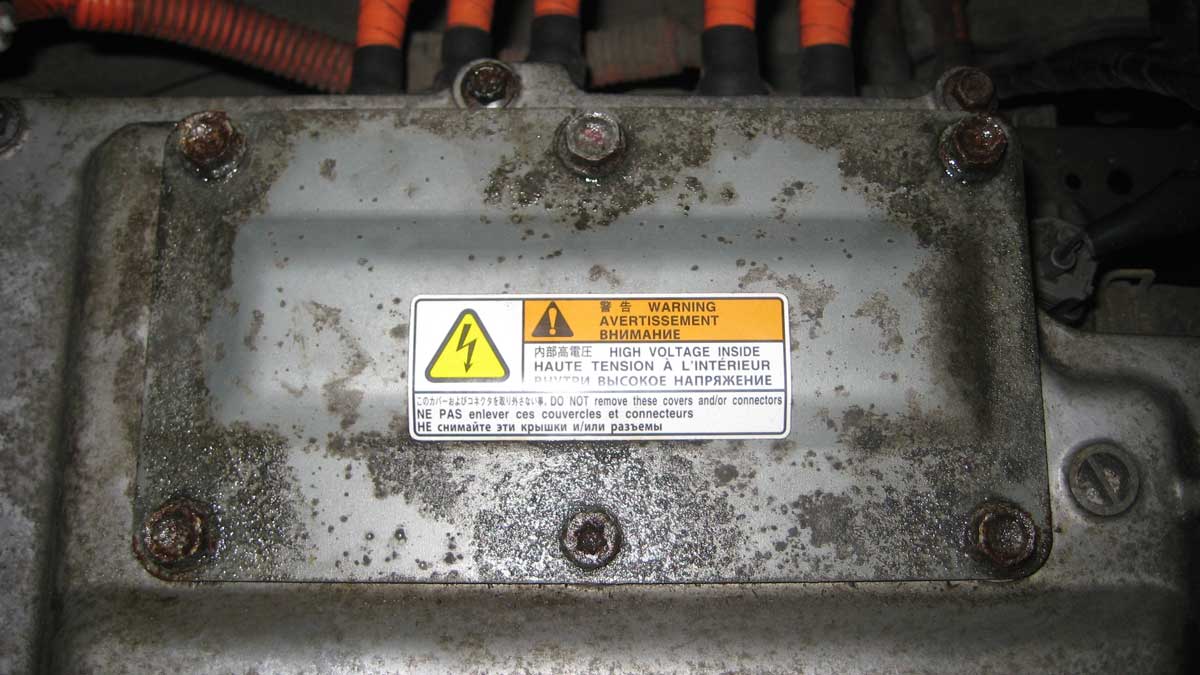
It all required a detailed cleaning, which I did mostly with WD40 on the metal, household spray cleanser on the plastic, all with a combination of a few old toothbrushes and lots of cotton swabs for tools. The heads of some of those steel fasteners on top of the aluminum boxes were severely pitted with rust and they've now benefited from the same cleaning technique I used on the lid fasteners. I'm not about to open up the electrical covers anytime soon, of course, but I don't want it to be an unexpected chore for the technician, if and when that has to happen someday.
Then, just yesterday, I finally popped the rear passenger bench seat for the first time. No unpleasant surprises this time . . . clean as a whistle. That electric tire pump hidden under there is cool! I extracted that and the expired bottle of tire flat sealing goop from underneath there, with the former now living in my tool box and the latter resigned to the trash bin. What I noticed, though, was the wingnut bolts holding that metal cover in place are identical to the motor lid ones. But these wingnut bolts are essentially brand new, without a speck of rust on them. So, today, I swapped out the hex head cap screws for the wingnuts, with the latter now holding the motor lid in place (nice to be able to quickly show people what's under there without having to use a 9mm socket wrench.) Again. grease on the threads and a small dab underside on the flange.
Next, I went to a local auto detailing shop today to investigate the possibilities of steam cleaning the underside of the car, with the goal of stopping any road salt debris I can't see from continuing to do any damage and to generally give it a good first-ever underside road muck cleaning. There's some surface rust buildup on some of the rear suspension components but not anything all that bad on it or the surrounding sheet metal.
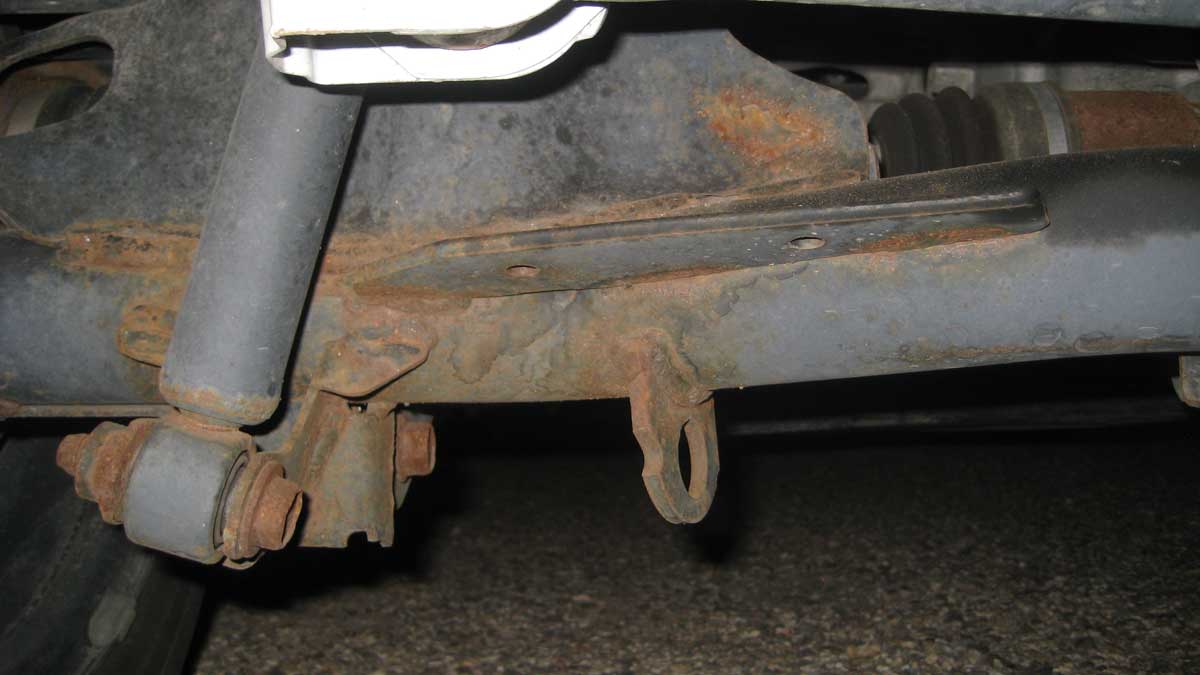
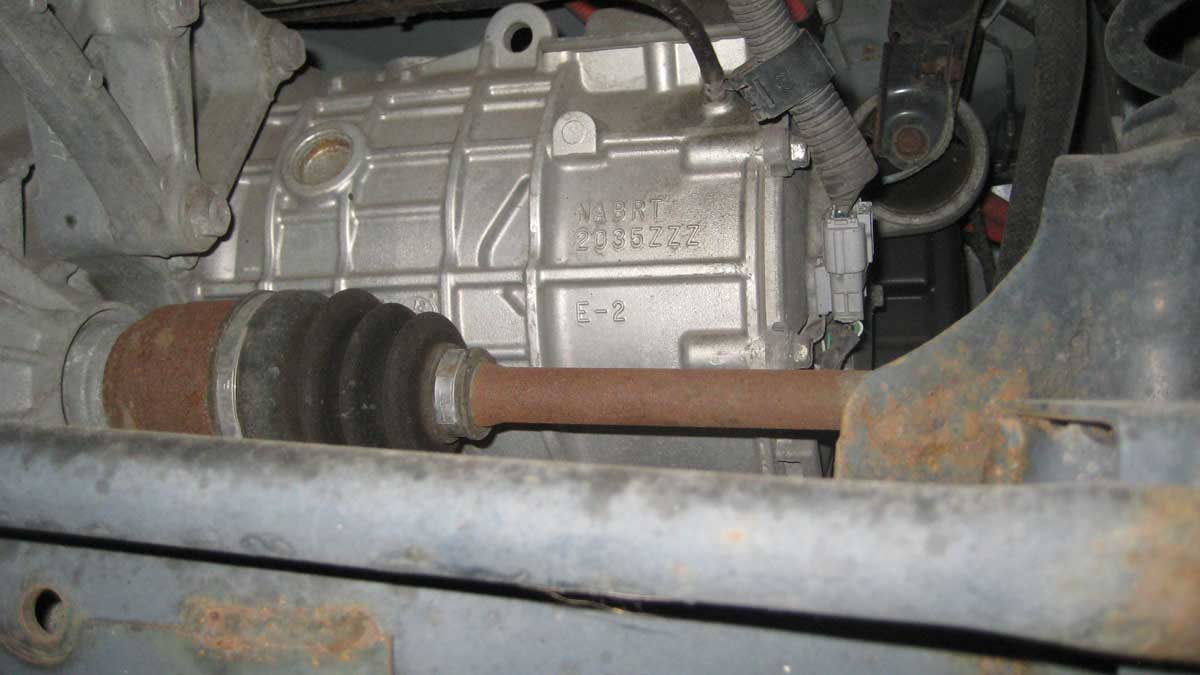
I grew up in Pennsylvania, working on cars in my teens, and have witnessed what horrendous salt-induced road cancer looks like. The $65 estimate I got for the steam cleaning is reasonable and I'm going to take it back in sometime next week. I know that this is the first fully electric car they've encountered and I'll want to be there to point out to them the major high voltage connections going to the battery. Now that the car is living in deepest, hottest, driest Arizona, it will never have to encounter road salt of snow ever again, so I'm guessing that upcoming steam cleaning will keep it in good shape for many years to come.


